|
Mods:
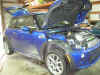
August 2010:
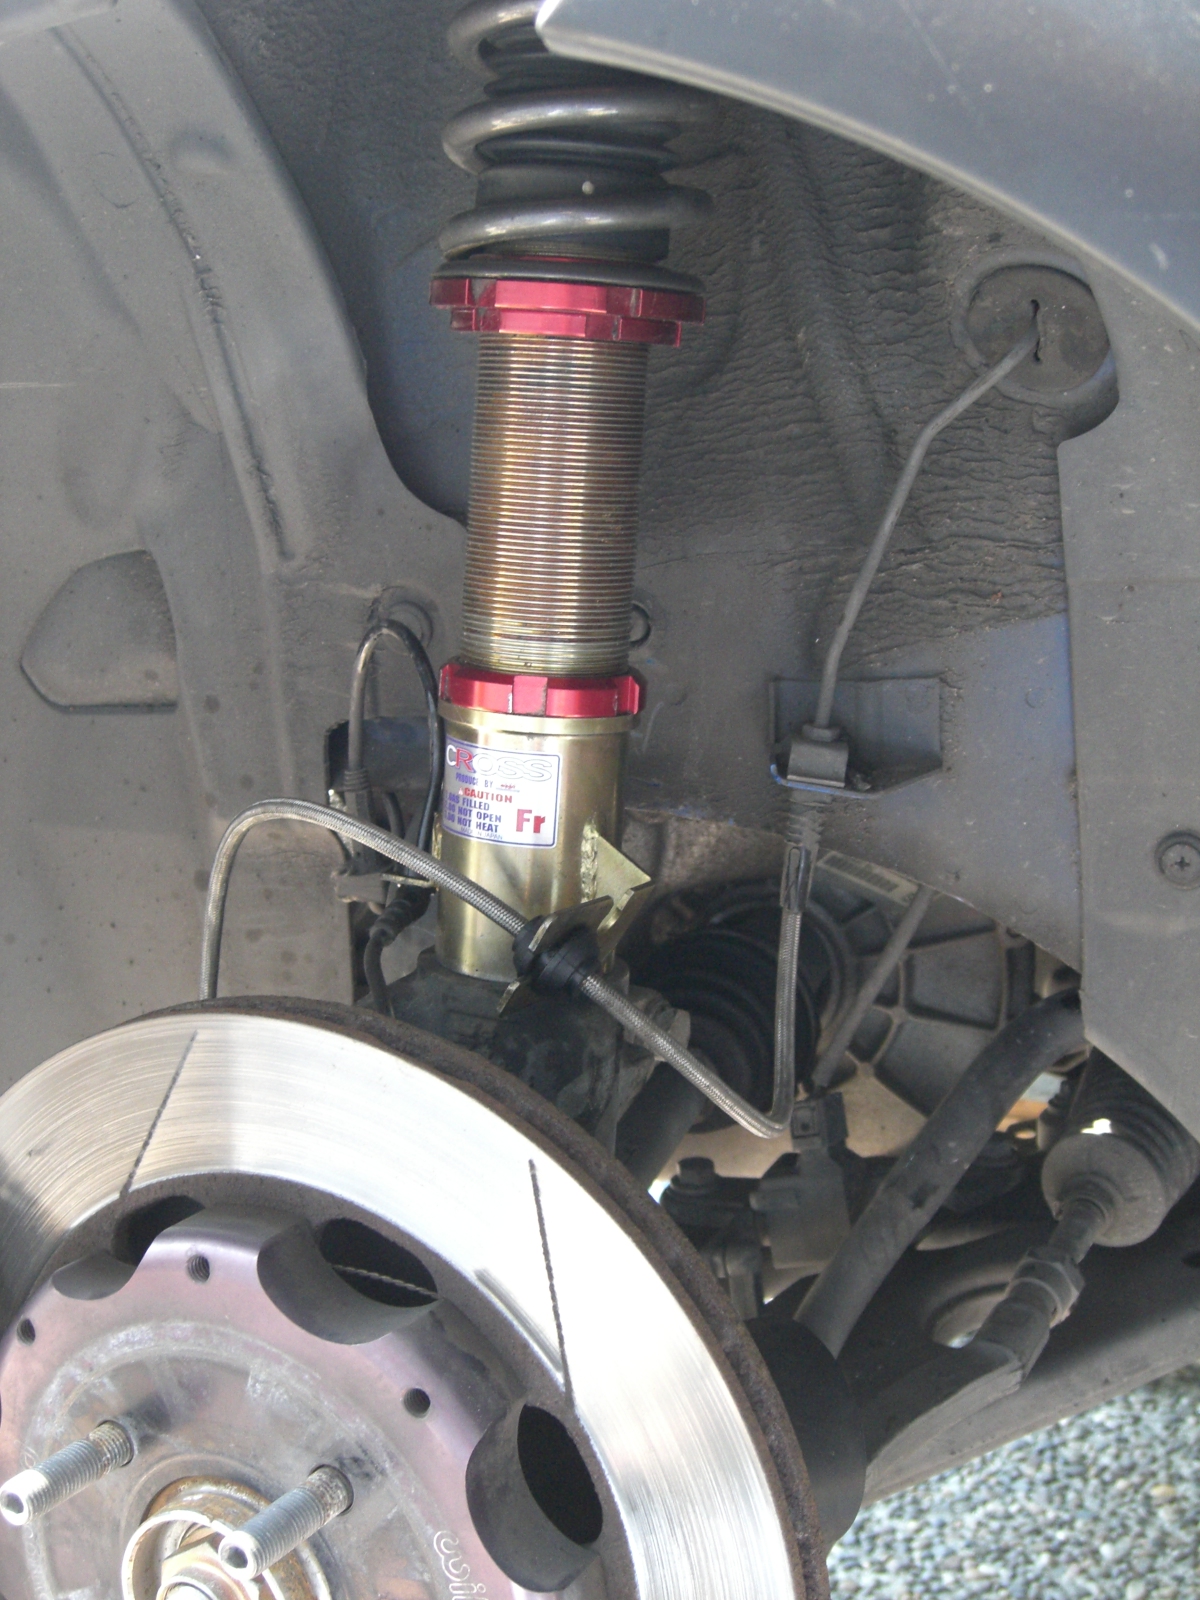
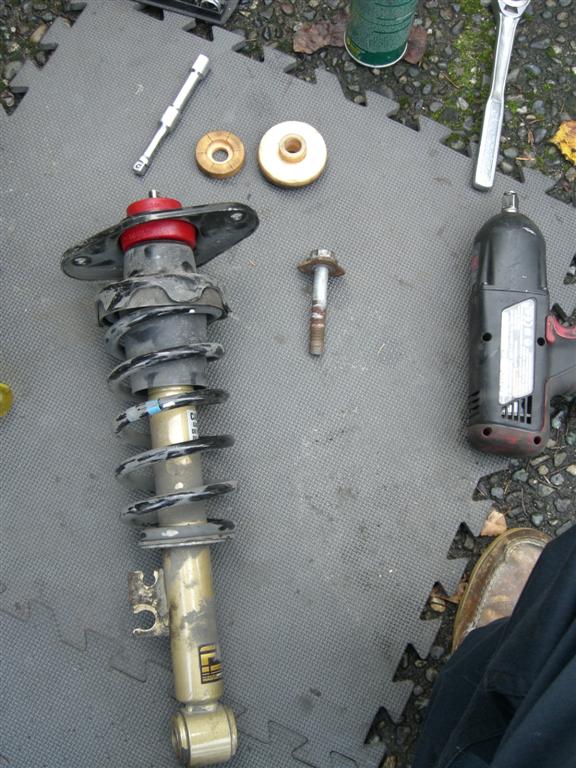
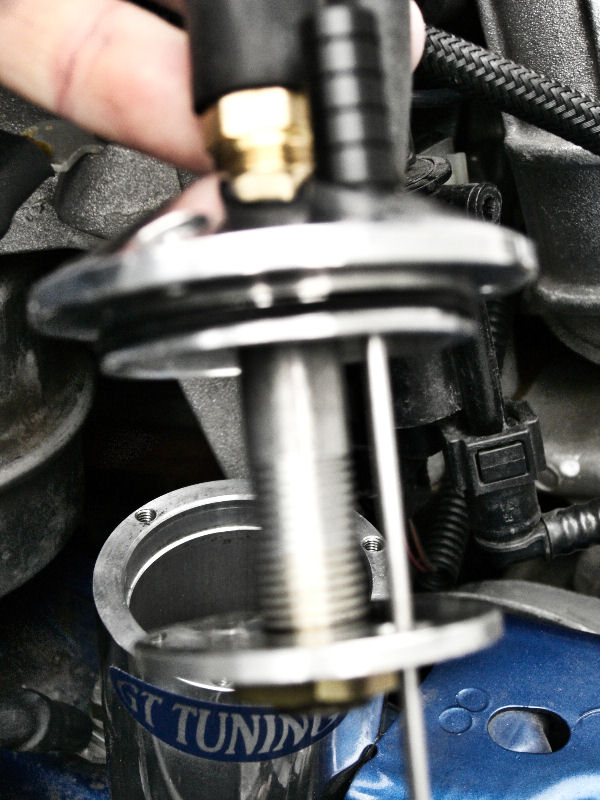
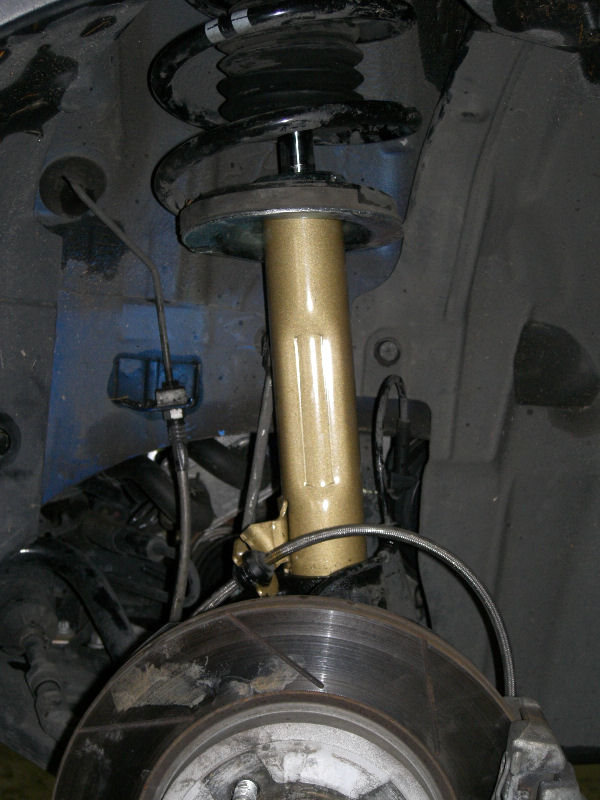
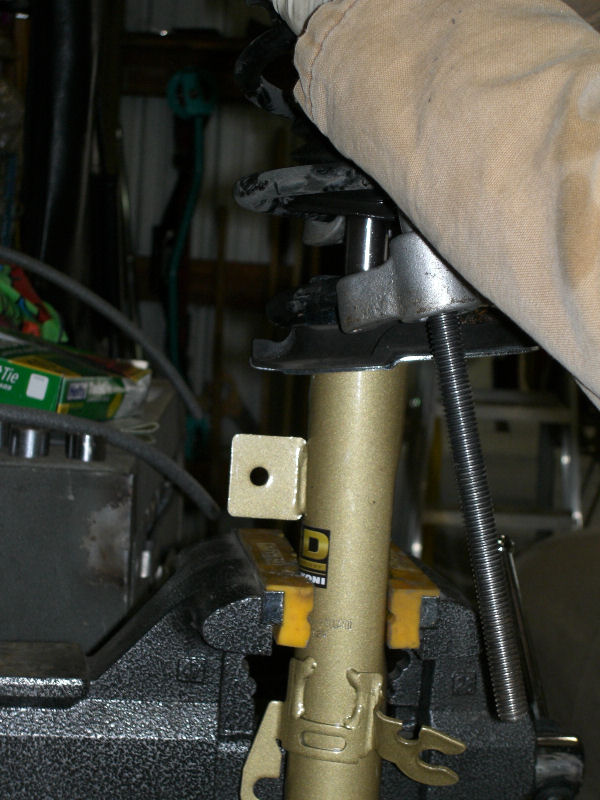
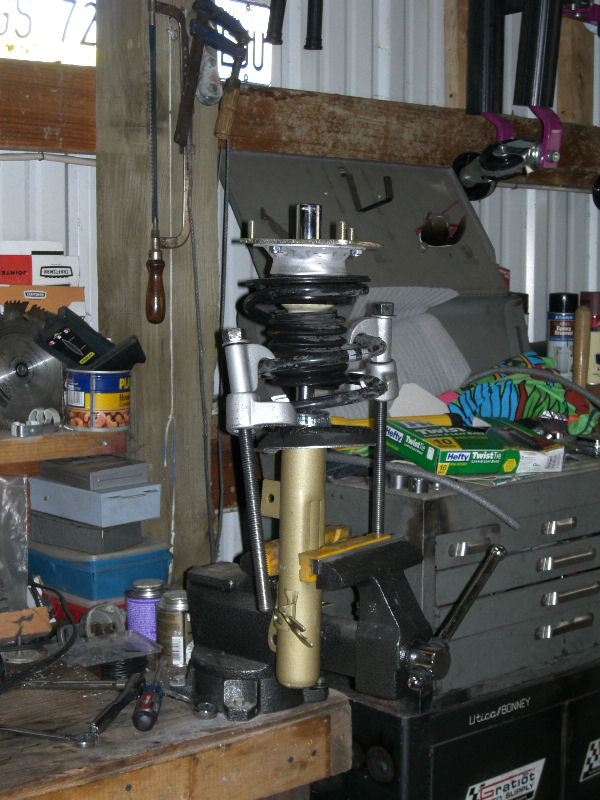
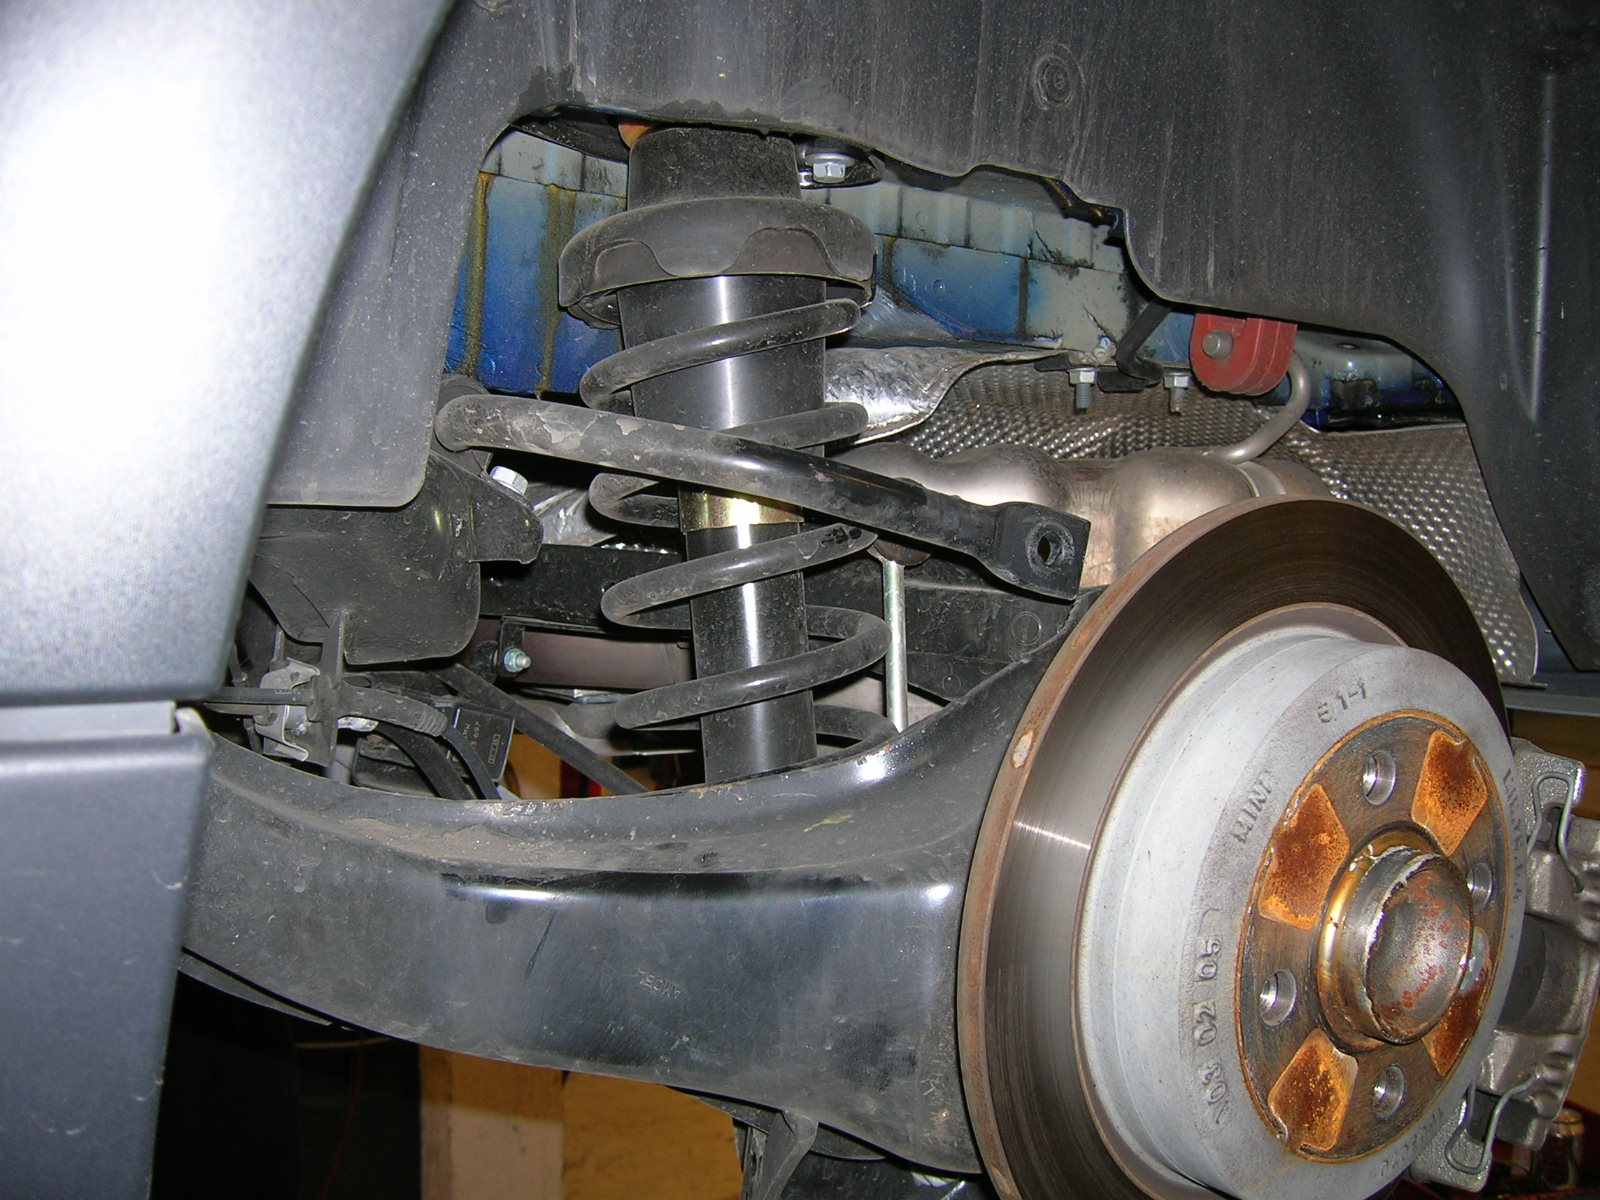
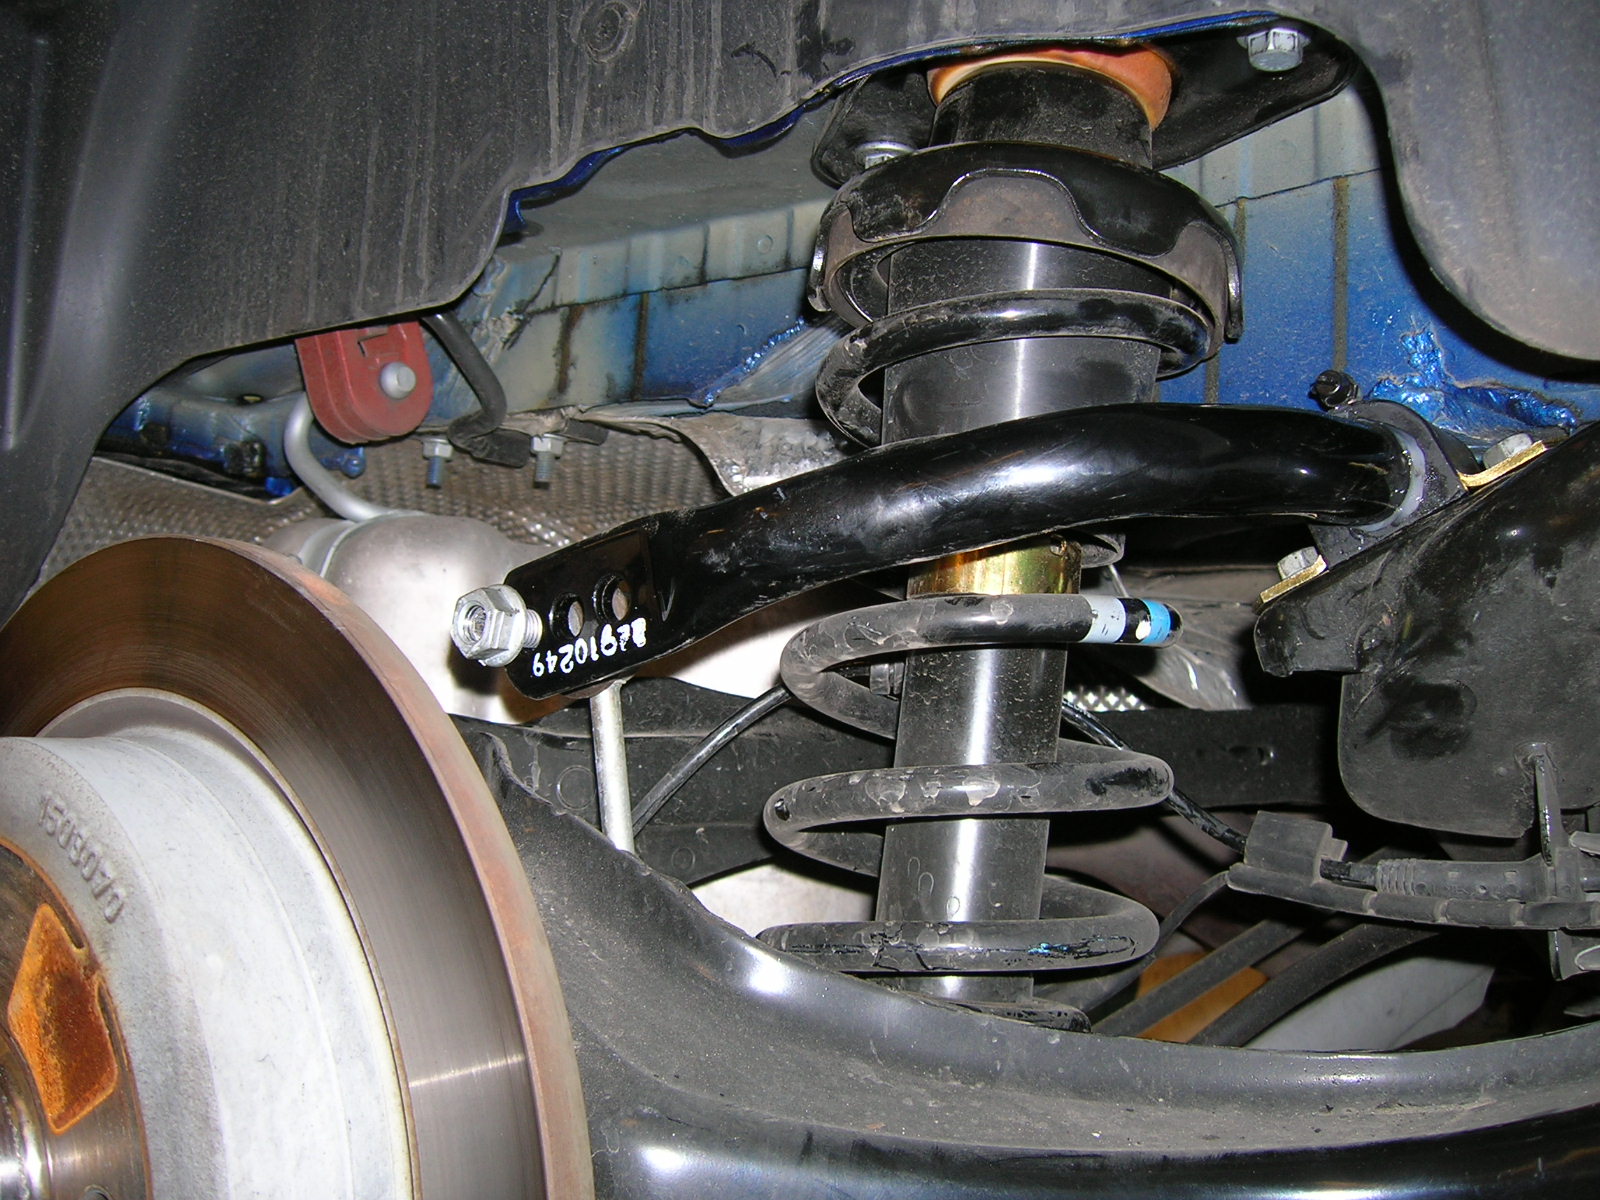
Cross
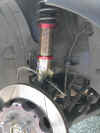
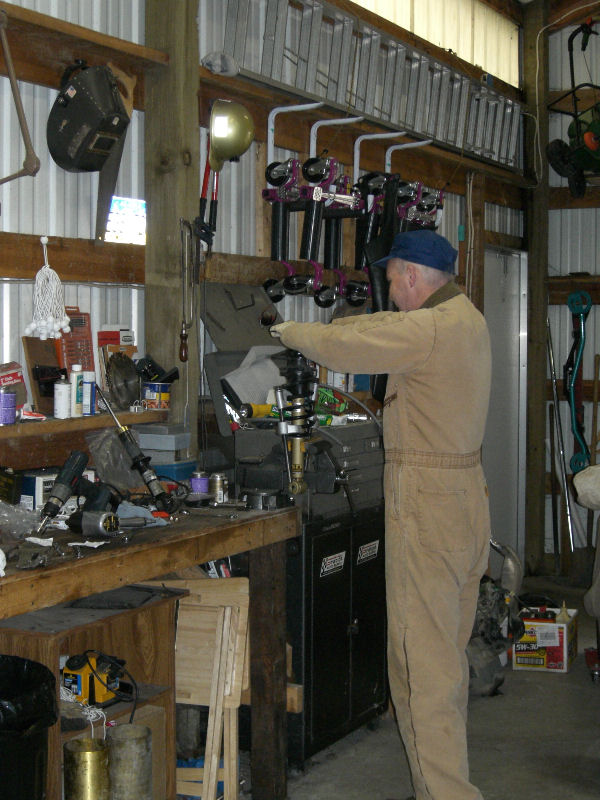
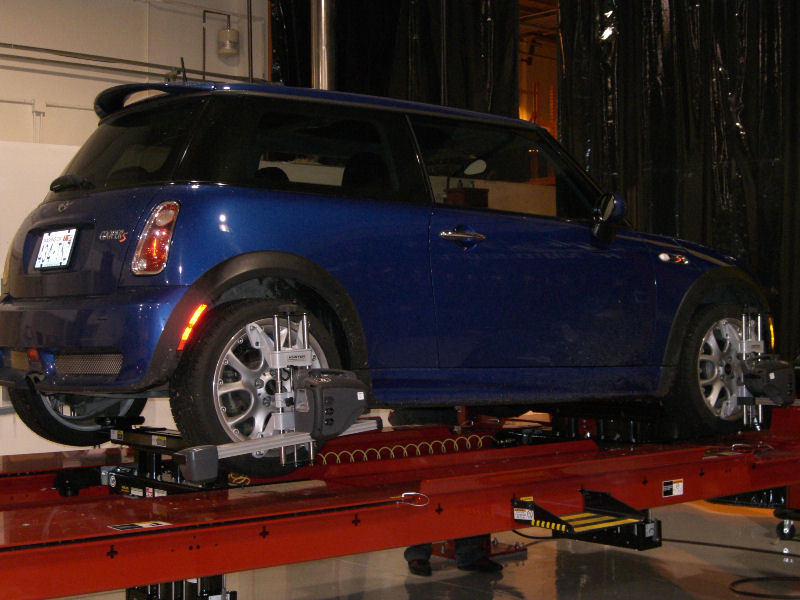
Coilovers
I
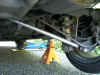
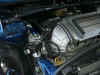
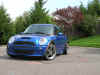
finally upgraded my suspension to coilovers and dropped
it's stance a little. I love the Koni FSDs that were
in there but this is meant to take the suspension to the
next level. (The FSDs will be installed in Leprecn.)
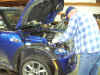
Installation was simple but lowering the car did present a
couple of problems.
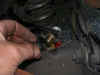
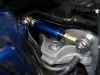
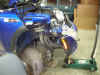
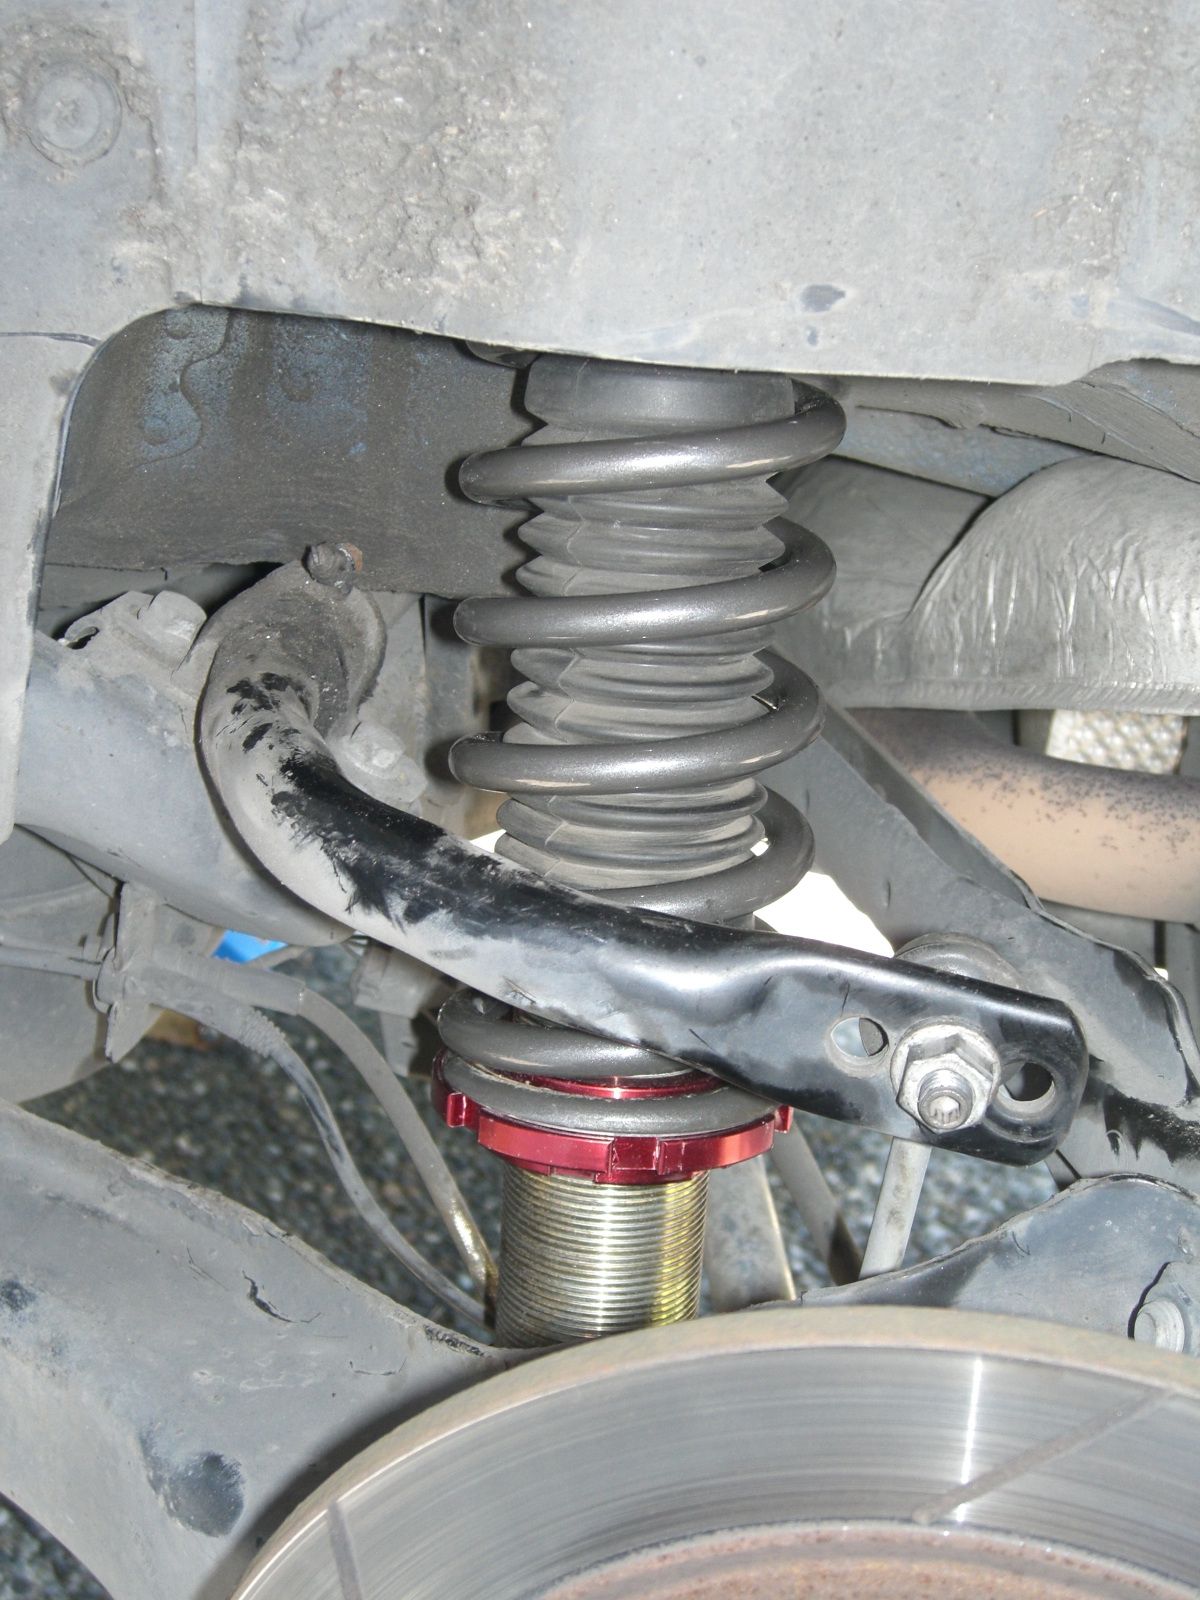
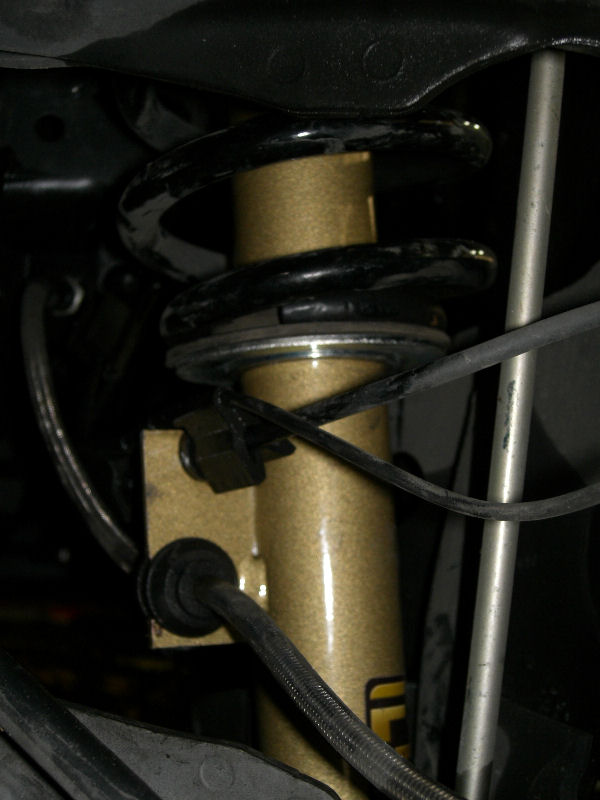
With lowered suspension, sway bars move up off of their
proper level neutral position. If not corrected,
leverage issues between opposite sides of the bar would
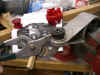
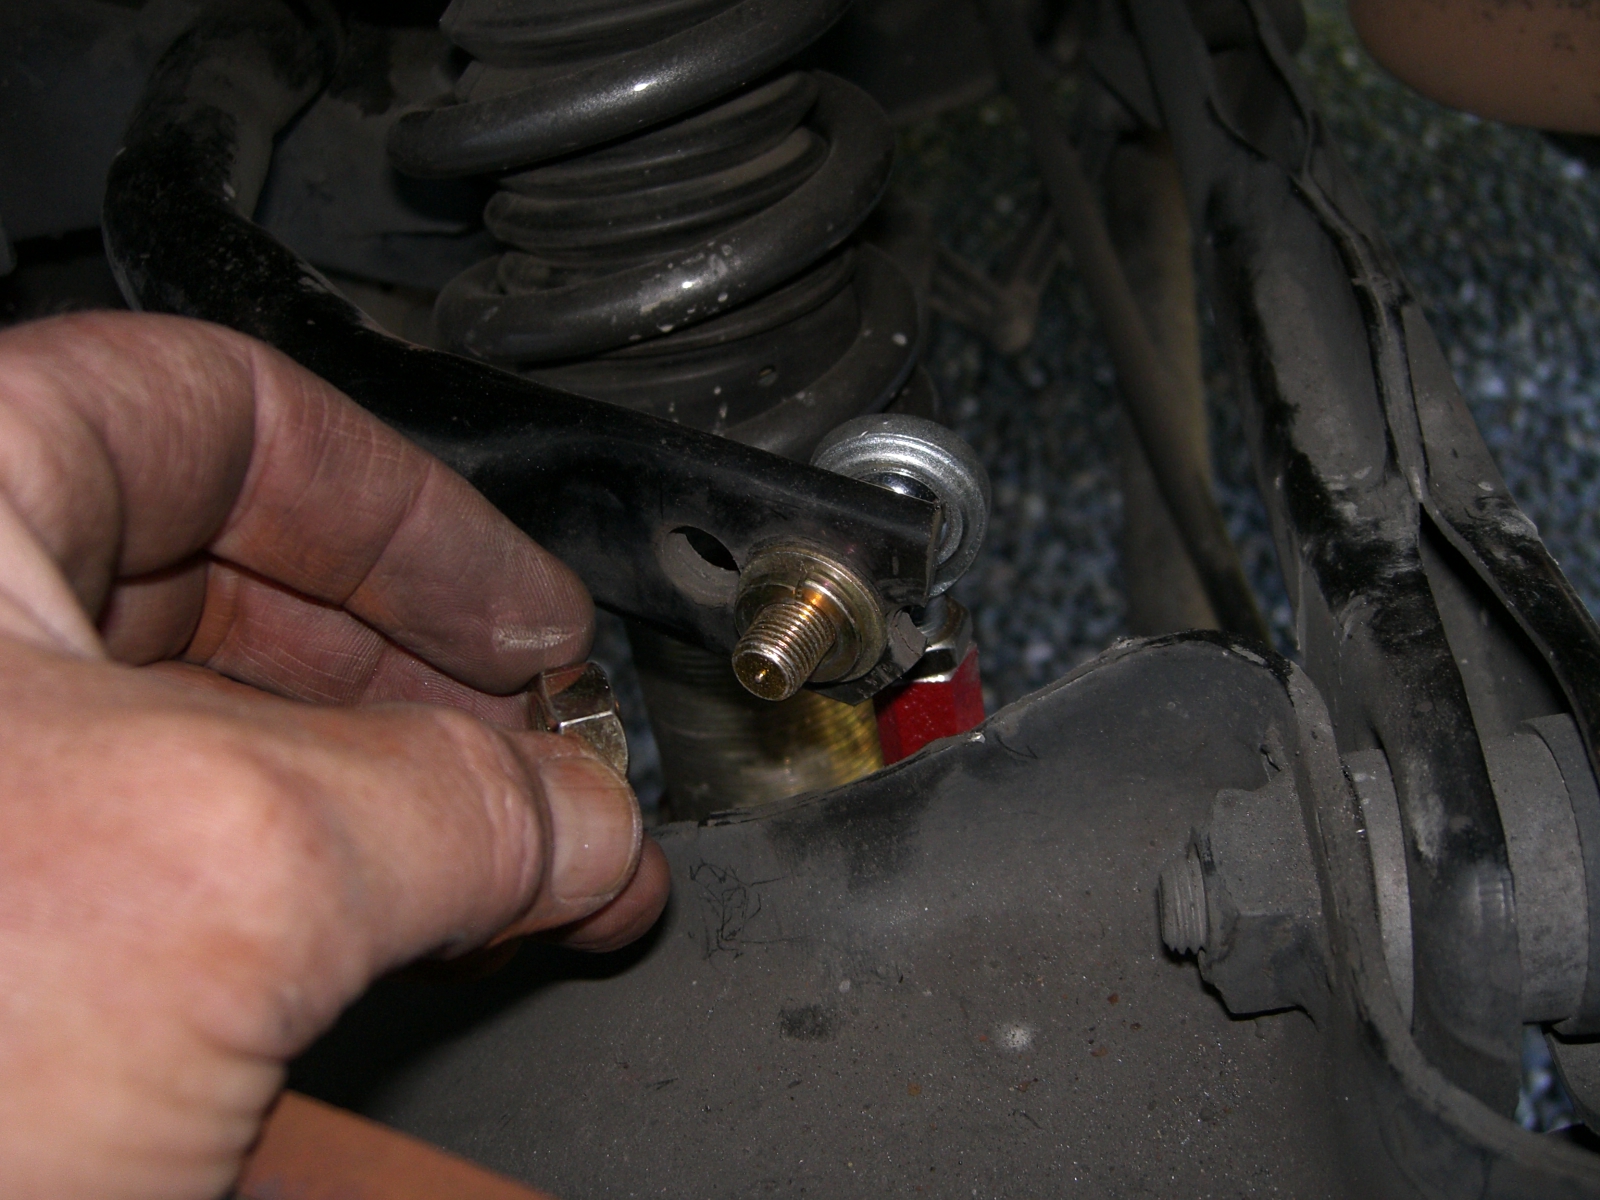
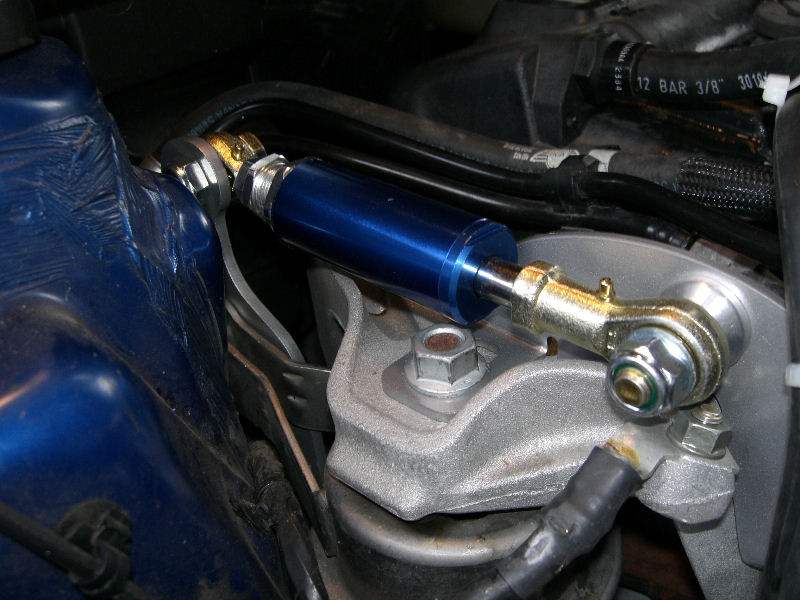
cause cornering issues. To solve this, I ordered new
adjustable end links from ALTA.
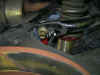
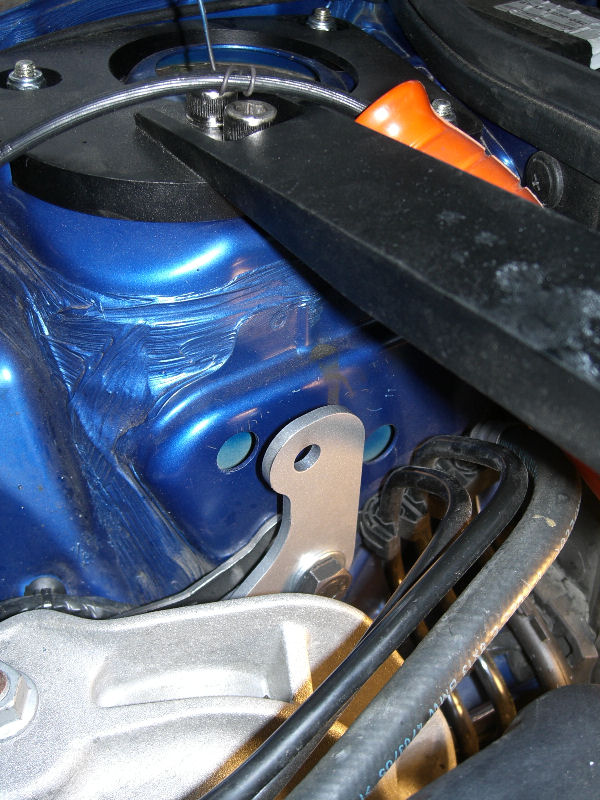
I found that Cross moves the front swaybar mount up the
shock tube so I ended up using rear end links on the front
and I had to shorten them over 1-1/4" to boot!
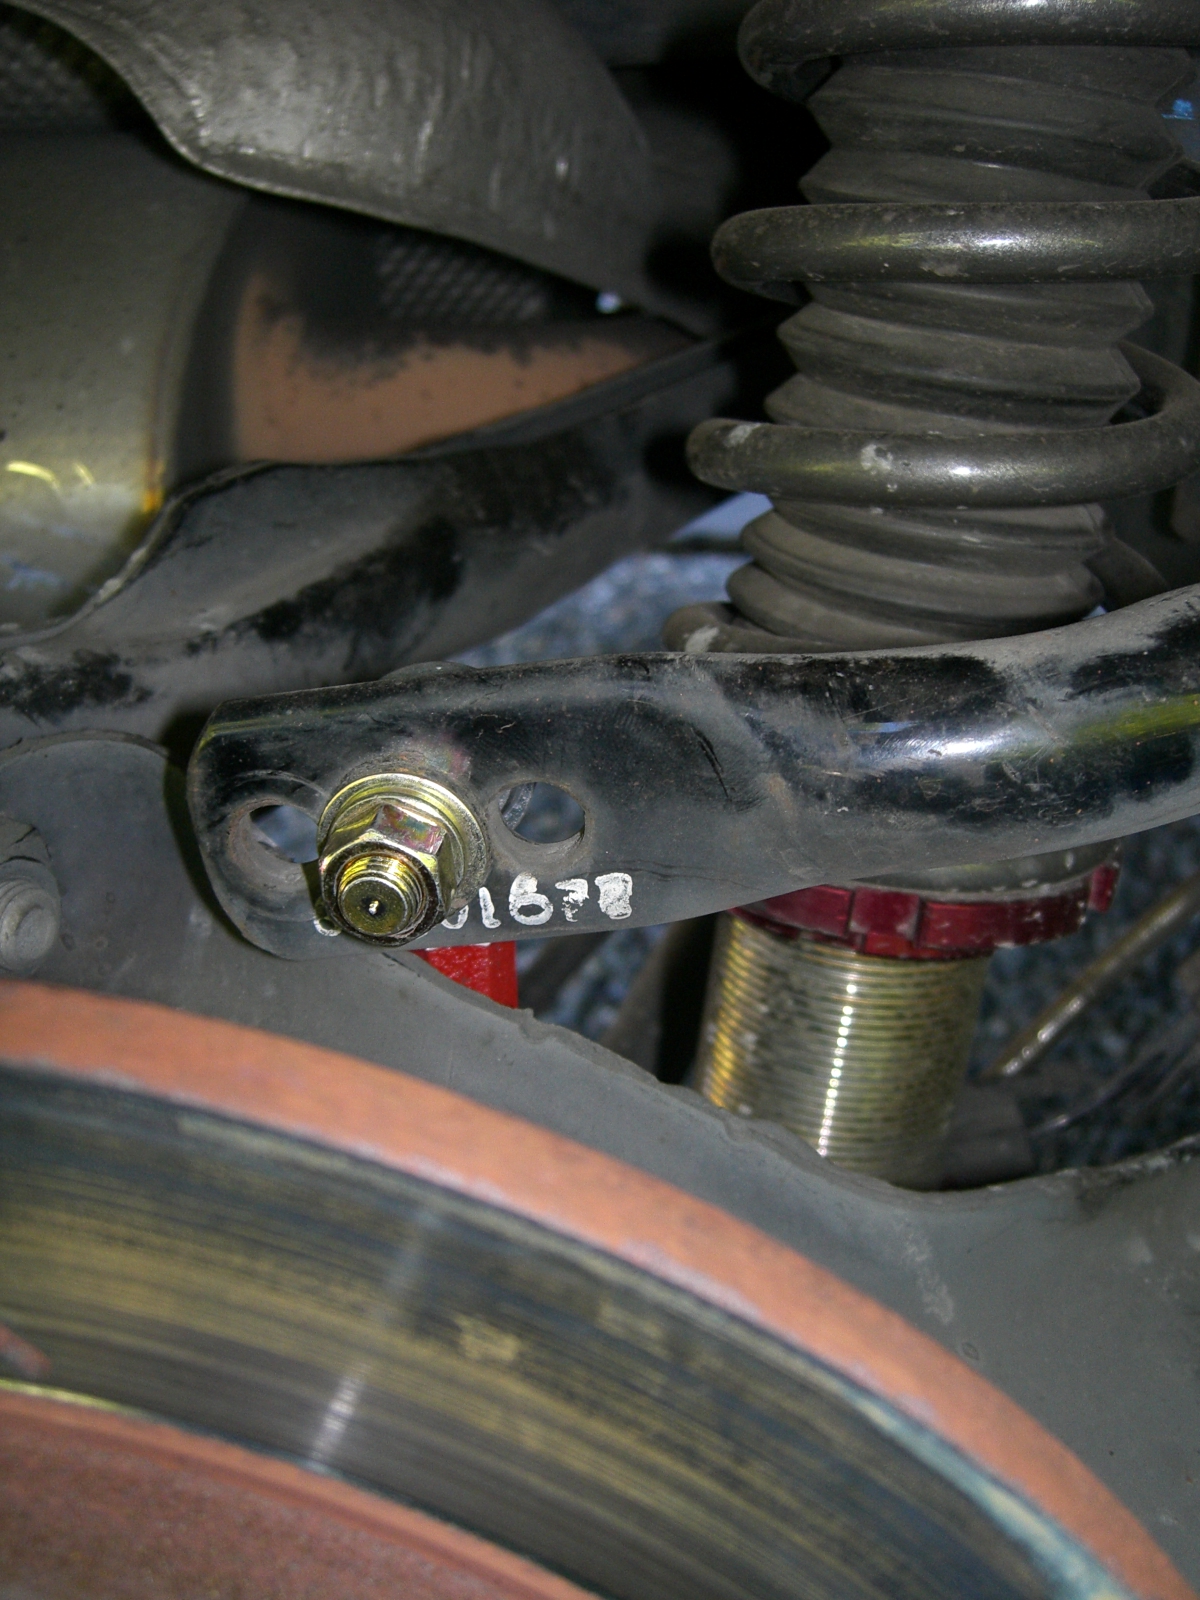
(Normally the correct front end links are included with
the coilovers. I purchased a used set and they
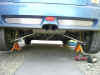
weren't included.) I used a second set of rear end
links on the rear and found that I even needed to shorten
those by about 3/4" to bring the sway bar back to
level at neutral.
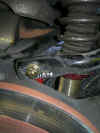
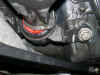
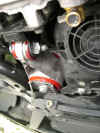
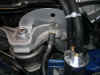
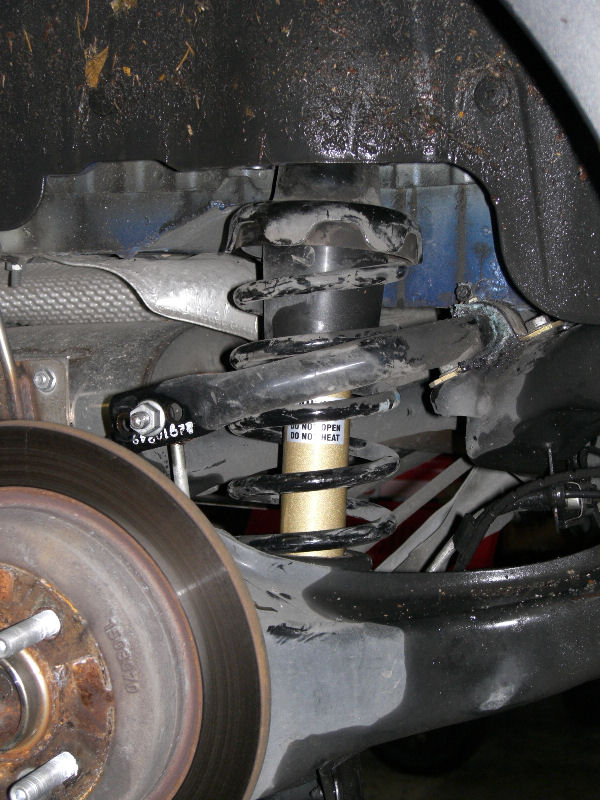
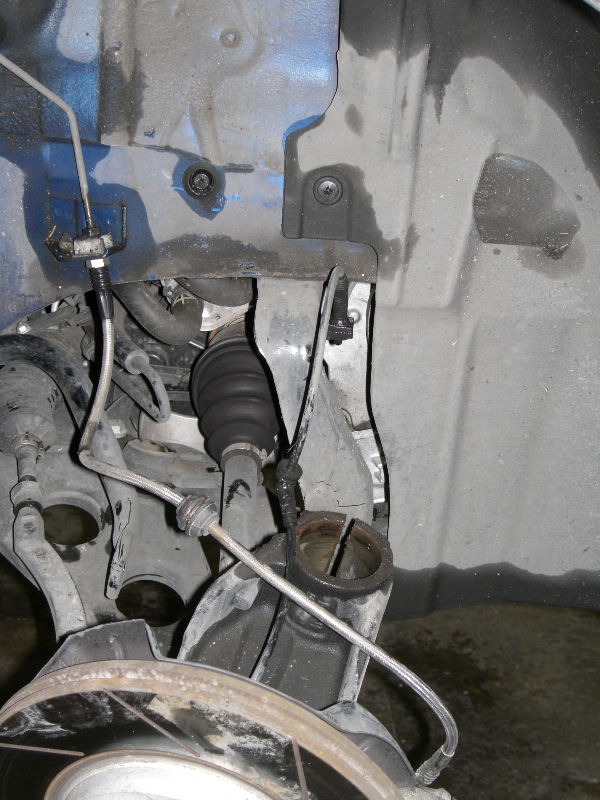
The shorter rear end links presented another
problem. The sway bar was now hitting the rear swing
arm. It was necessary to cut the soft setting
mounting hole off of the sway bar to clear the suspension.
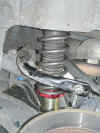
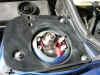
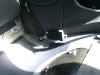
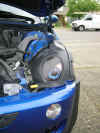
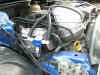
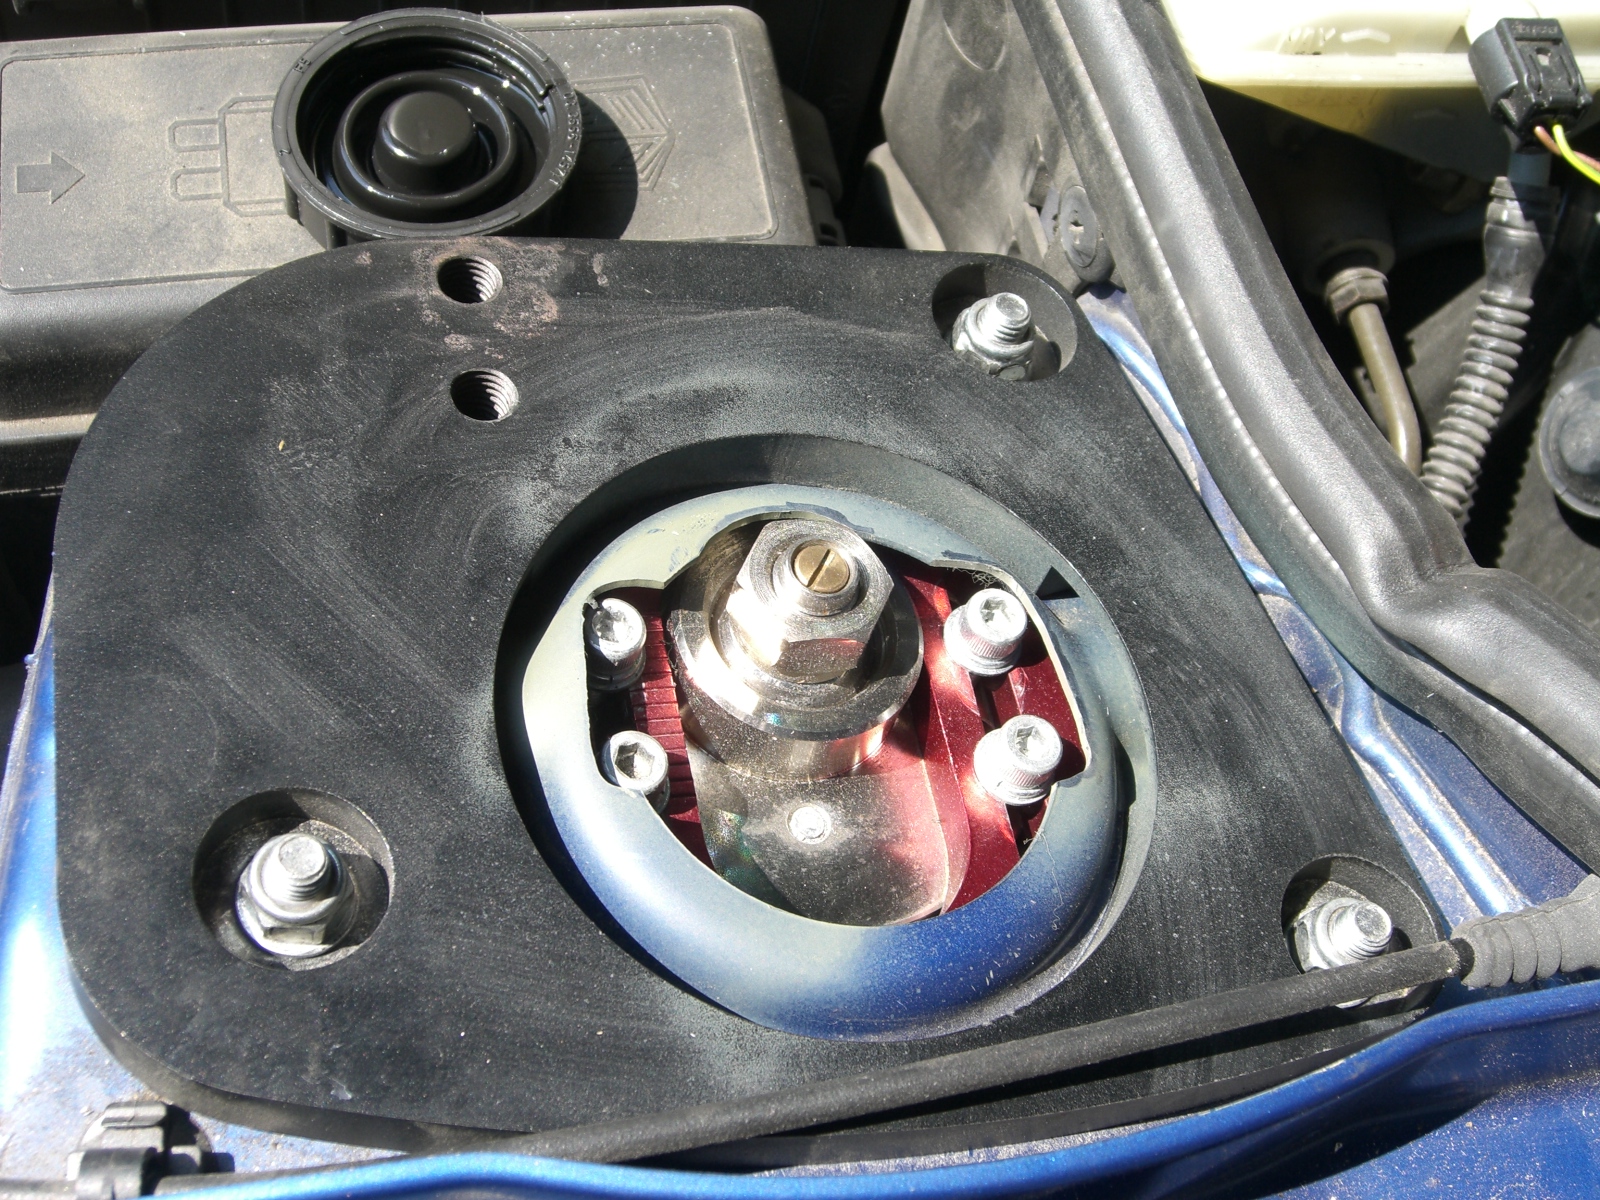
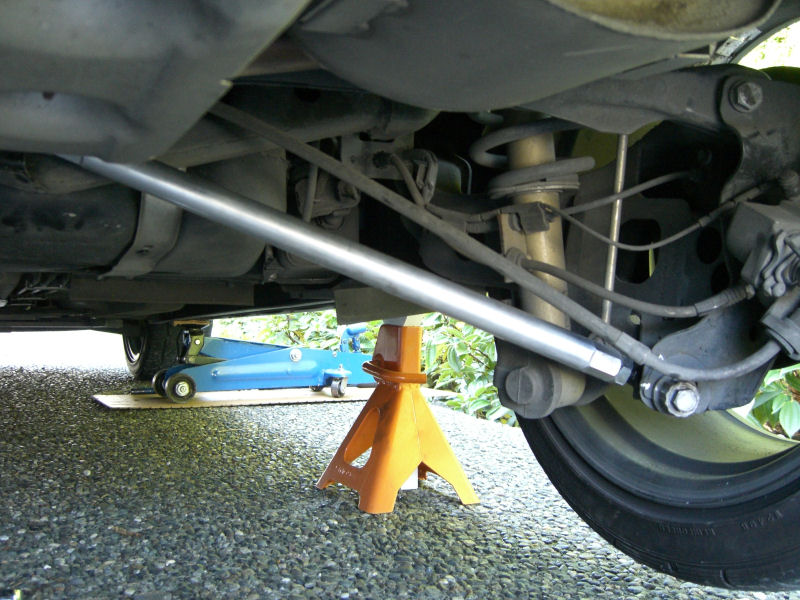
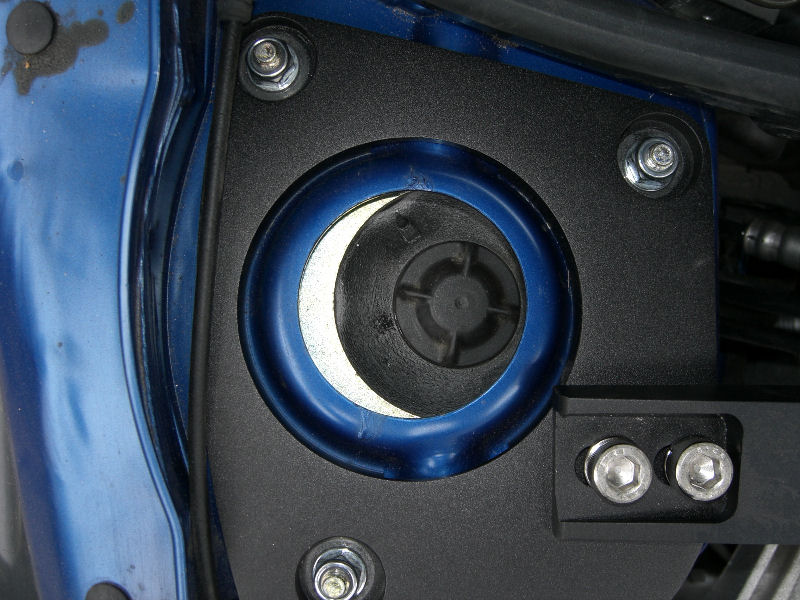
A little shock tower modification was necessary to allow
access to the camber plates. After the installation
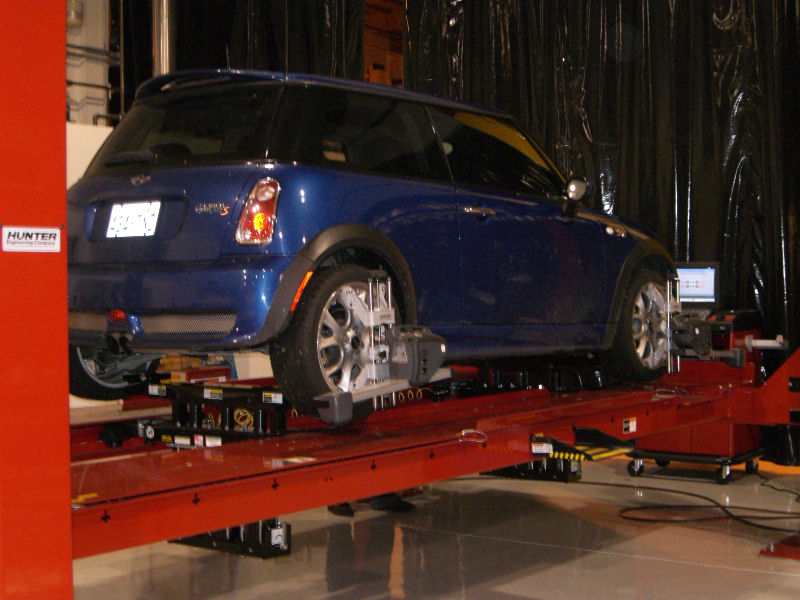
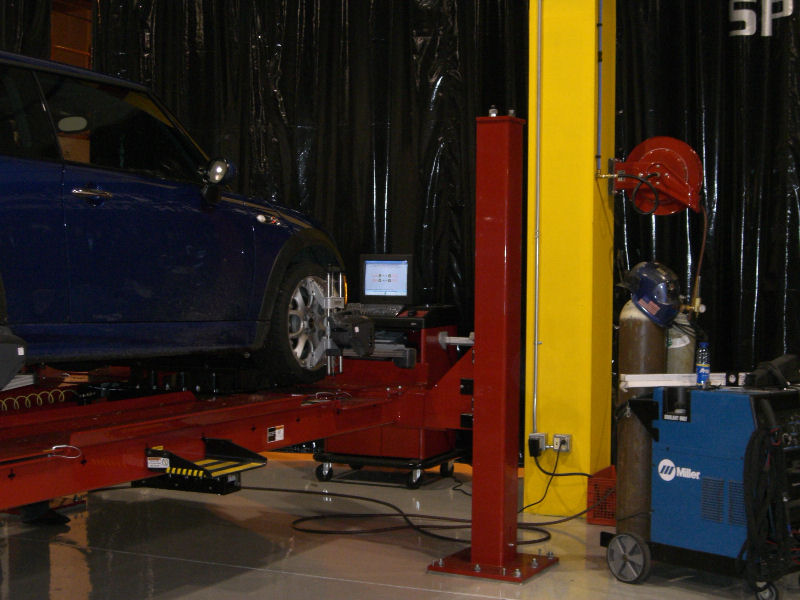
was complete, off to Cantrell
Motorsports in Kirkland for corner balance and
alignment.
The ride is comfortable (enough) and the track handling is
superb!
|
 |
 |
 |
 |
 |
 |
|
|
December 2009:
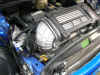
TSW
Motor Mount
Stop
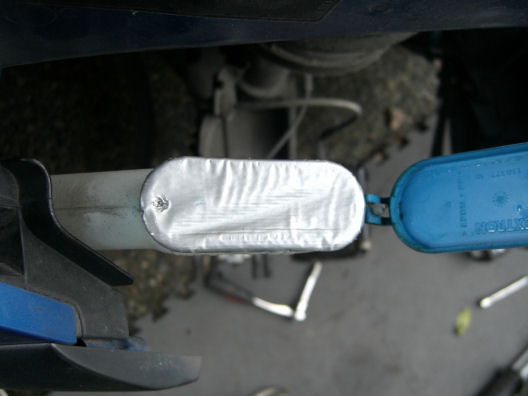
Windshield Washer Fluid Leaking
| Because
of the long filler neck on the washer fluid bottle, the
fluid is thrown our during hard stops such as is common on
track days. As a result, there is never any fluid in
the washer bottle when you need it. A very simple
fix was to put a piece of duct tape over the opening and
punch a small vent hole in it. So far, it's working
perfectly! (This mod has been installed for over
half a year and so far the washer fluid is lasting as long
as you would expect.) |
 |
 |
|
|
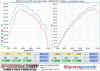
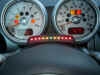
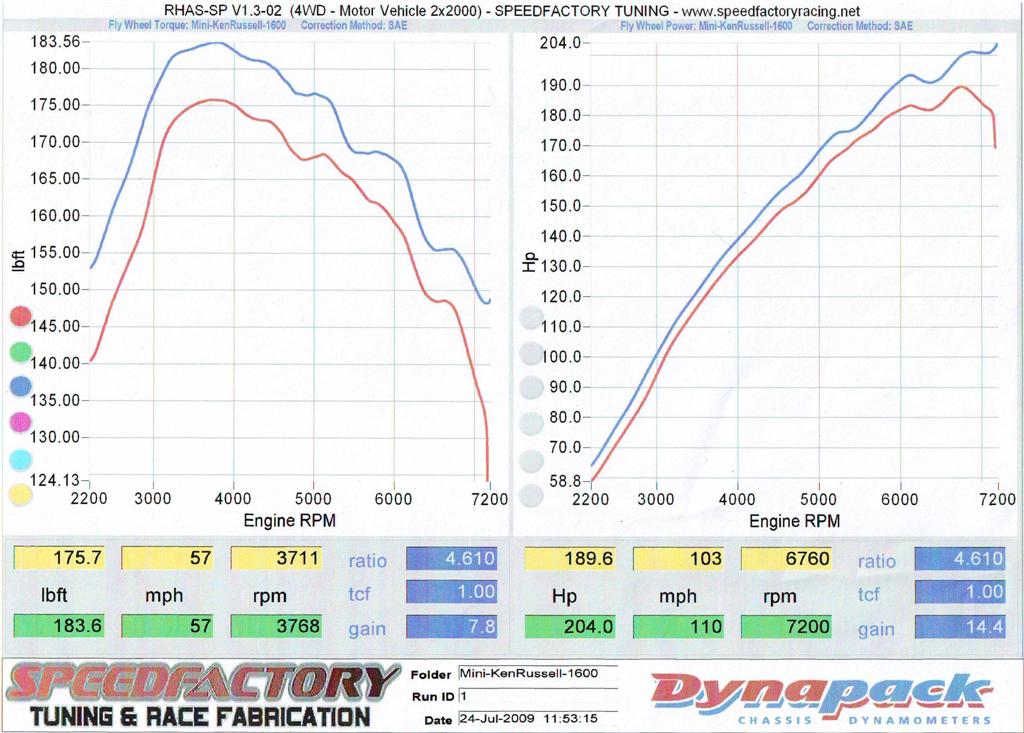
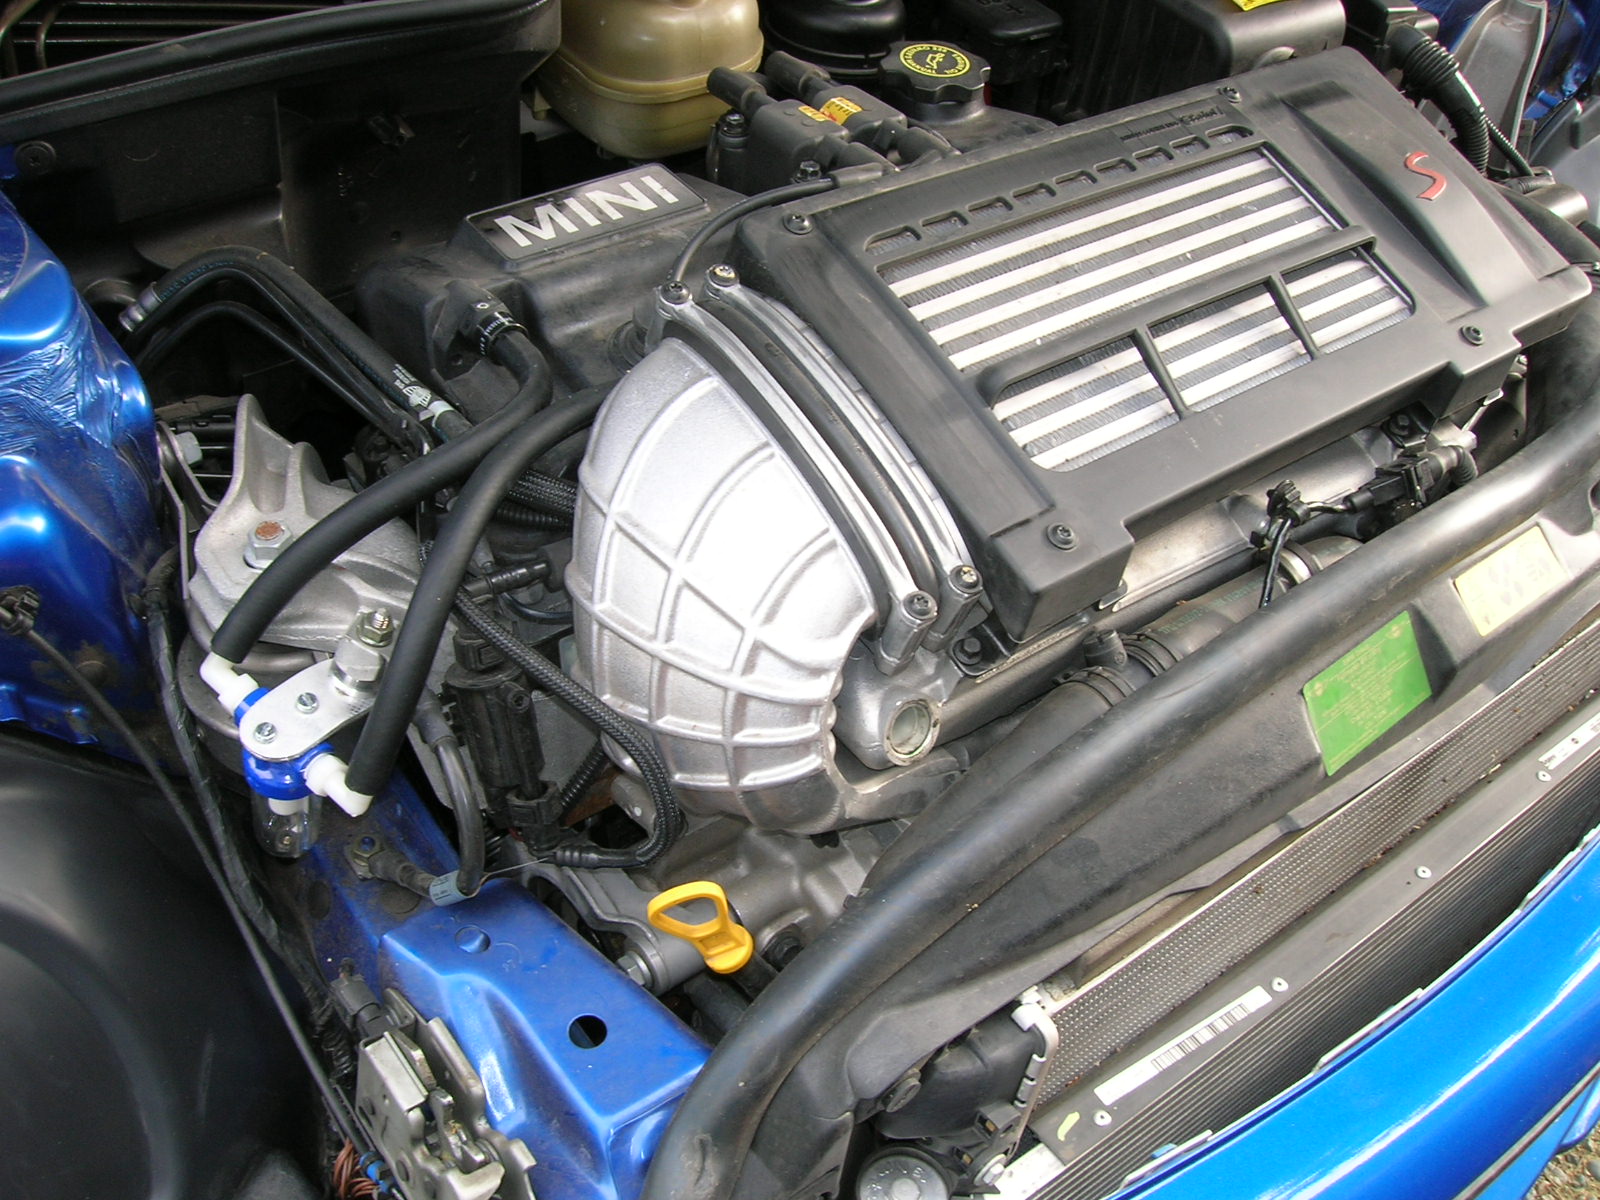
July 2009:
RMW
Dyno Tune
| Jan of
Revolution
Mini Works met us at SpeedFactory
Tuning & Race Fabrication in Tacoma on July
24, 25 & 26th to work his magic on everything from
R50's to R56's. Jan took my R53 from 189.6 Hp and
175.7 lbft of torque all the way up to 204 Hp and 183.6
lbft of torque on Friday the 24th. A huge increase
in performance is felt and the gas mileage has
increased. Jan showed me that even my 380cc
injectors are maxing out at high rpms and that I could use
even larger injectors. |
 |
|
|
|
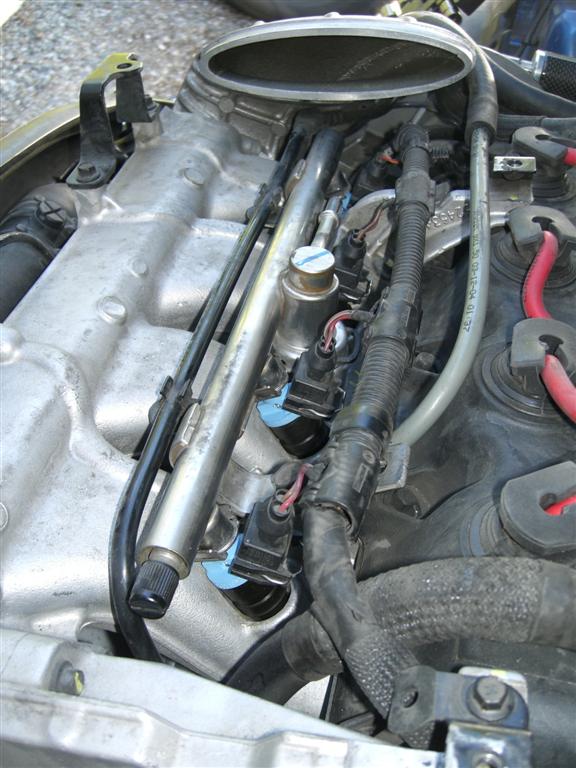
JCW
380cc Fuel Injectors
| In
anticipation of Dyno Day and a tune from Jan of Revolution
Mini Works, I installed a set of JCW 380cc fuel
injectors. Installation is easy and I noticed a
little better throttle response even without the
tune. More to come..... |
 |
 |
|
|
March/April 2009:
Madness
High Performance Front Control Arm Bushings,
| The
Mini had begun understeering somewhat. I had ZahnTech
Auto install new urethane control arm bushings
I had purchased some time back but never installed.
This seems to have eliminated the understeer and restored
the agile performance. |
 |
 |
|
|
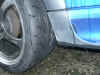
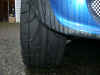
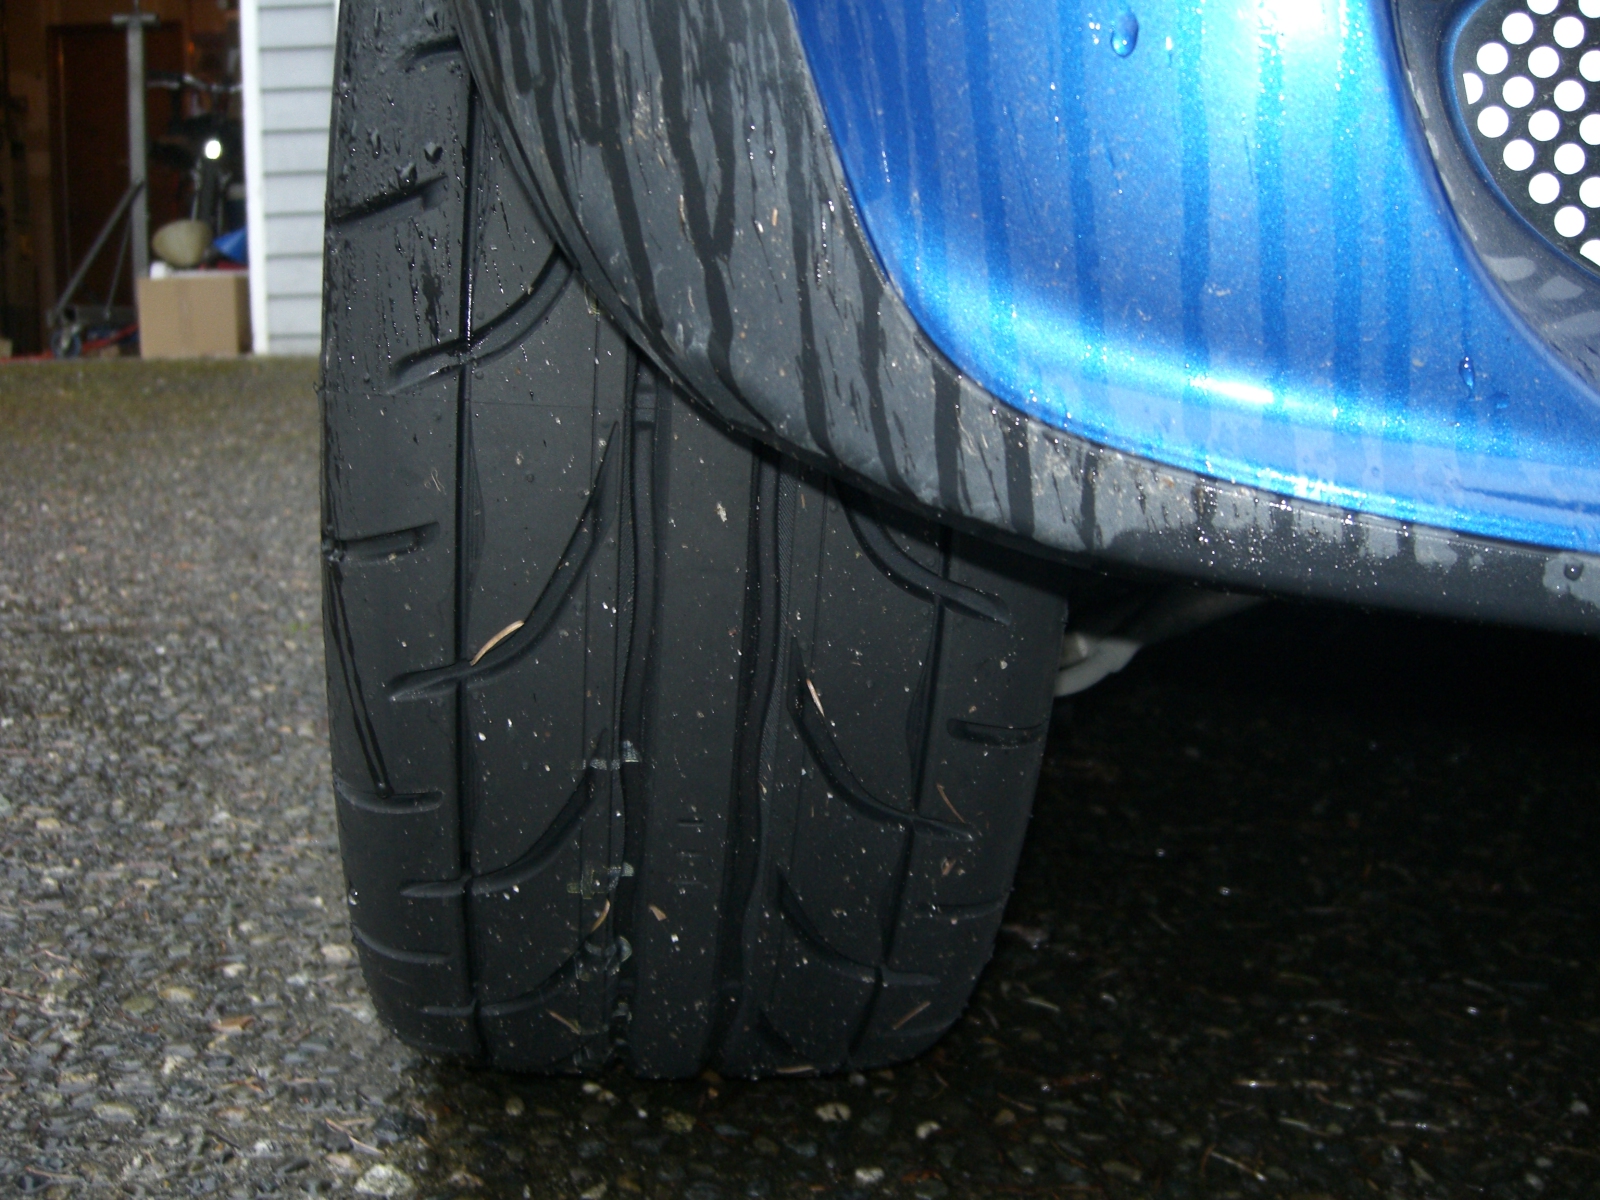
Dunlop Direzza Sport Z1 Star Spec 215/40-17 tires
| I
replaced the Falken Azenis RT-615 I had been running for
the last couple of years with a new set of Dunlops. FTL
Performance did a fine job mounting the tires
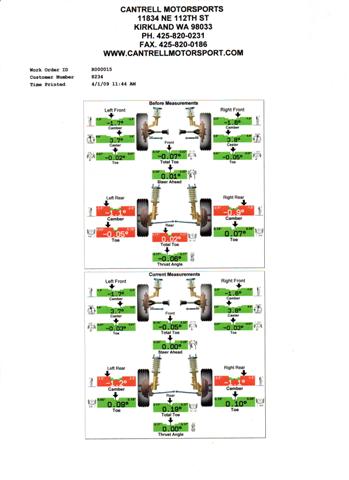
at a very reasonable price. Because of the recent
suspension work and new tires, I had Cantrell
Motorsports check and correct the alignment. |
 |
 |
 |
|
December 2008:
Installed Mini
Madness Rear Strut Urethane Bushings
April 2008:
Installed a NAPA
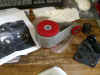
25-060535 Drive Belt
| According
to some sources at AMVIV5, the stock belt on a 15% pulley
results in slippage and lost horse power. Their
solution was to install the NAPA 060535 belt which is slightly
smaller. Mini Madness recommended using a JCW
belt. I wonder if this belt translates? A big
increase in power was noticed throughout the RPM
range! Obviously the stock belt had been slipping. |
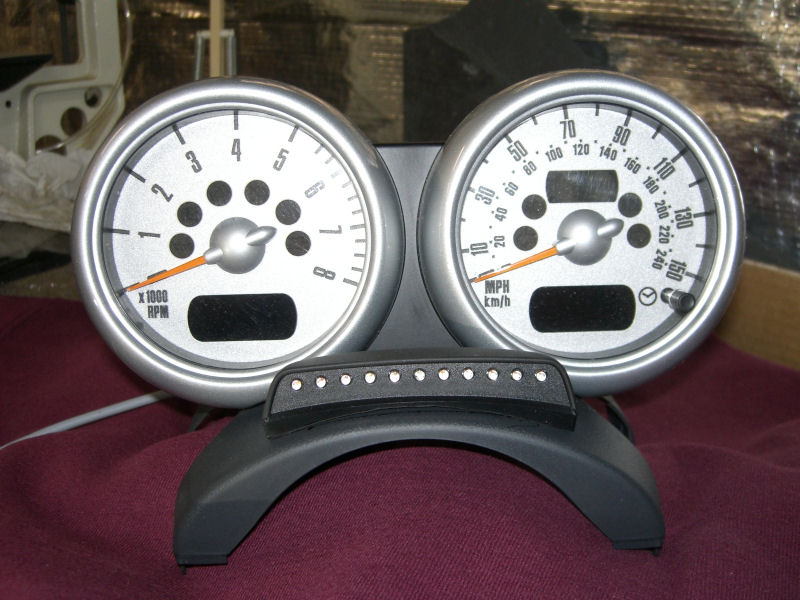
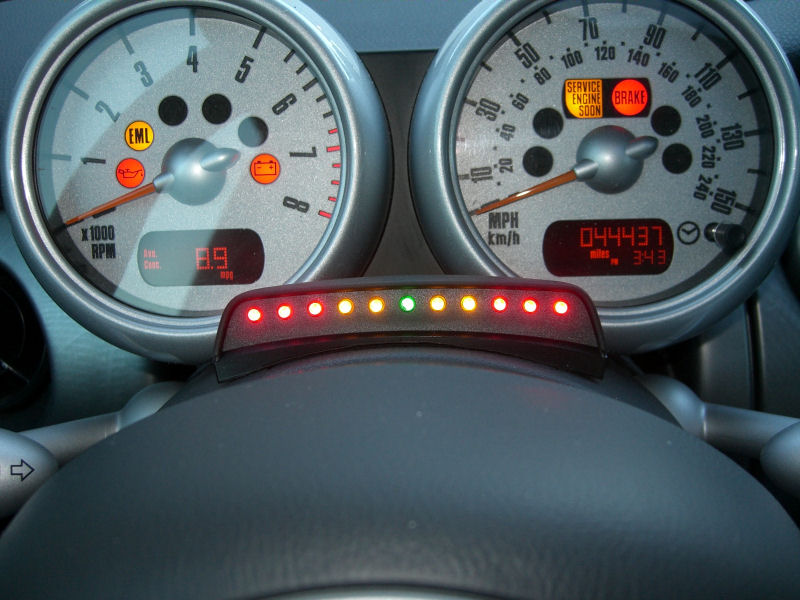
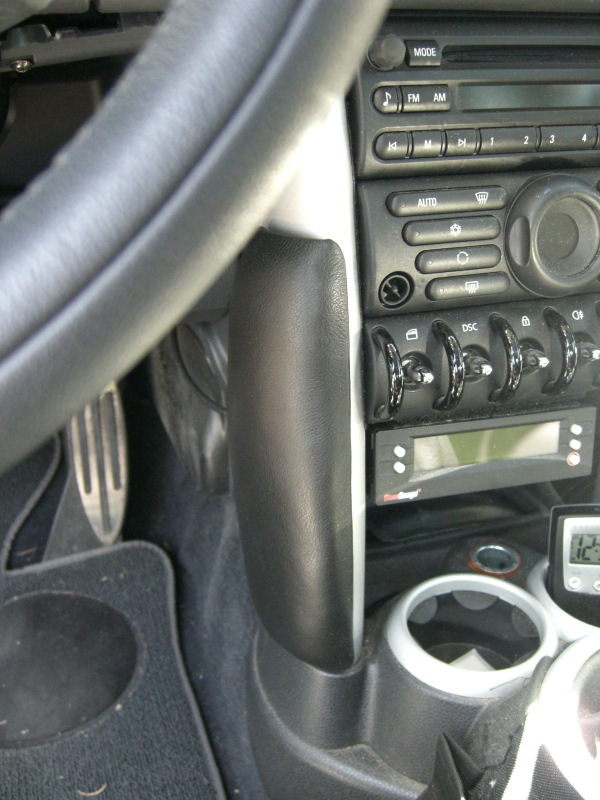
January 2008:
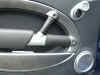
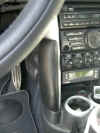
JCW
Gear Shift Indicator
| So
I can keep my eyes on the track and know when I am
approaching red-line, I installed a JCW Gear Shift
Indicator System. This one is designed for an R56
but is adaptable to an R53 (see instructions on ALTA web
site (link above)). Installation was easy, taking
only about one hour at a relaxed pace. |
 |
 |
|
|
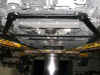
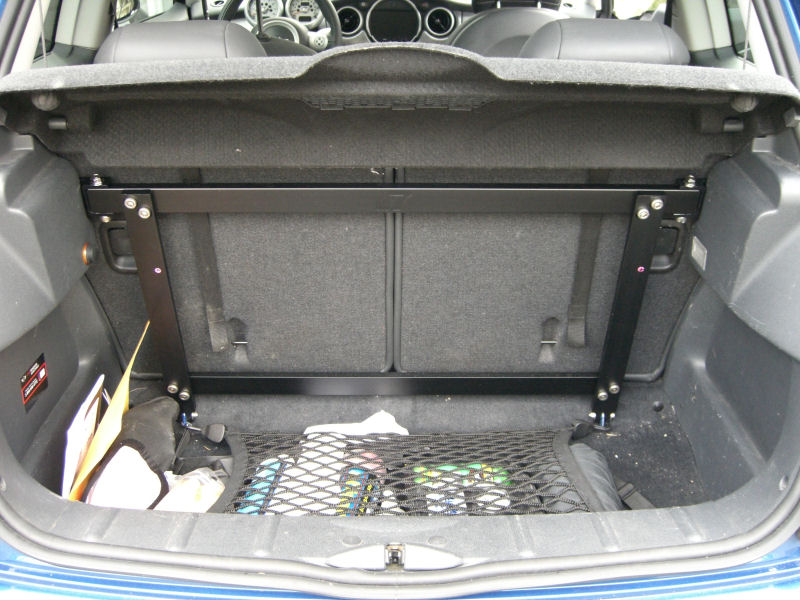
September 2007:
M7
Rear Chassis Brace
| A
more rigid chassis is a plus for handling. The M7
Rear Chassis Brace adds rigidity without adversely
affecting cargo space access. It is easy enough to
remove, when necessary, to haul larger items. As of
this posting, I haven't had an opportunity to wring out
the brace to evaluate it's performance. |
 |
|
|
|
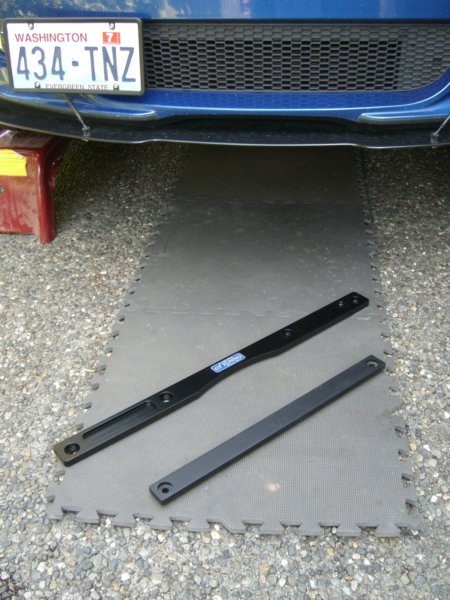
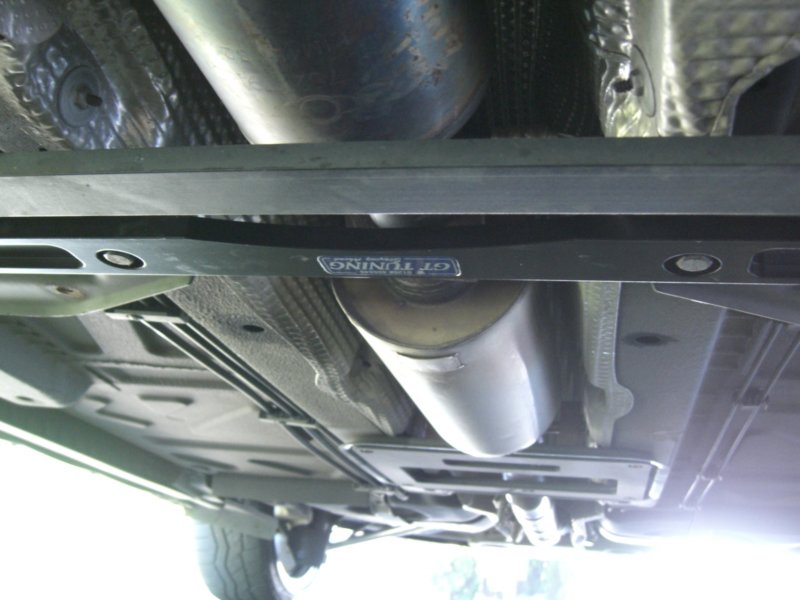
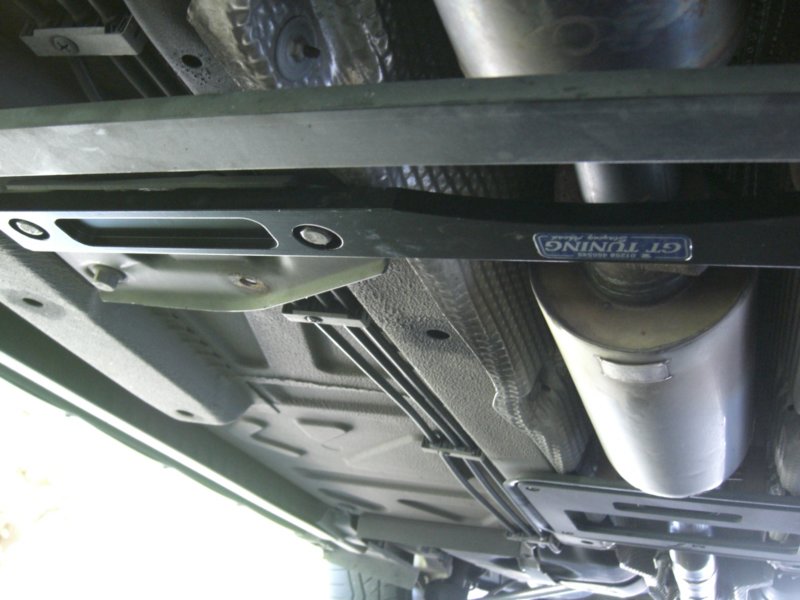
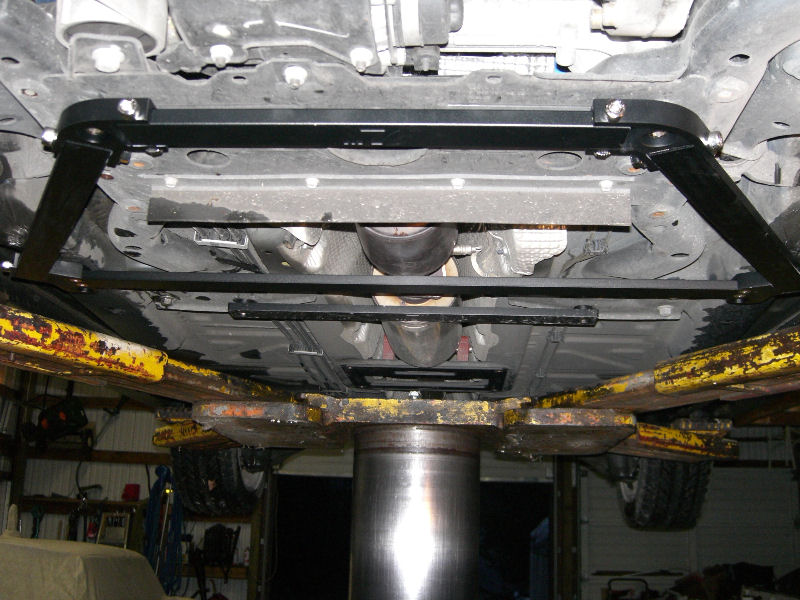
GT
Tuning Mid Chassis Brace
| I
had previously installed the M7 Under Strut System and it
is a mod I highly recommend. I had a small problem
with mine however, that was due to the fact I also have a
Miltek Exhaust. The resonator of the exhaust system
rattled under hard acceleration against the middle brace
of the M7 USS. GT
Tuning makes a brace that uses different
mounting holes which moves the middle brace forward and
out of the way of the resonator and still braces the
subframe. |
 |
 |
 |
Compare to
M7 |
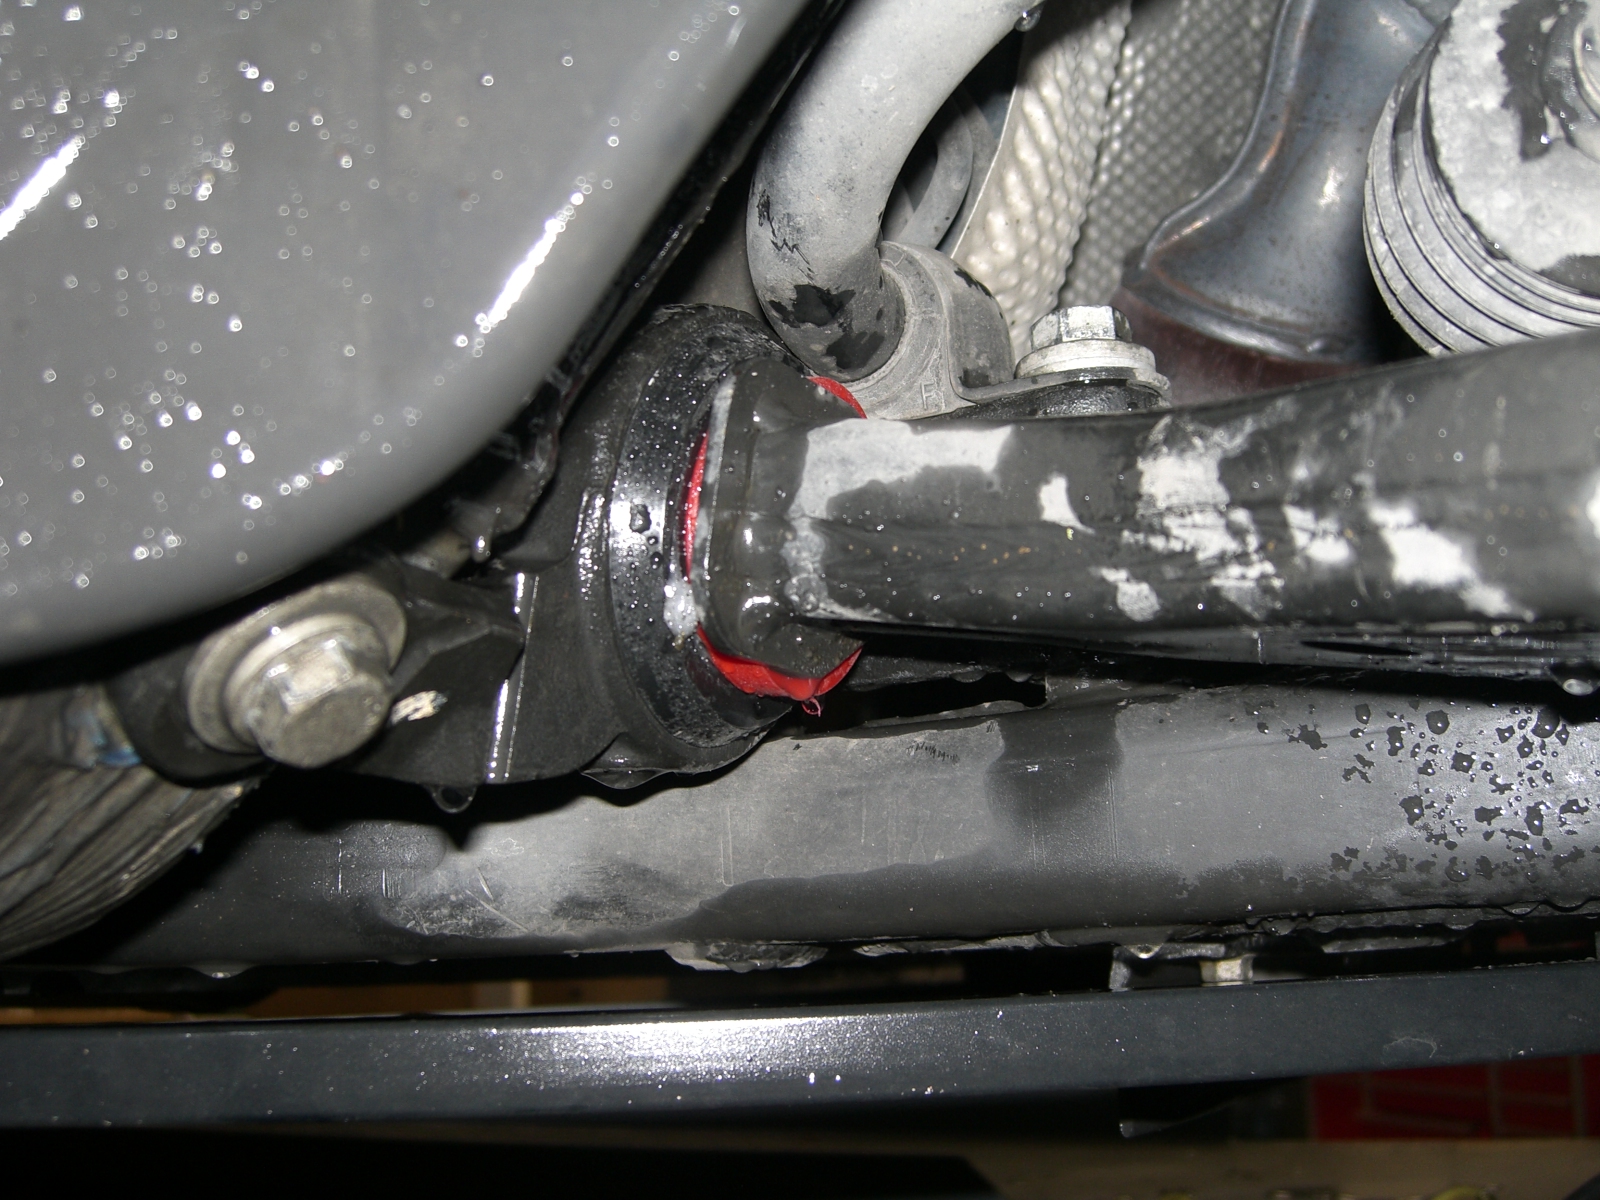
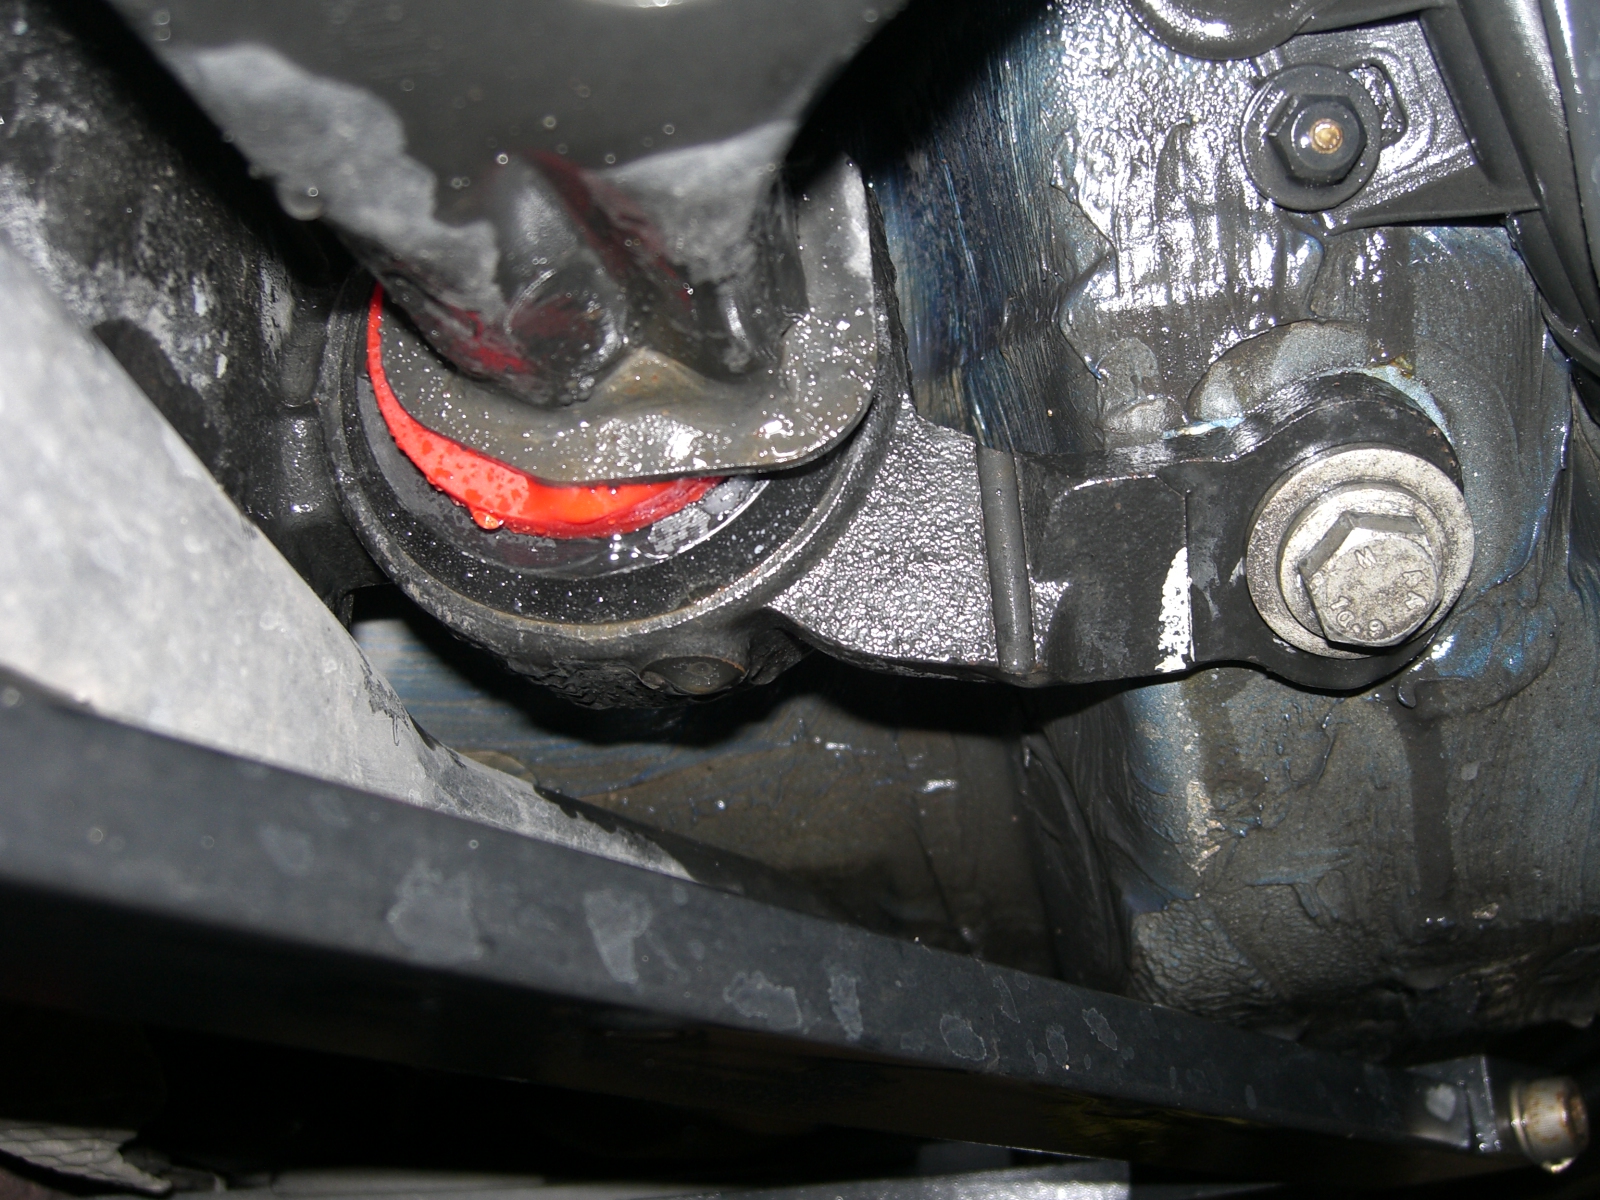
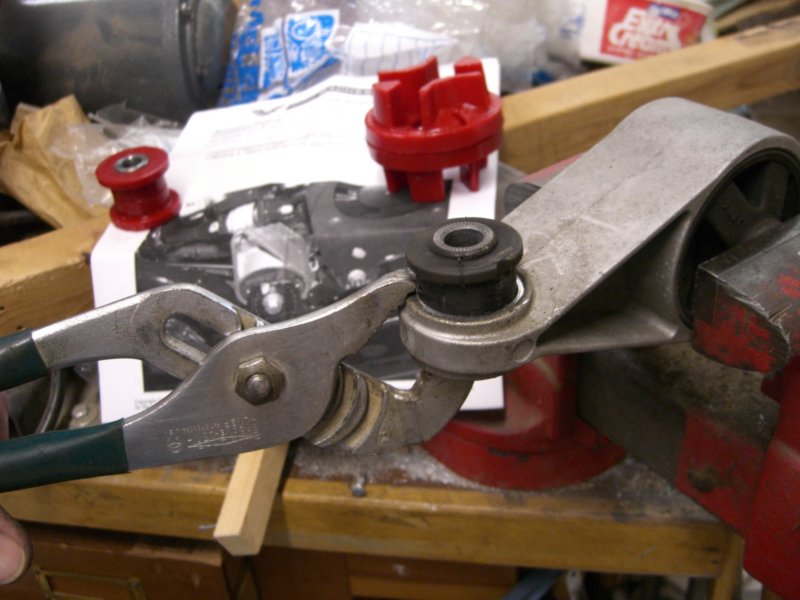
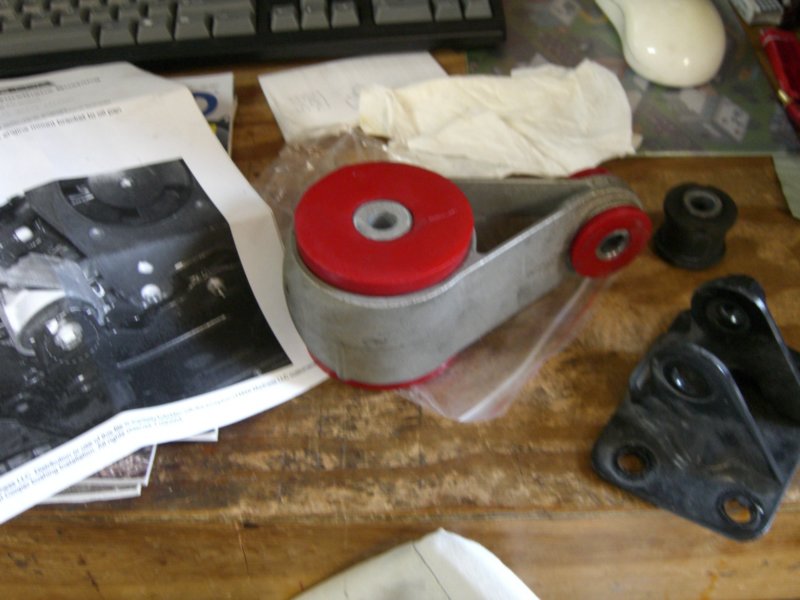
Mini-Madness
Lower Motor Mount Polyurethane Bushing
| I
picked up a set of these from Mini Madness at the All Mini
Car Show in August. These are said to take
additional play from the motor mounts (in addition to the
TSW Engine Damper). After driving a little bit with
them, I must say I like it! At idle there is a
little more feeling at the steering wheel but that goes
away as soon as you start moving. You then have a
much tighter car. Shifting becomes even more smooth
and throttle on/off are instantaneous. |
 |
 |
 |
|
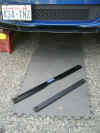
August 2007:
Helix Rear Trailing Arms
| With
a track day coming up next month, it was time to add some competition
style rear trailing arms to the Mini to try to
tighten up the rear a bit. Installation is really
quite simple after a trip to Sears to pick up some
additional tools. Initial impressions: too early to
tell. Just took a trip around the block so couldn't
wring it out. It might be a little tighter but it's
hard to say. No noise noticed |
 |
 |
 |
|
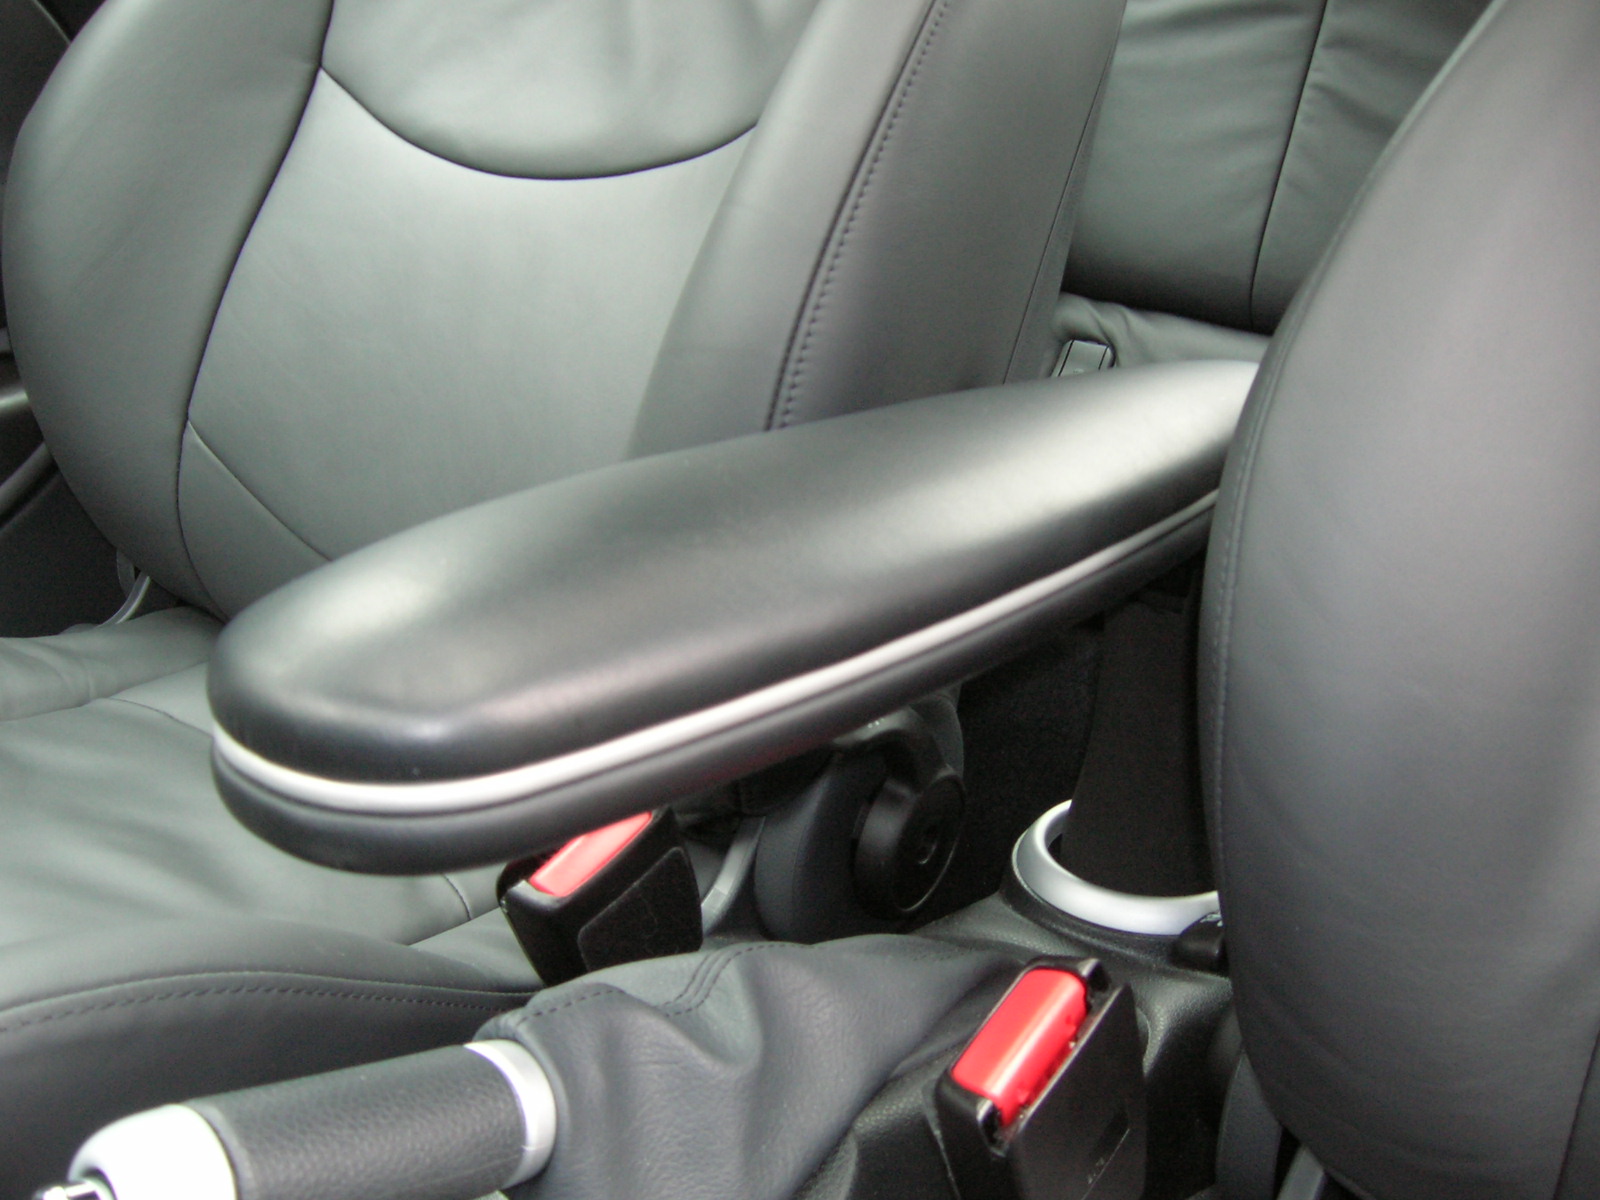
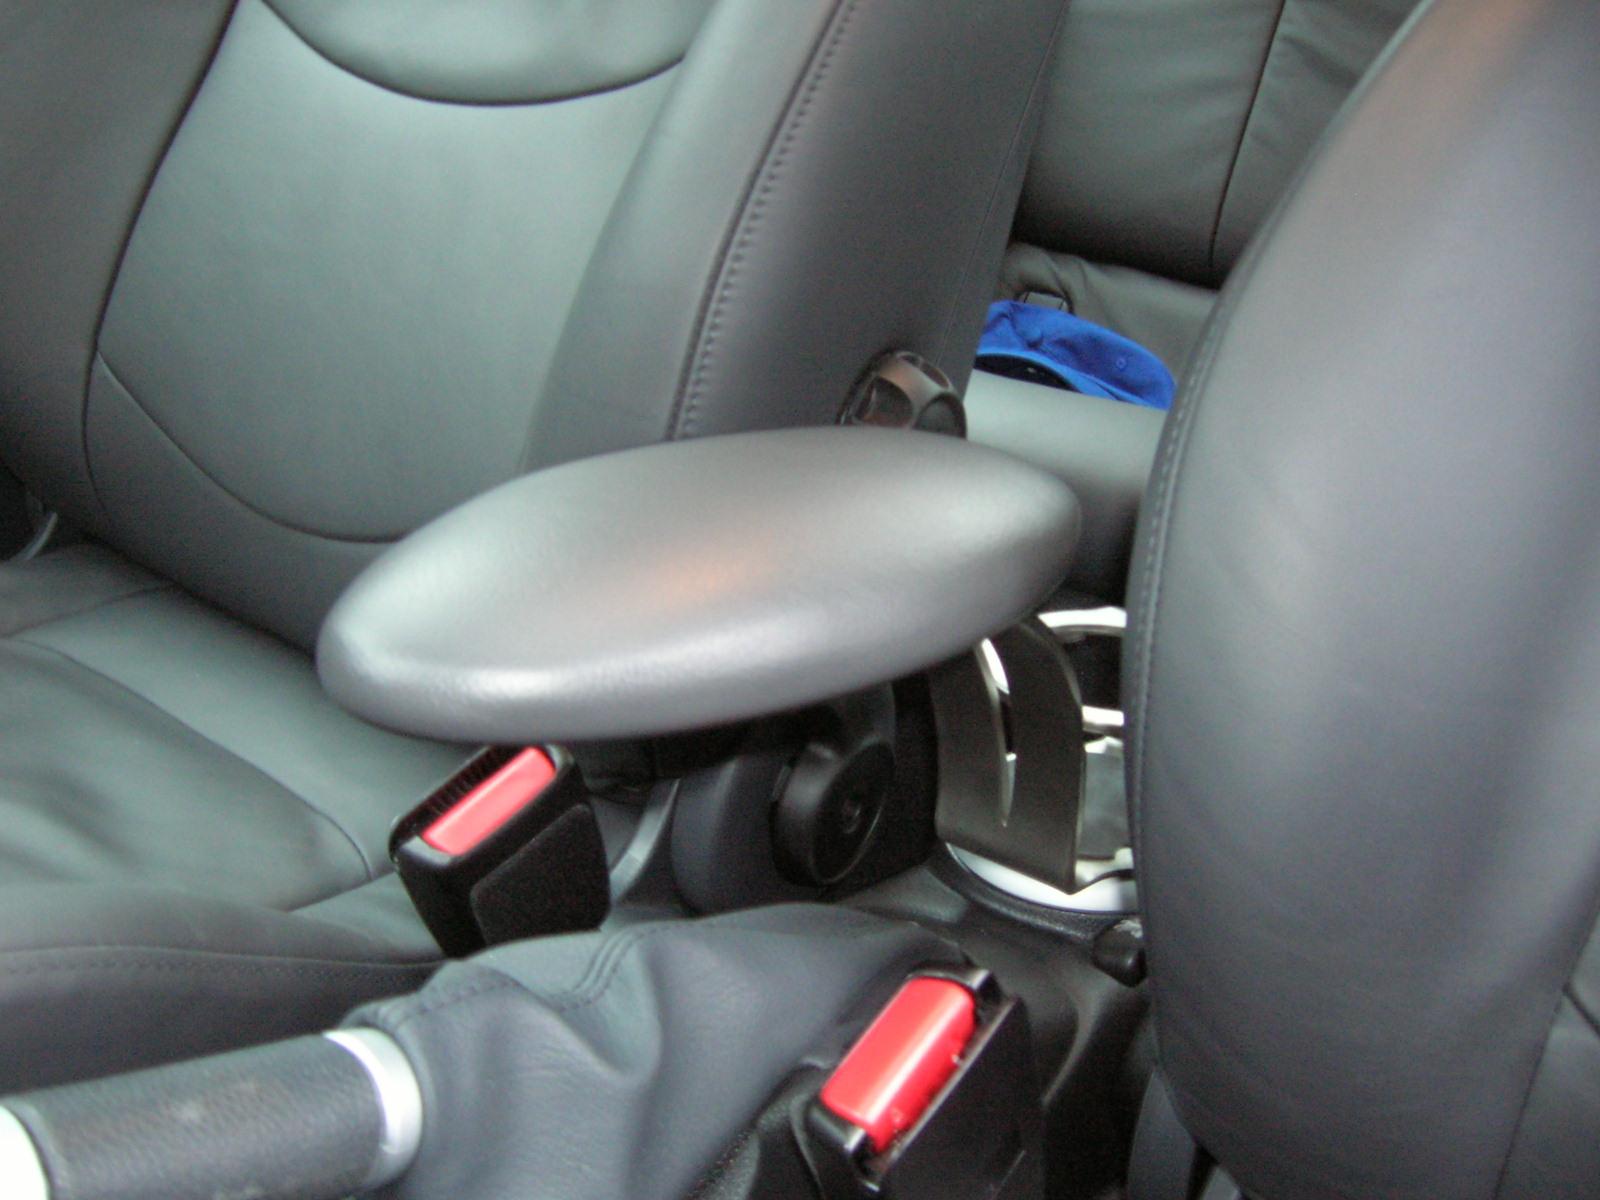
July 2007:
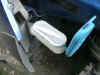
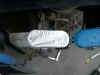
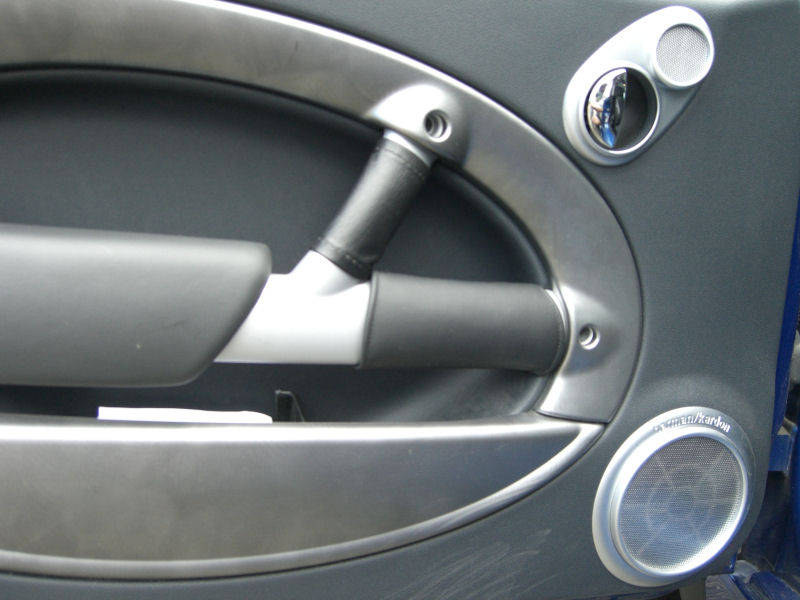
Custom Knee Pad made by MyMini
| When
cruising around the track, regardless of how well you're
strapped in, the lateral g-forces tend to push you from
side to side. To compensate for this, I find that I
use my legs to keep myself a little more planted in the
seat. For some time, I have been using the Driver
Knee Pad manufactured by MyMini a.k.a. MinSpeed.
This saves the bruises on the right leg that I had
experienced at previous track days. I also
experienced some bruising on my left leg so I contacted
MyMini about the possibility of making a couple of pads to
fit the drivers door as well. In almost no time at
all, along comes a custom made pad that fits the forward
portion of the horizontal door bar. I haven't taken
it to the track as yet but all indications are that is
will do the job just fine. |
 |
|
 |
|
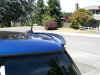
Palo Uber Wing
| The
Palo
Uber Wing is a stick-on addition to the Cooper
S rear wing. It claims to add down force to the rear
of the car. We will have to test that out... |
 |
 |
|
|
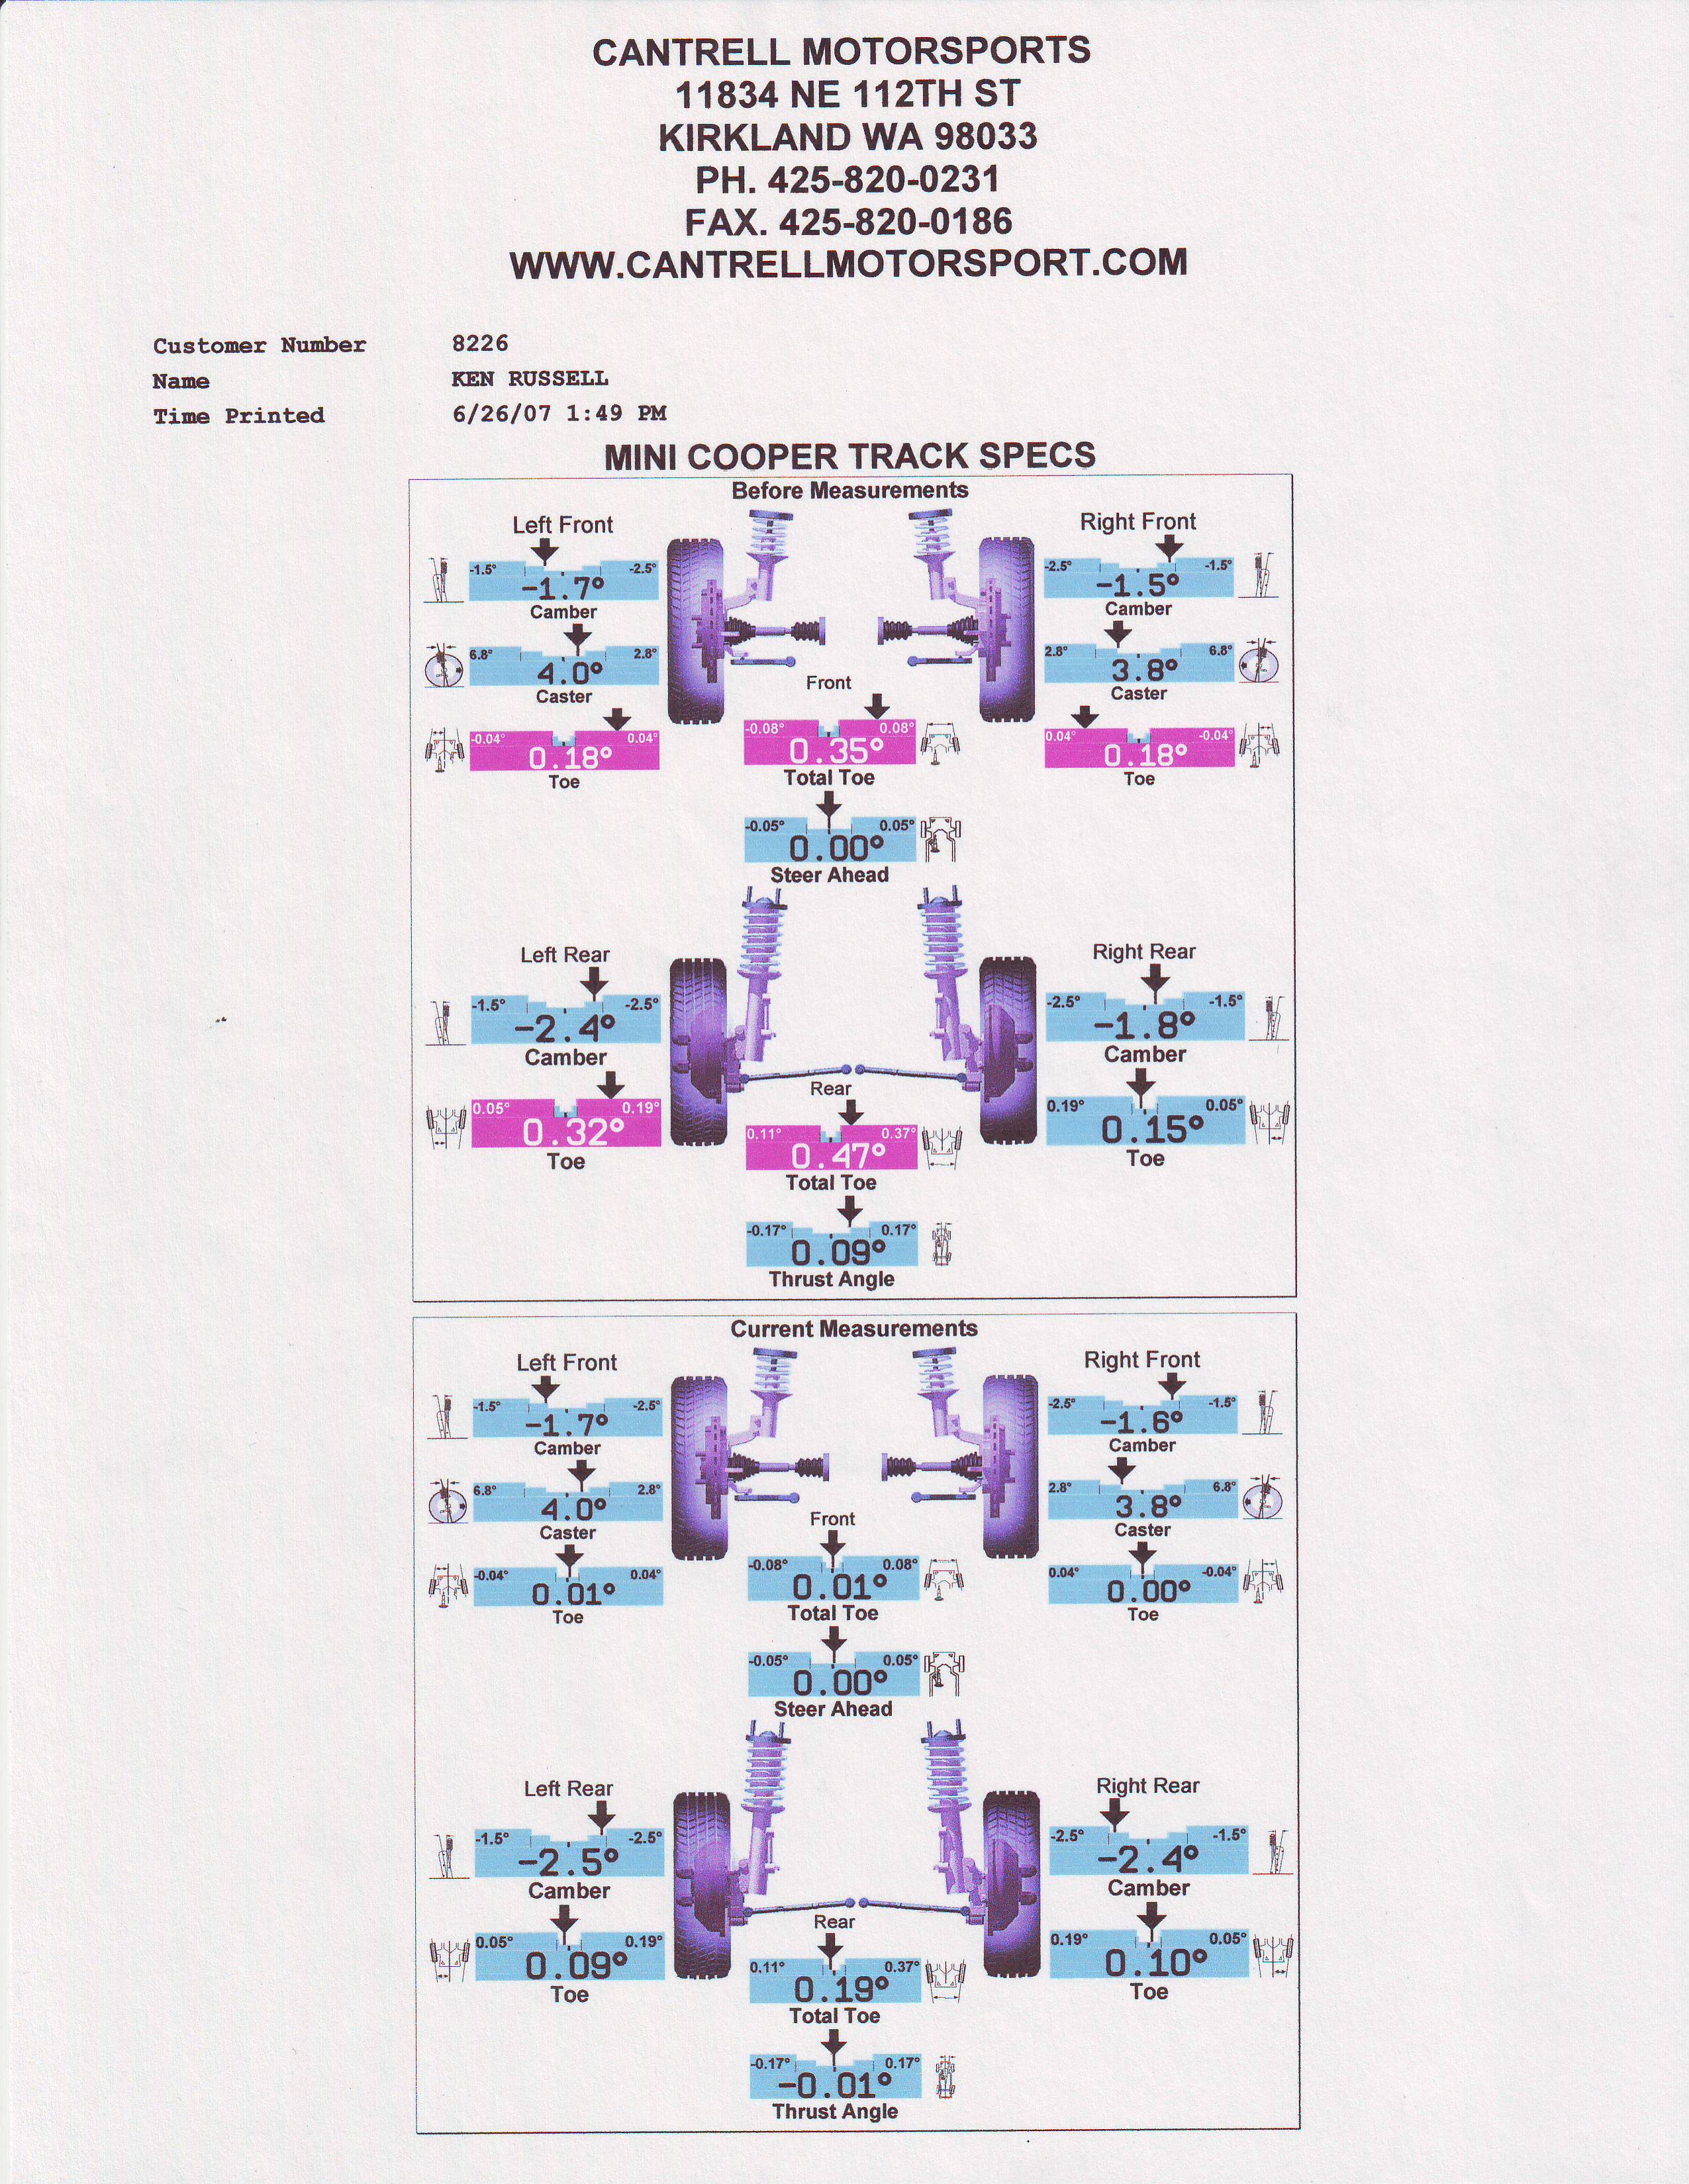
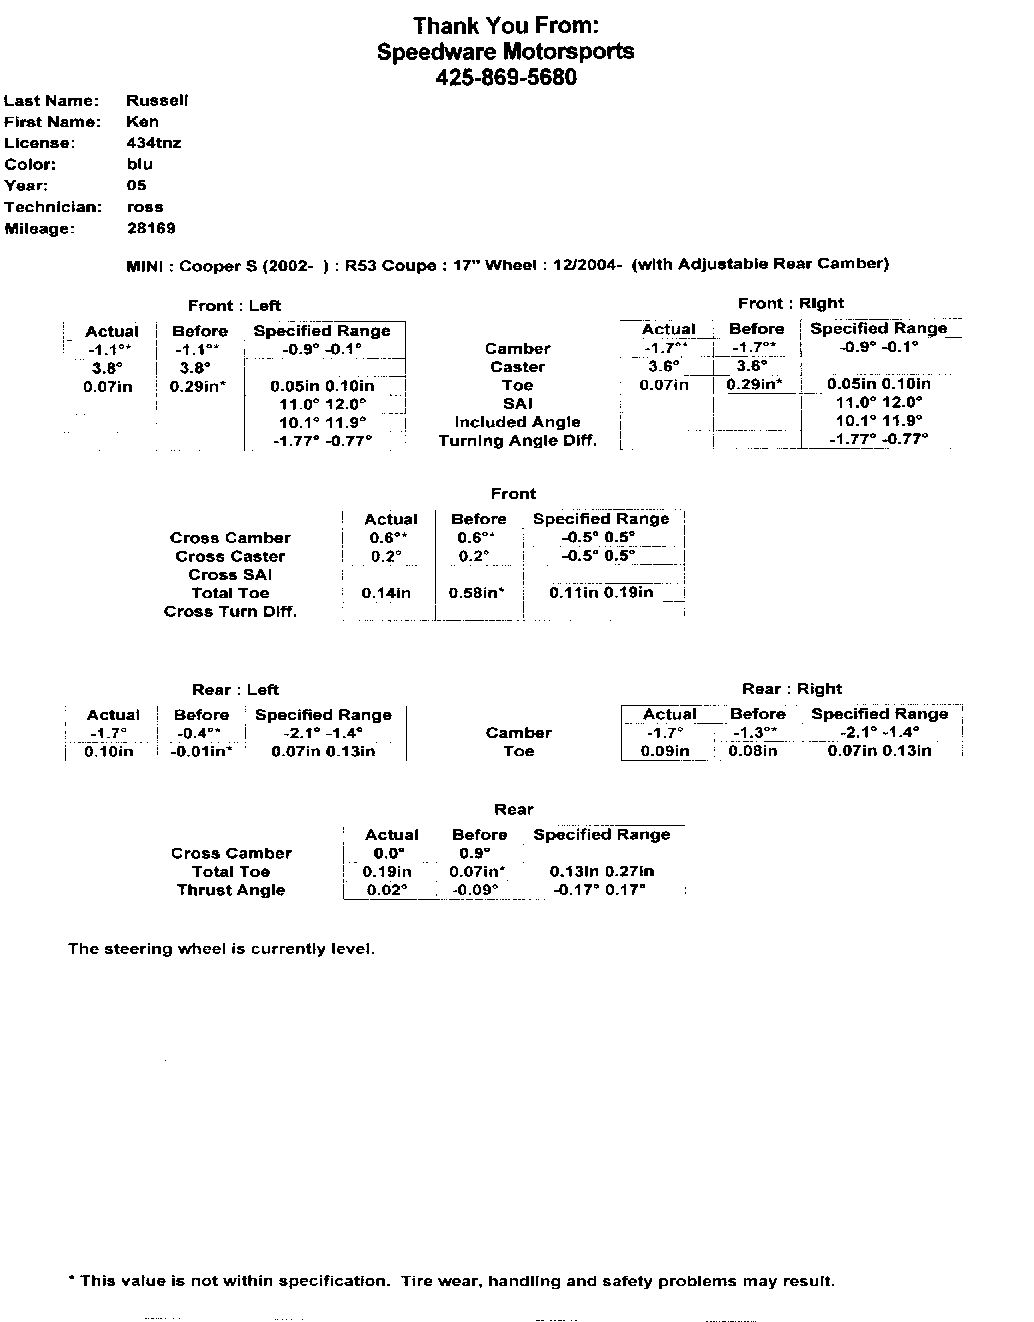
June 2007:
Four
wheel alignment done by Cantrell
Motorsports
| Since
the car was realigned after the installation of the camber
plates, it has never tracked quite as good as it did off
of the showroom floor. Based upon the
recommendations from a number of respected motorers, I
took the Mini to Cantrell
Motorsports in Kirkland. In less than an
hour I had the new numbers show below. I have yet to
put any real miles on it but Collin seems to know what
he's talking about and doing so I'm anxious to wring it
out.
|
|
|
Exchange Web
Electric Products Blinking 3rd Brake
Light with GoMiniGo Pulsar
| The
Web Electric Blinking 3rd Brake Light is a fine unit but I
decided I like the GoMiniGo
unit better. The Web unit will blink when the brakes
are applied but it will not blink again until 15 seconds
of no brake lights. I thought the GoMiniGo unit
might be safer in stop and go traffic with distracted
drivers as it blinks every time.
|
|
|
MTH
Tuner, Engine Control Unit Tuning Software
| I
have been dealing with Don Hollingshead of DMH
MotorSports for the ECU upgrade software.
I also bought their OBDII - USB cable and CarTune software
(poorly written, but functional) to communicate with the
Mini. Installation was easy. First the
existing ECU software is copied from the car to a laptop
and then emailed to DMH (MTH). A couple of days
later, the software arrived that has been integrated into
your existing ECU software. Installation is a simple
upload.
First
impression: Better throttle response, more low end
power/torque. Redline is bumped to around 7k but I
haven't as yet had a chance to play around up there.
Gas mileage seems a little better.
|
|
|
May 2007:
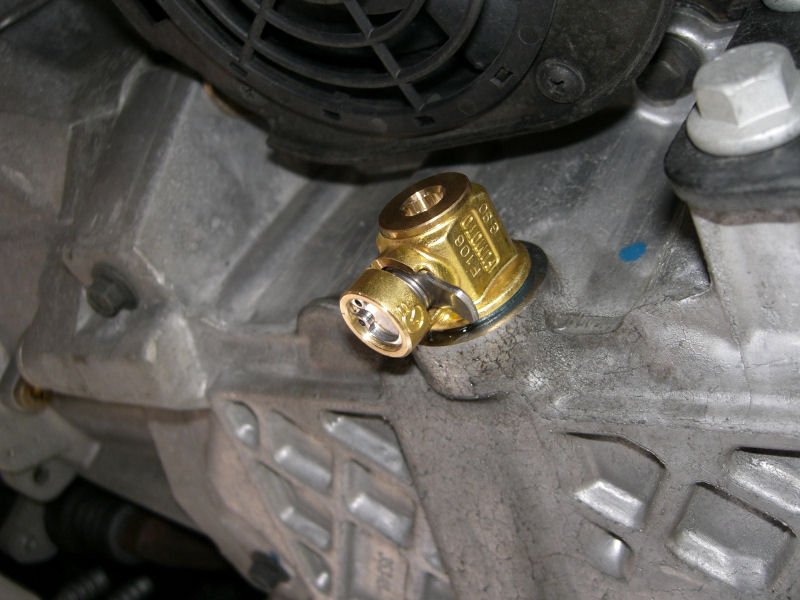
Fumoto
Engine Oil Drain Valve
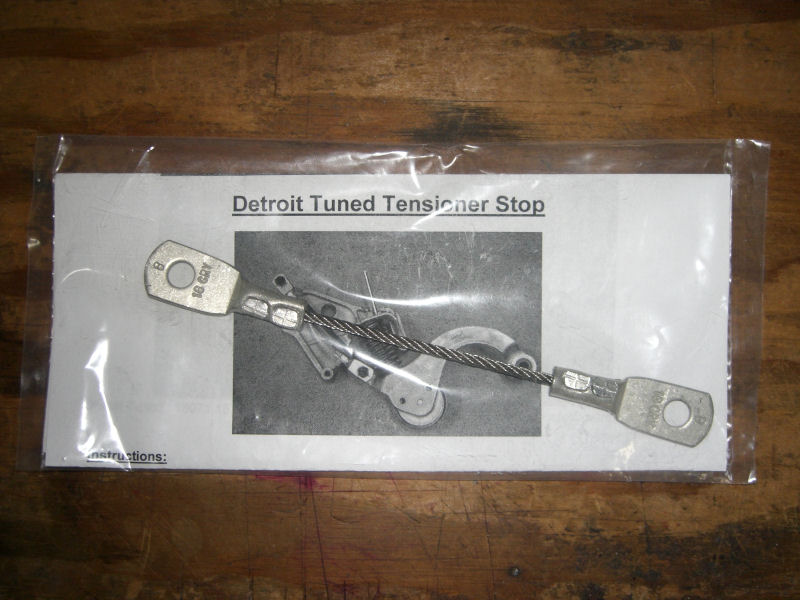
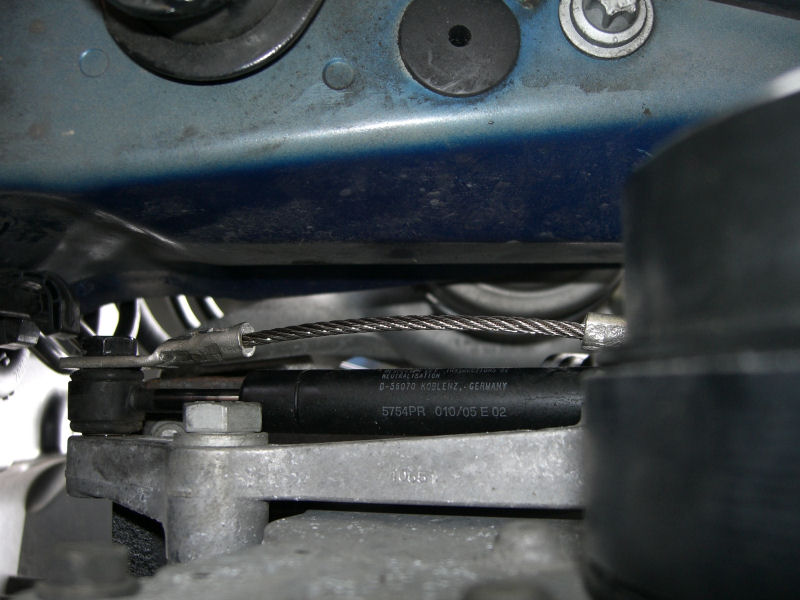
Detroit Tuned Tensioner Stop
| When
we were at AMVIV, I paid a visit (or 2 or 3) to Detroit
Tuned. I picked one of their Tensioner
Stops. This is designed to limit the travel of the
belt tensioner so, if the belt failed, would not allow the
tensioner to grind the crank pulley. |
|
|
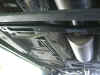
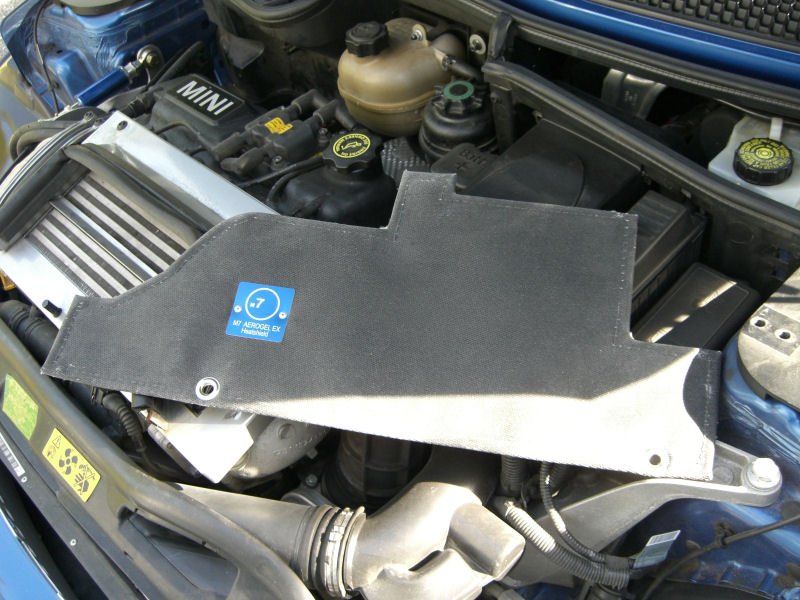
M7 Aerogel Exhaust Heatshield
| The
M7 Aerogel heat shield sits over the existing tin heat
shield that covers the headers. This is supposed to
be much more efficient at keeping the engine bay cool. |
|
|
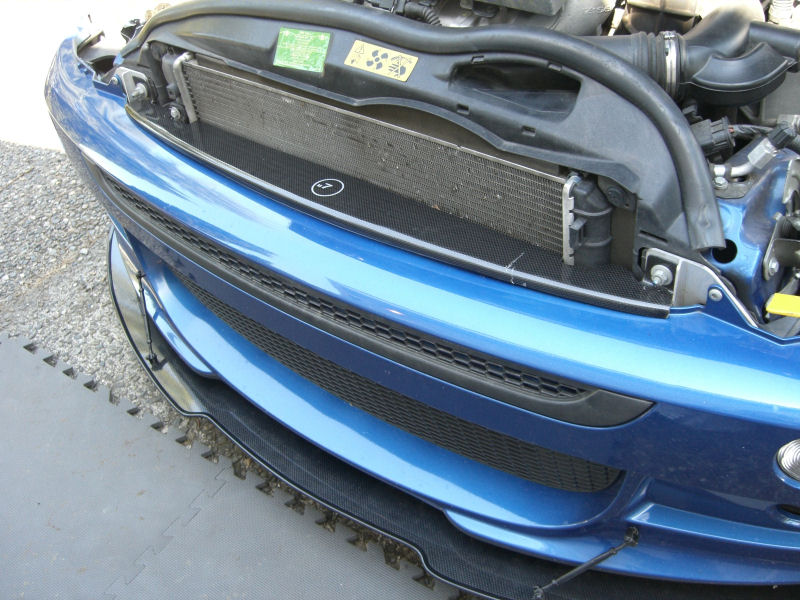
M7 Air Plate Diverter
| The
M7 Air Plate Diverter directs cooling air through more of
the radiator, increasing the efficiency of the radiator. |
|
|
April 2007:
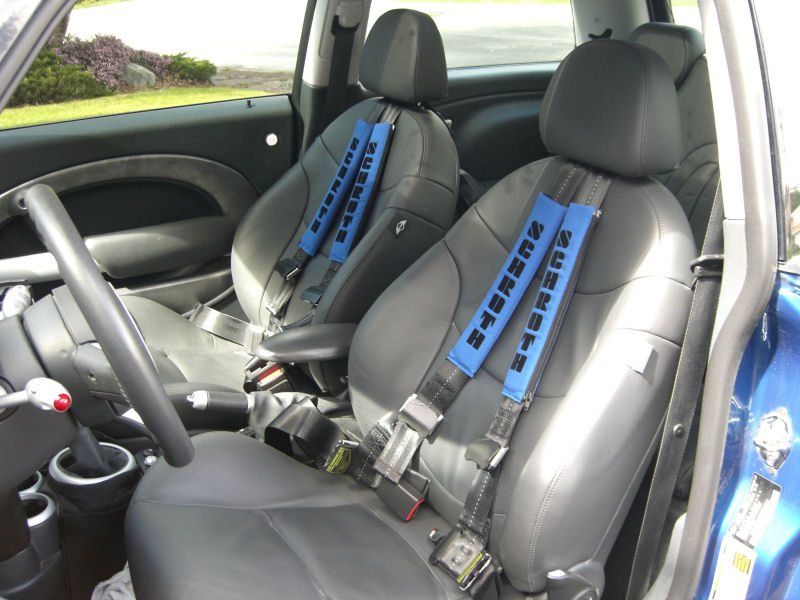
Schroth
Rallye 4 Harness System
| Now
that all of the g-force mods are in place, I needed a way
to be able to plant myself (and an instructor) into the
seats so we can use and enjoy all of the Mini's go, stop
and lateral potential. I installed the Schroth
Quick Fit Rallye 4 Harness System to meet those
requirements. |
|
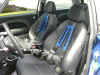
The finished product
|
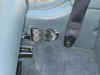
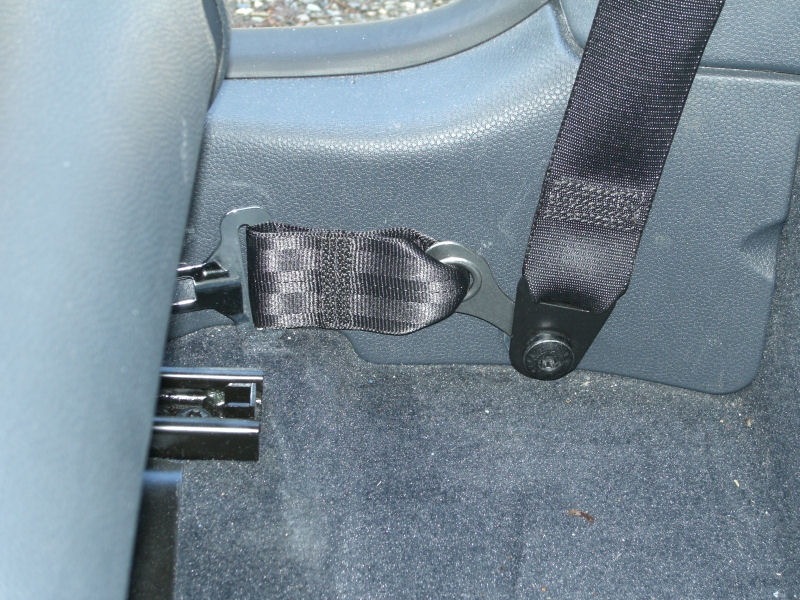
Adapter
belts are
|
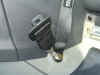
installed
front and rear
|
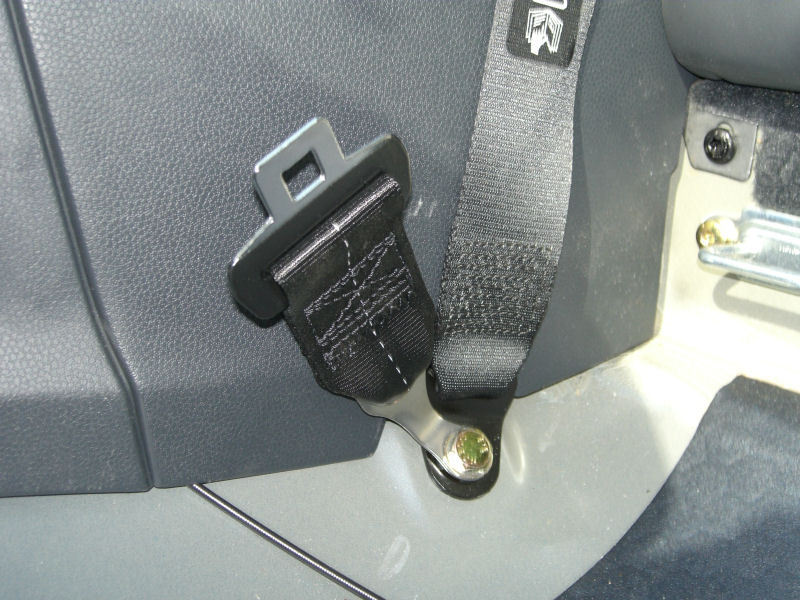
The
harness then snaps in.
|
|
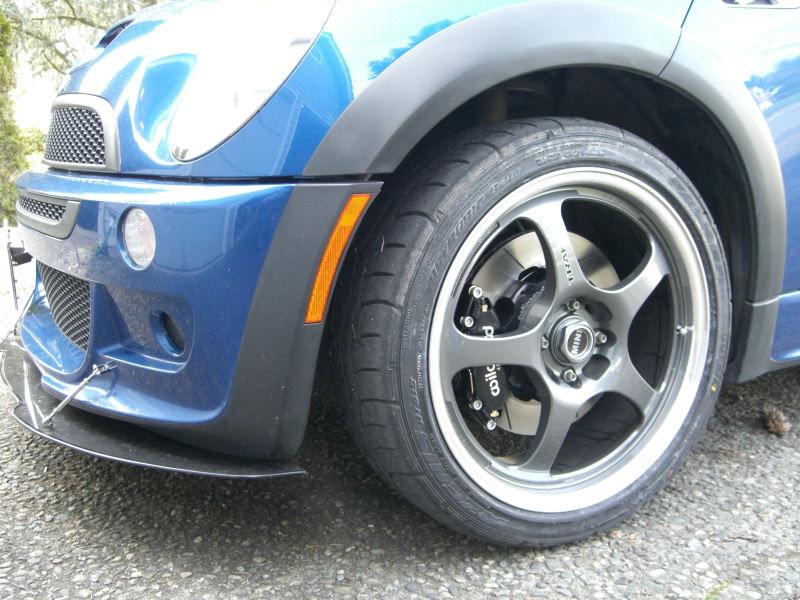
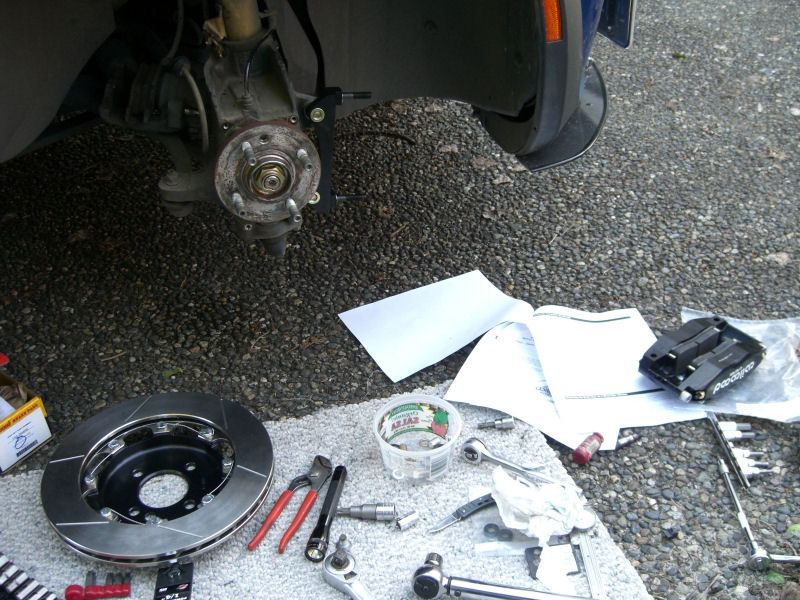
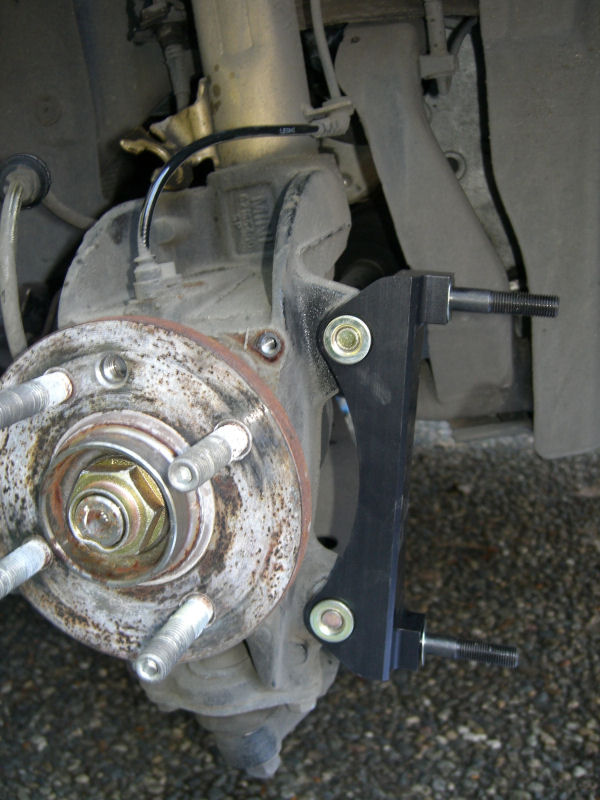
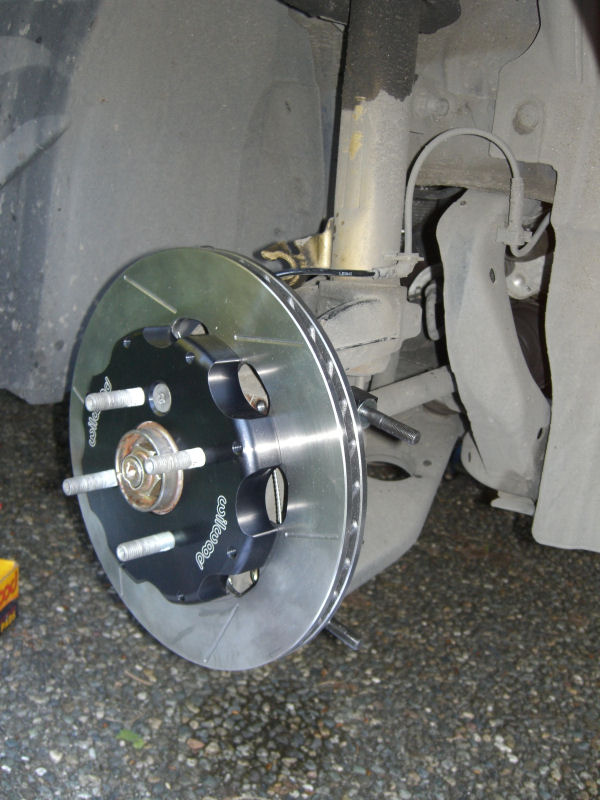
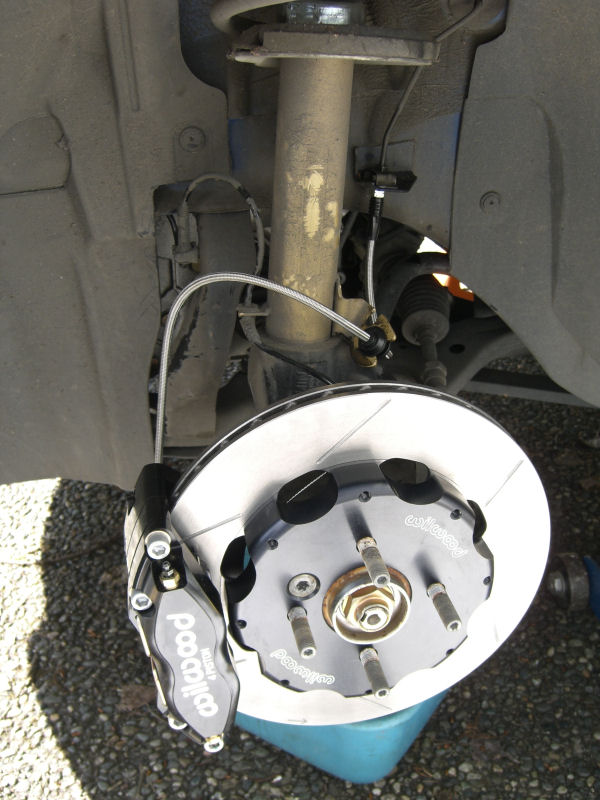
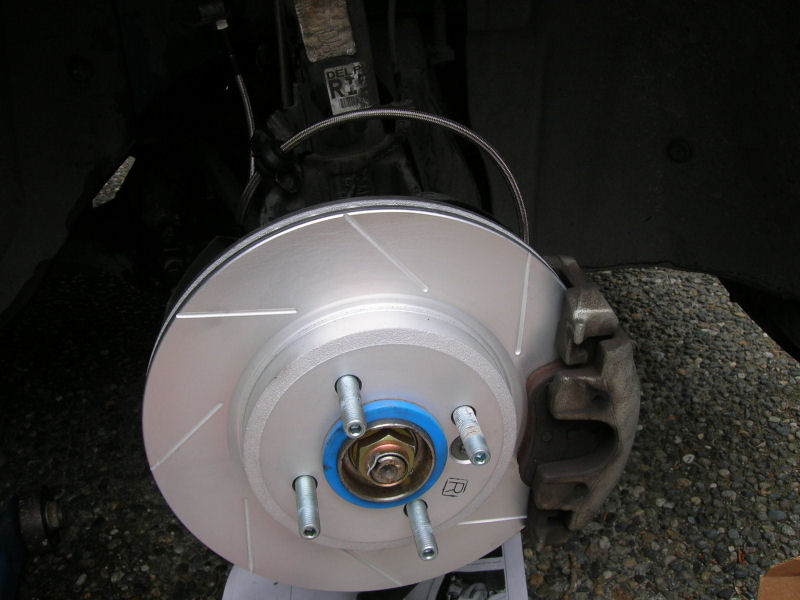
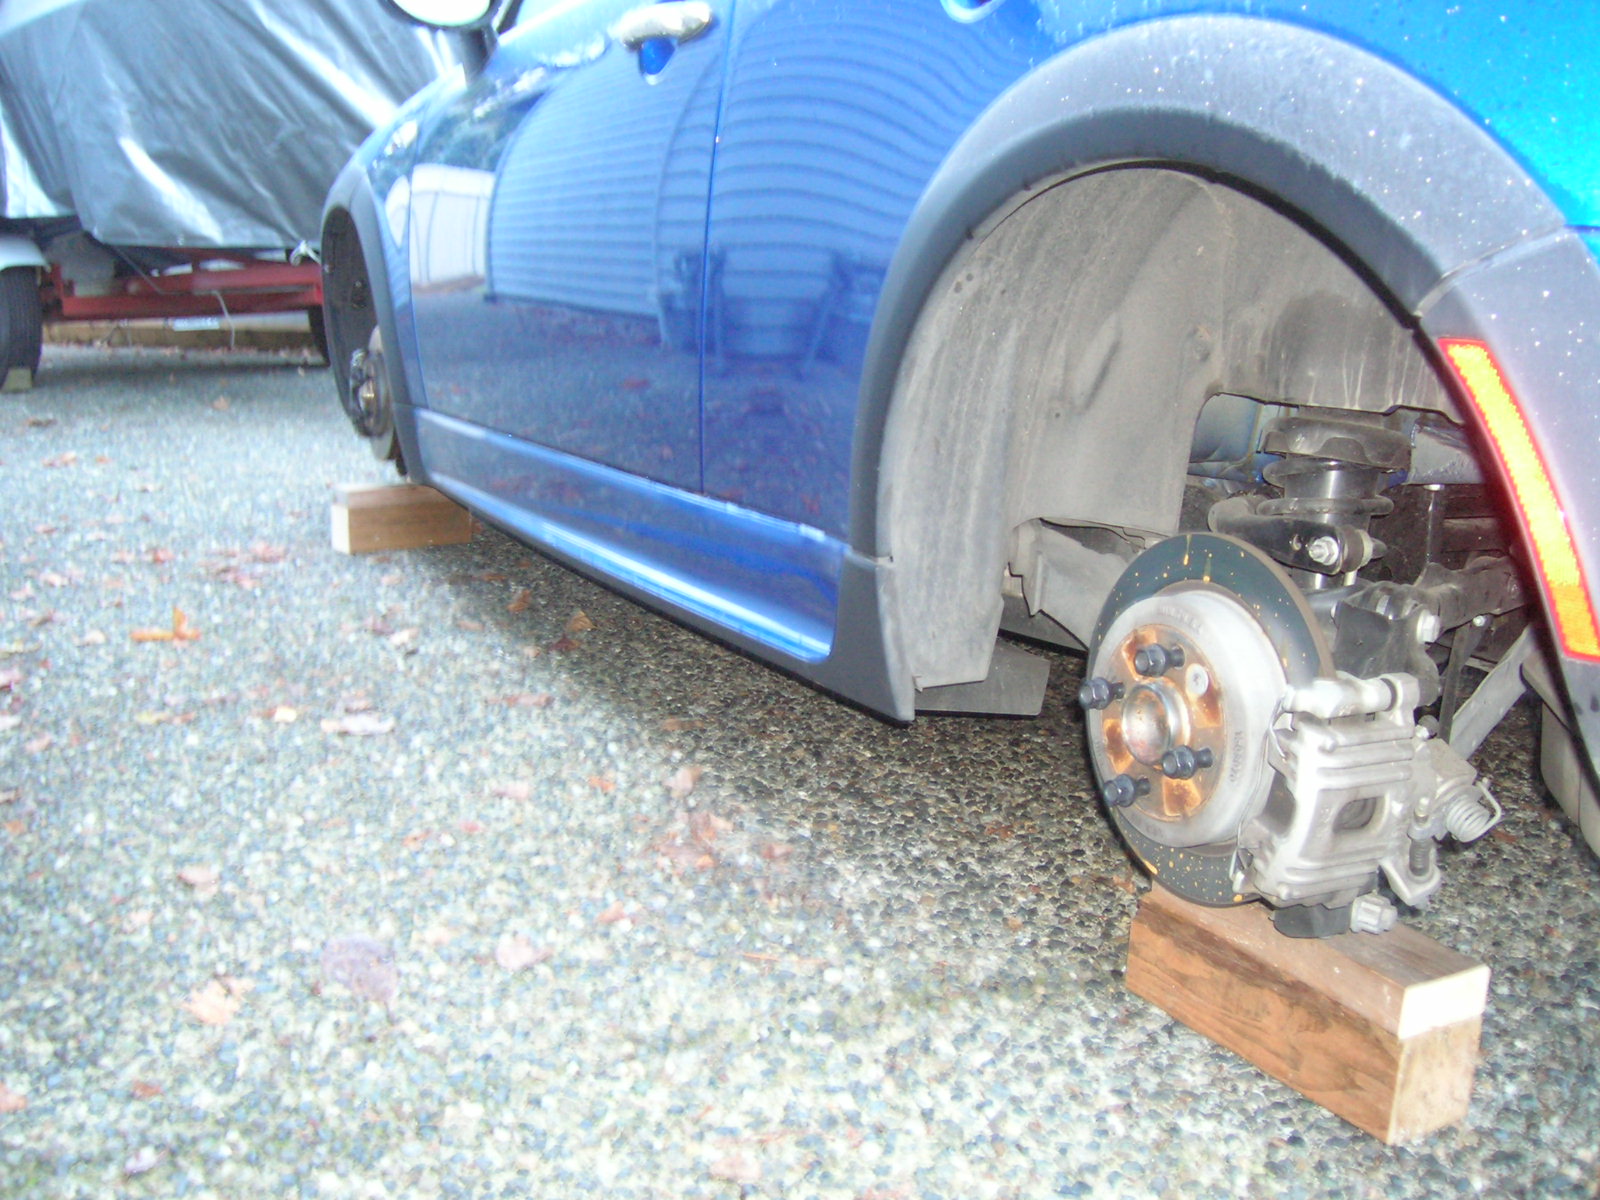
Wilwood
11.75" Racing Big Brake Kit
| The
biggest problem I had at track days was the brakes fading
to the point that is was severely limiting my lap
times. These big boys ought to solve that
problem! I purchased these from TCE
Performance Products along with a set of BP-10
pads for street and BP-20 pads for track days. While
I had the car on jack stands installing these, I also
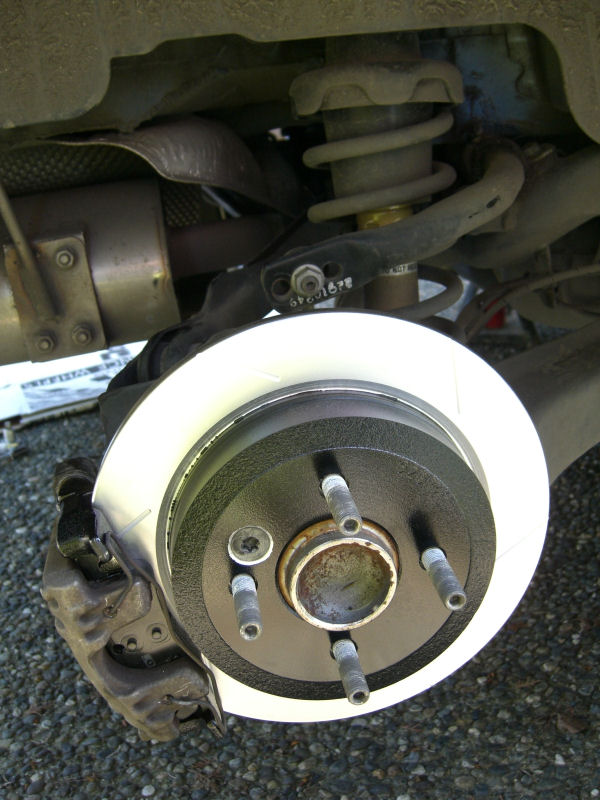
installed a pair of PowerSlot
Rotors and Ferodo DS2500 pads on the
rear. These should be a good compliment to the front
Wilwoods.
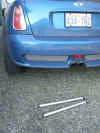
Update,
August 2010. Upgraded to 12.19" rotors.
Although only a small increase in diameter, thus leverage,
an increase in braking with equivalent pedal pressure is
noted. The last track day at PR, I used BP-30
pads. Love 'em! I could go in way deeper than I
have ever felt comfortable. Additionally they are
pretty easy on rotors, not noisy and because the brakes were
engaged for shorter periods of time, much less heat.
|
|
|
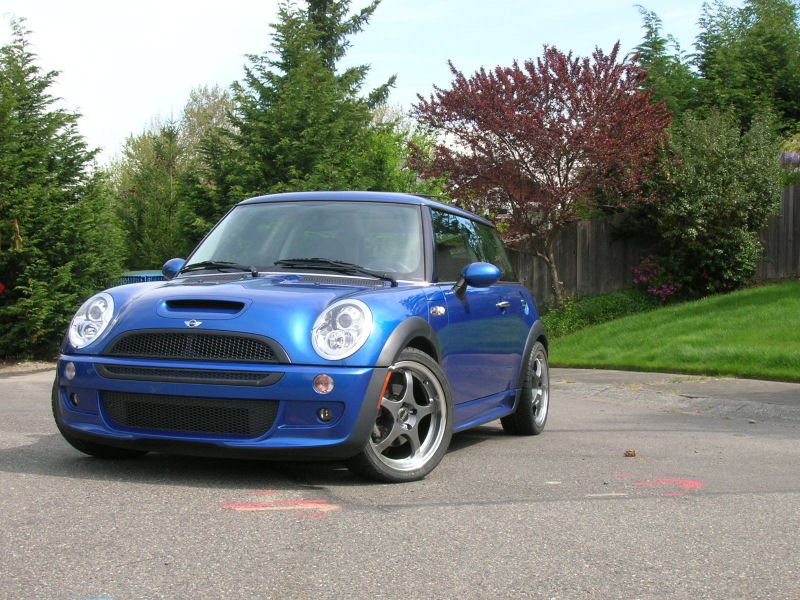
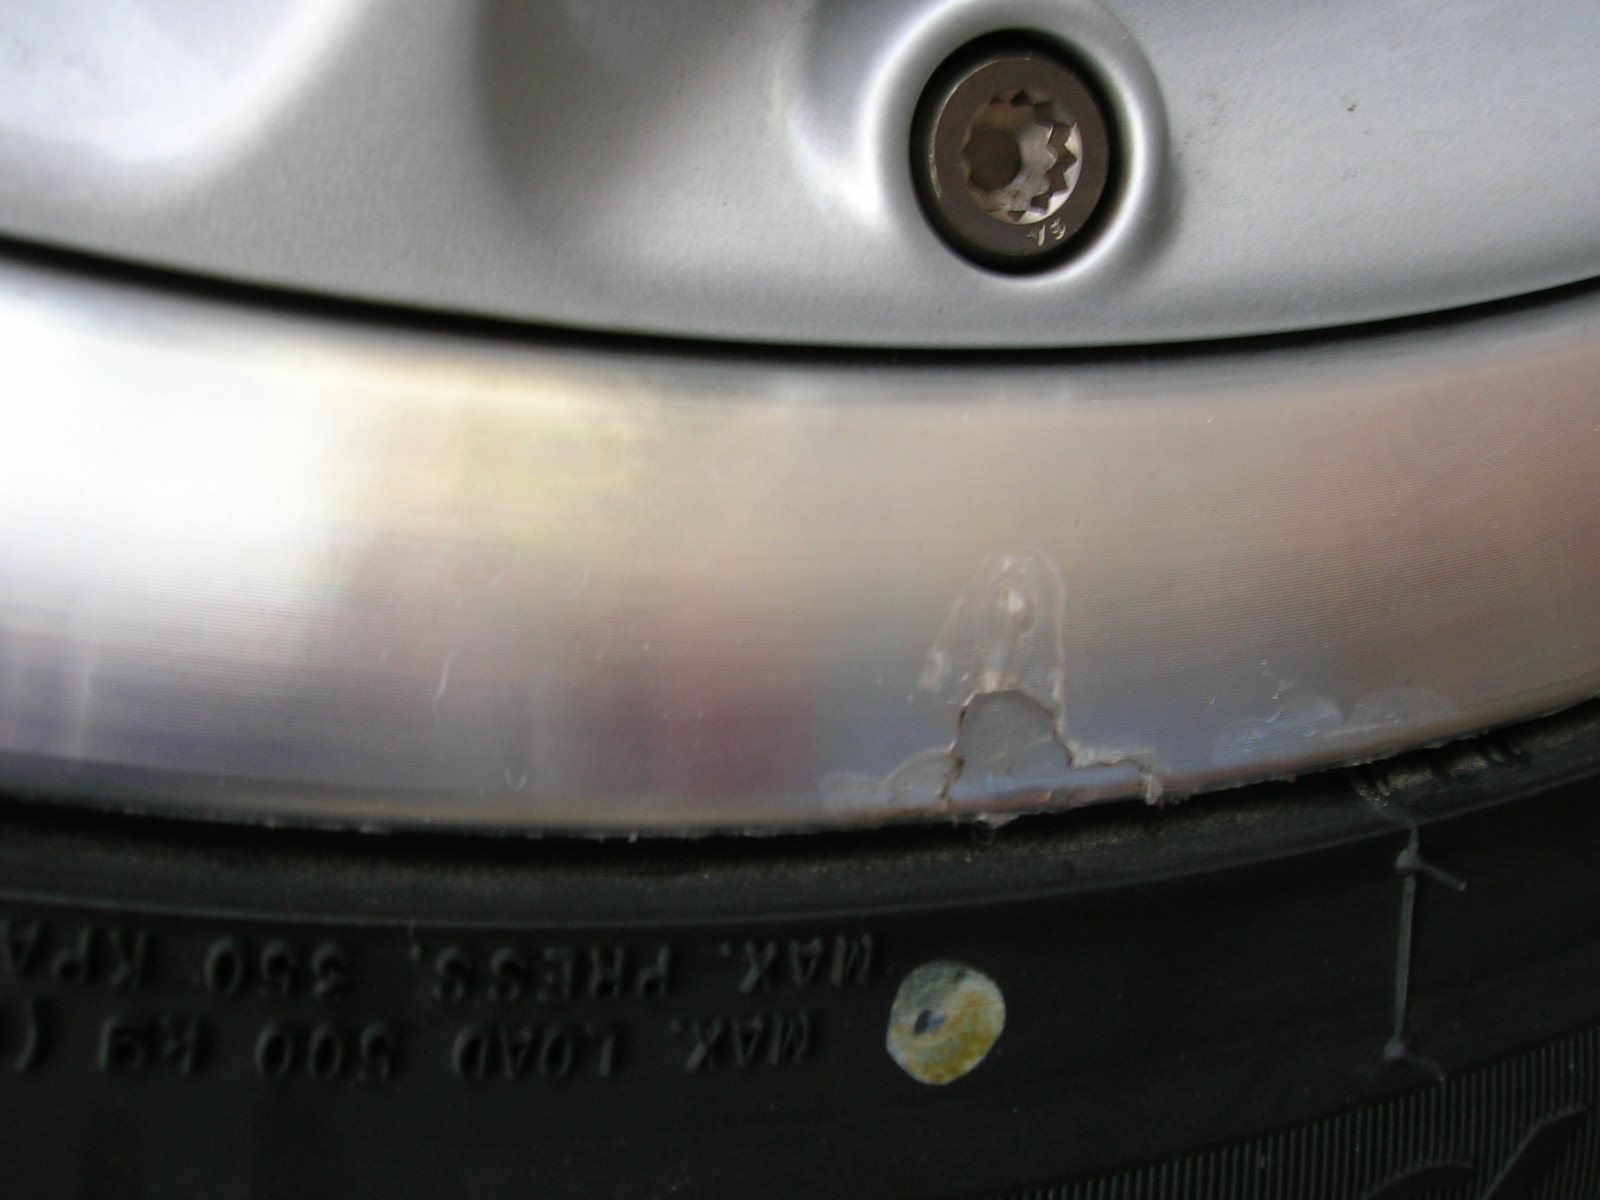
March 2007:
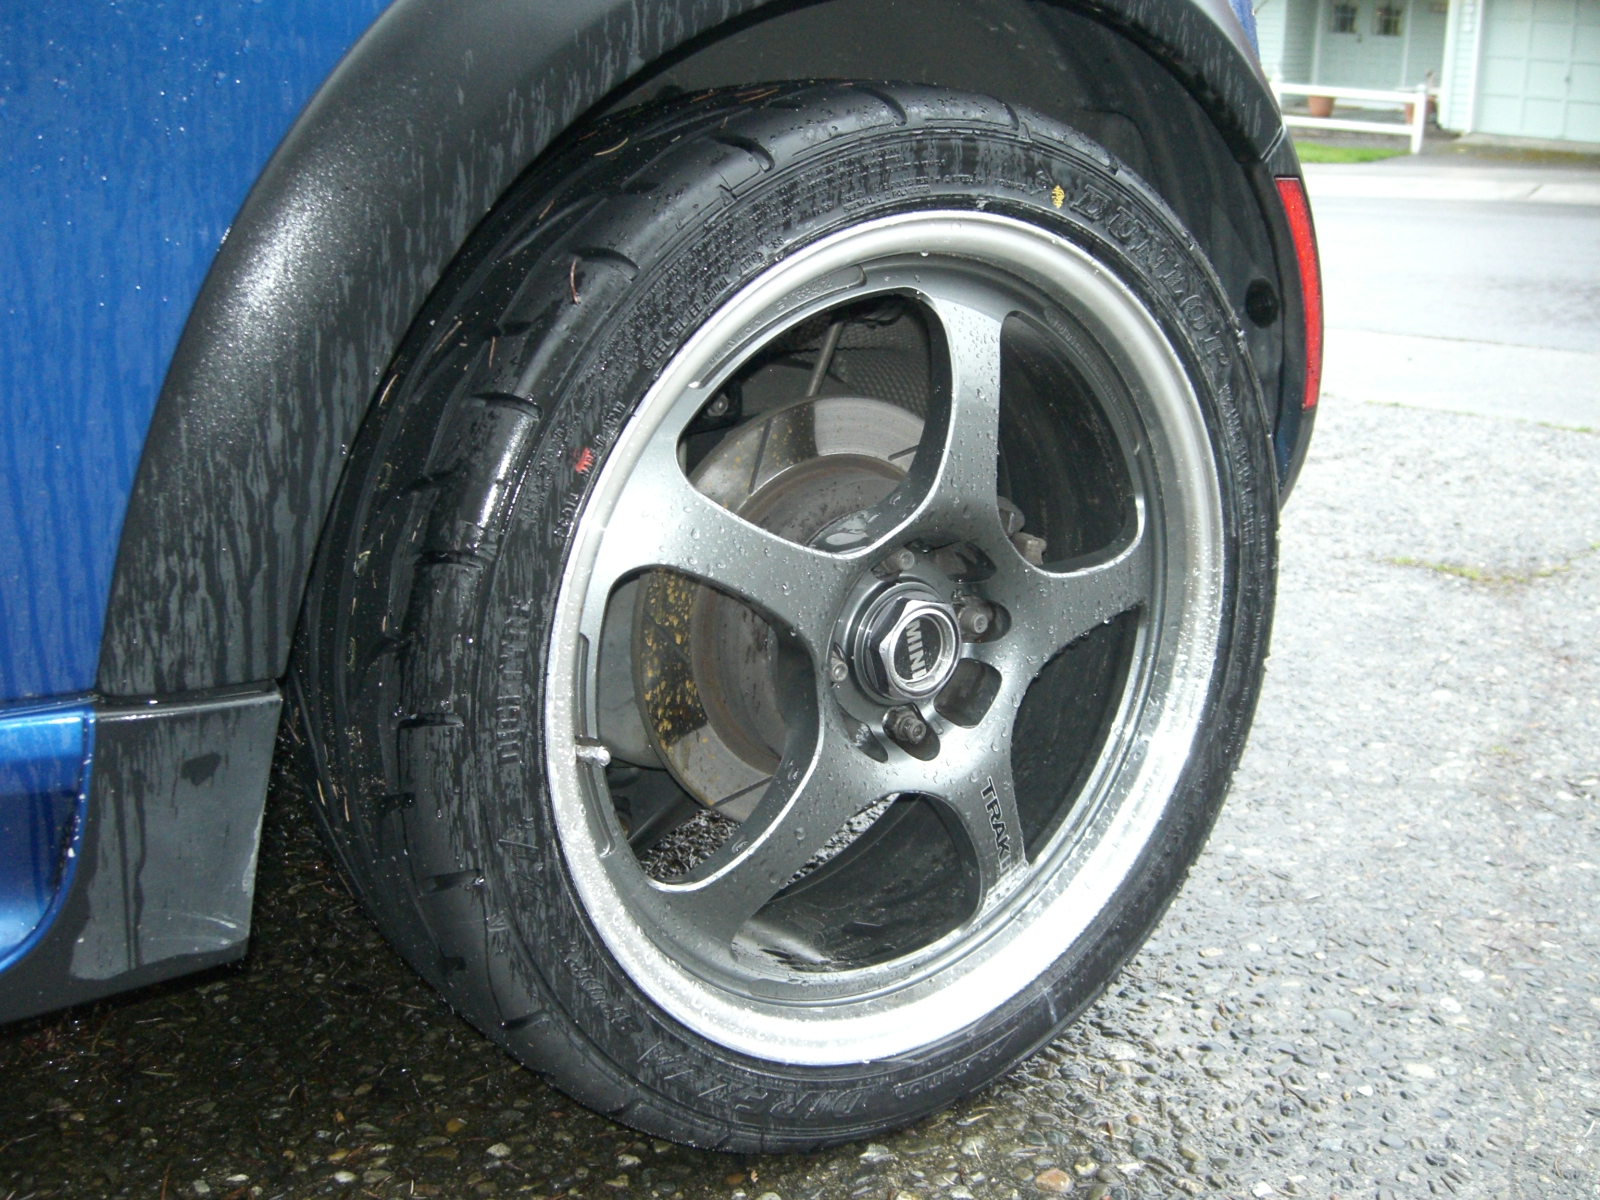
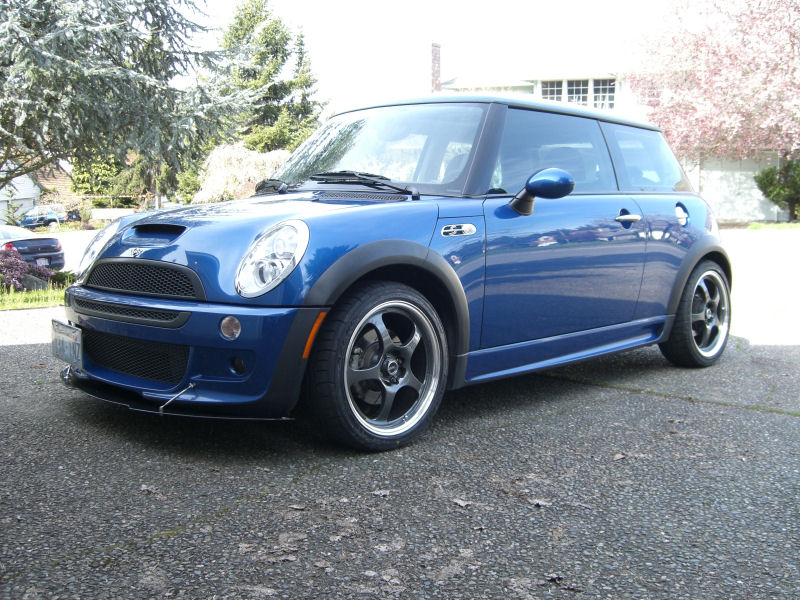
Motegi
TrakLite 17X7 wheels and 215/40X17 Falken Azenis RT615 Tires
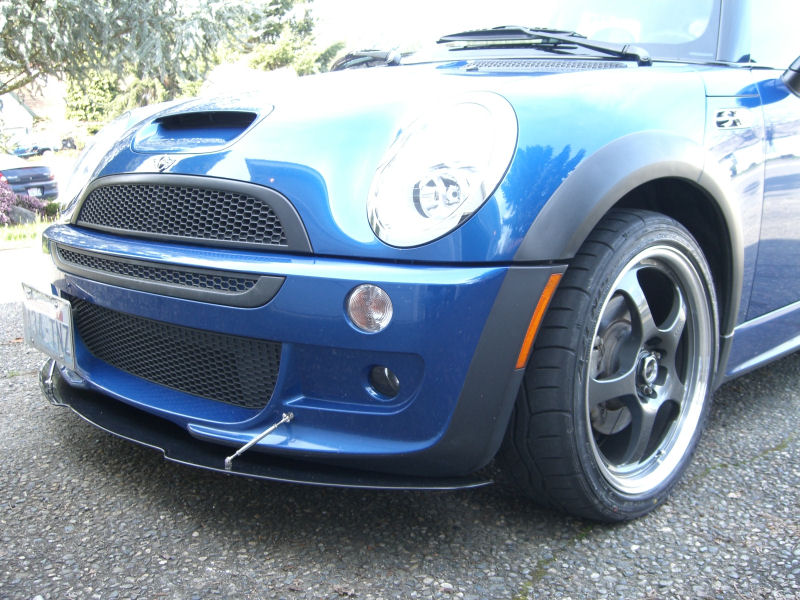
M7 Carbon
Fiber Front Splitter
| These
wheels come in at 14.3 lbs. All mounted up the
assemble weighs only 35 lbs. Compare that to the 42
lbs +/- for most cast alloy wheels with tires. Only
a few miles on the tires so far but they seem Extremely
Grippy!
The M7
Front Splitter is an easy install. ...It
gives me that "ready for track day" look.
|
|
|
February 2007:
MFSW
mute relay
| The
MultiFunctionSteeringWheel
Mute Relay from newministuff.com
in the U.K. allows me to mute the radio, using the
steering wheel's phone button. This is particularly
handy when a phone call comes in or I'm tired of hearing
an annoying commercial. Installation consists of
plugging the unit in series with the main radio
harness. A nice little convenience. |
January 2007:
Texas
Speedwerks Engine Torque Damper
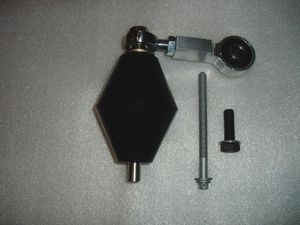
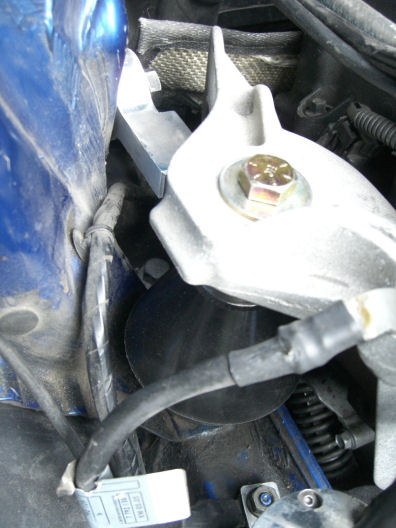
| The
Texas
Speedwerks Engine Torque Damper is designed to add stiffness
the motor mount, giving a more positive throttle response.
There is a small amount of noise and vibration as a result
of the damper, but nothing too harsh. The added
coupling this damper provides are quite enjoyable.
Even small things like the jerking you feel when driving
slowly out of a driveway and onto the road are now
gone. Transitioning from throttle off to throttle on
is much smoother. Overall, I think this is a pretty nice mod. |
|
Front Bracket
|

Rear Bracket
|
Installation complete
|
|
|
December
2006:
Alta
Intercooler Air Diverter
| I
picked up this Alta
Air Diverter off of eBay. At the optimum
level, the stock diverter plate and intercooler allows the
air to run about 11 degrees hotter at the output than the
input. So far, it appears that the air is running
about 9 degrees difference from in to out with the Alta
Diverter in place. A gain of 2-degrees or so is
pretty nice... |
|
|
M7
Under Strut System
| The
M7
Under Strut System is designed to add stiffness to the chassis of the
Mini. As of this writing, I haven't had the chance
to really wring the car out but I do notice less flex in
the car (and I thought it was already pretty stiff). |
|
|
November
2006:
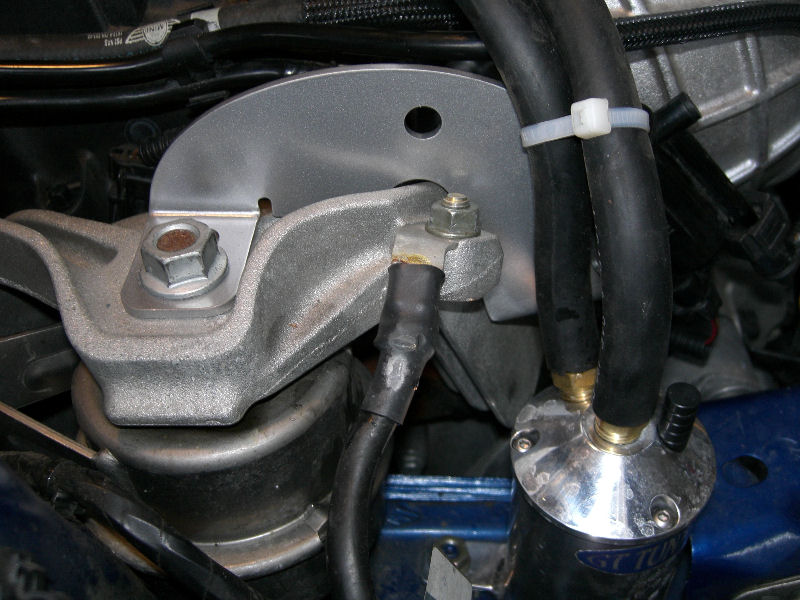
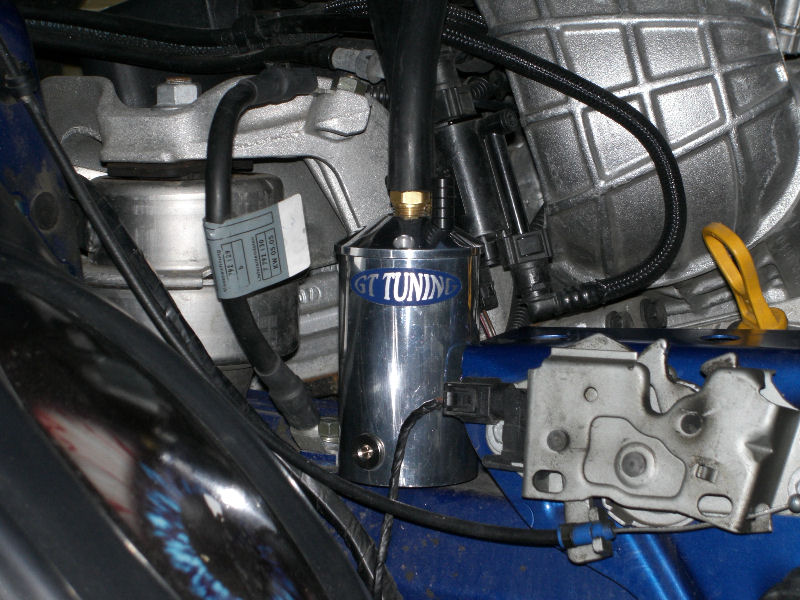
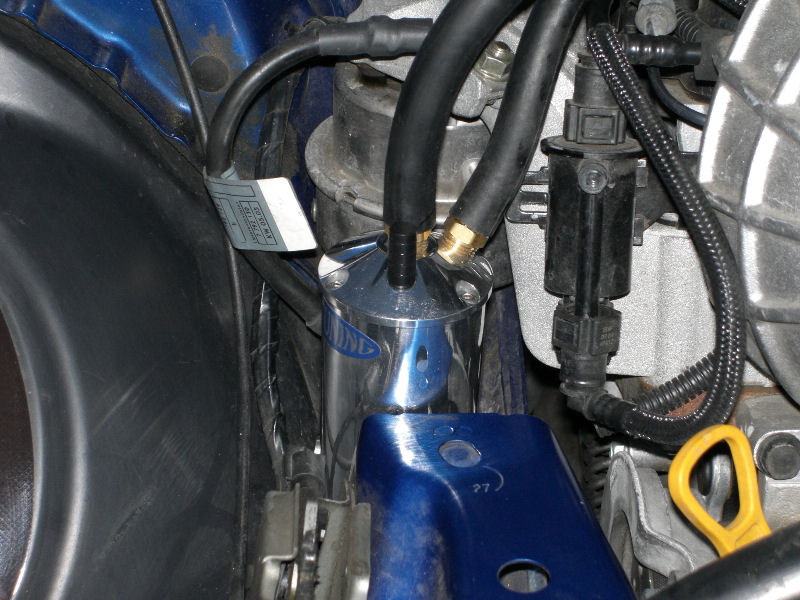
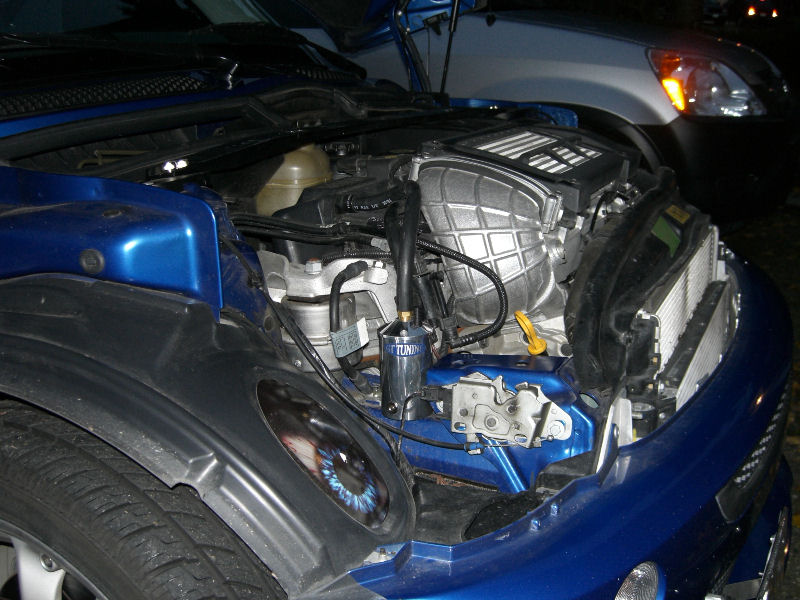
GT
Tuning Oil Catch Can
| I
replaced my "homebrewed" oil catch can with one
made by GTTuning
in the UK. The GTT Catch Can has an internal baffle
to trap collected oil and keep it from re-entering the
intake. A built in dip stick is used to measure the
trapped oil. The filter used on the homebrew setup
would only fill to a point before allowing oil to be drawn
back into the system. This looks like a better
solution. |
|
|
Koni FSD Shocks and Struts
| Ed
Miller and I installed
a set of Koni
FSD Struts and Shocks in my Mini. I
noticed an immediate increase in comfort. Even
speed-bumps are child's play now. It only took about
2.5 hours to get the work done thanks to Ed's lift, full
assortment of tools and his expertise. |
|
|
Ireland
Engineering Fixed Camber Plates
| While
I was installing the Koni Struts, I thought I'd add some Ireland
Engineering Fixed Camber Plates. There
add 1.25 degrees of negative camber to give the front end
a little more bite during cornering. So far I'm very
impressed and I'm looking forward to the next track day to
really wring these out. |
|
|
October
2006:
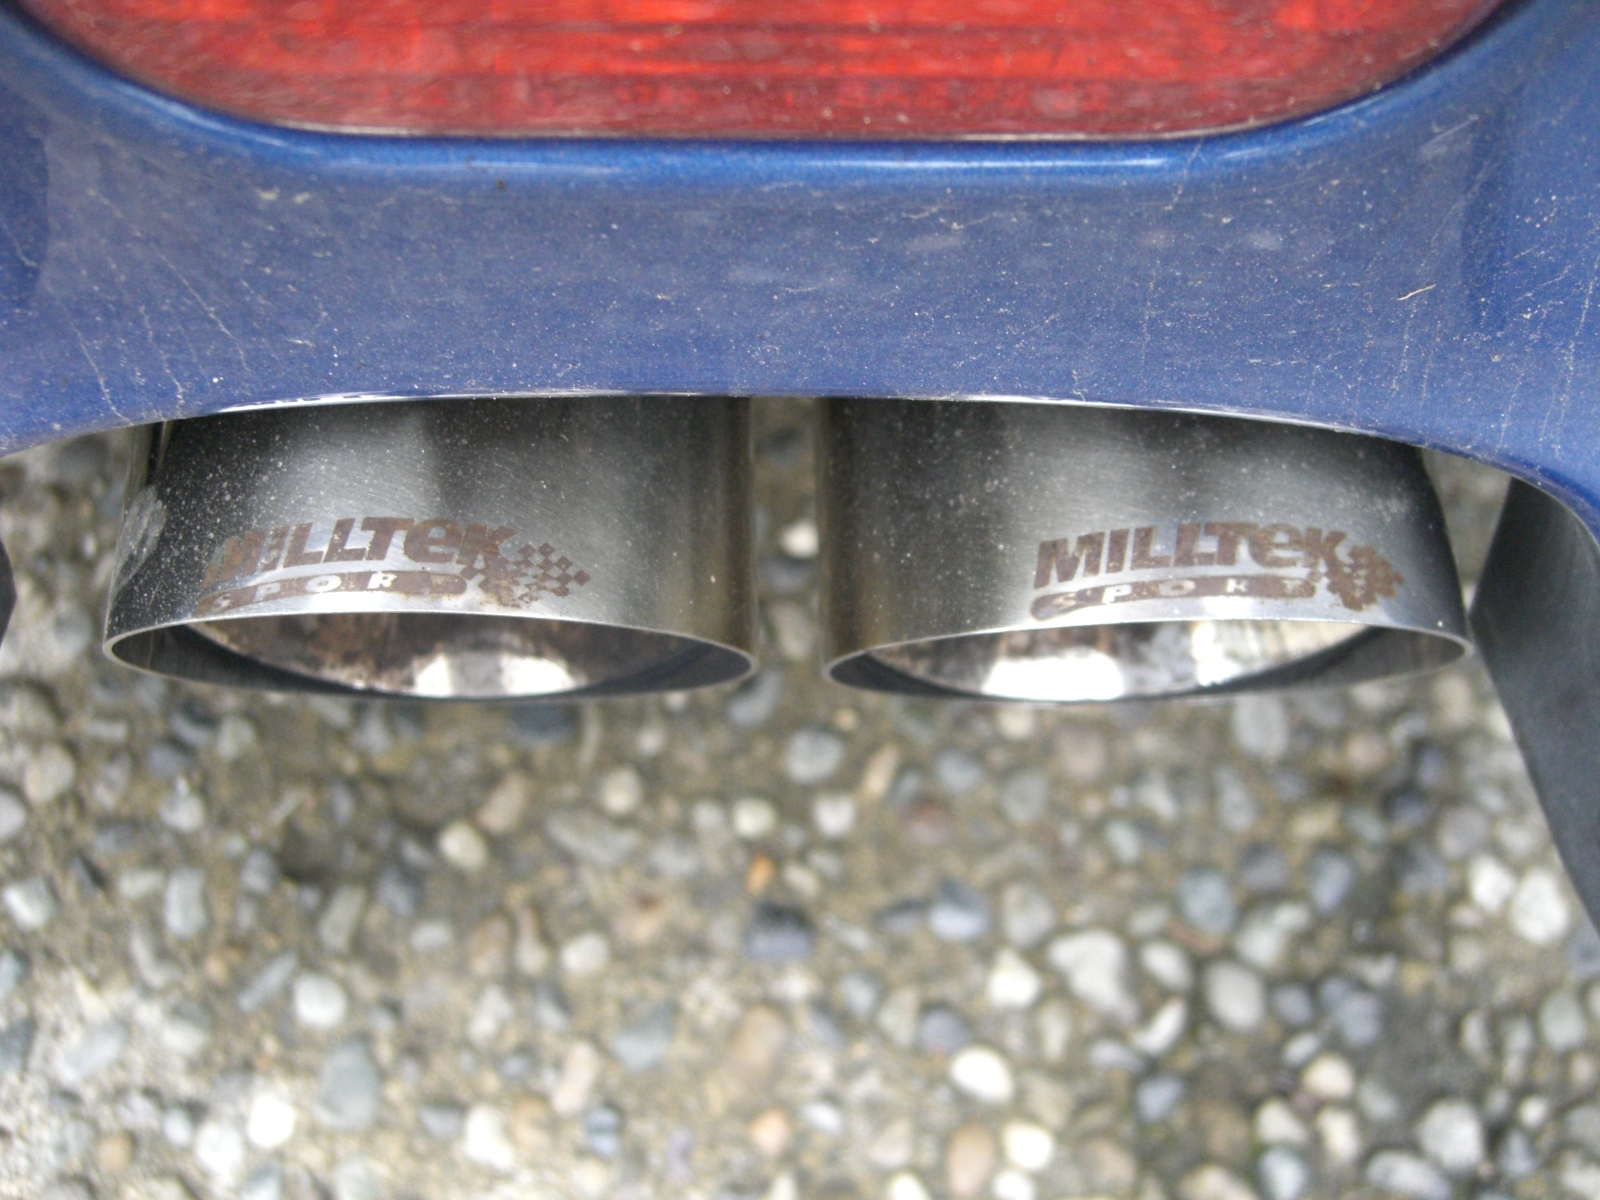
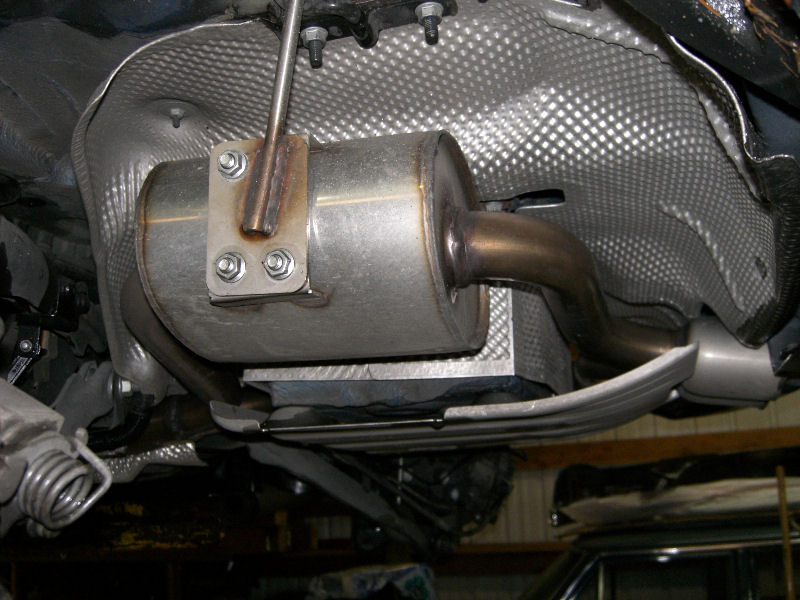
Milltek Exhaust
| With the help of Ed Miller, I installed
a Milltek
Sport Exhaust System in my Mini. I
noticed an immediate increase in "pep" and a
boost in mileage. It has a very pleasant deep
throaty sound I think I'm going to like.
|
|
|
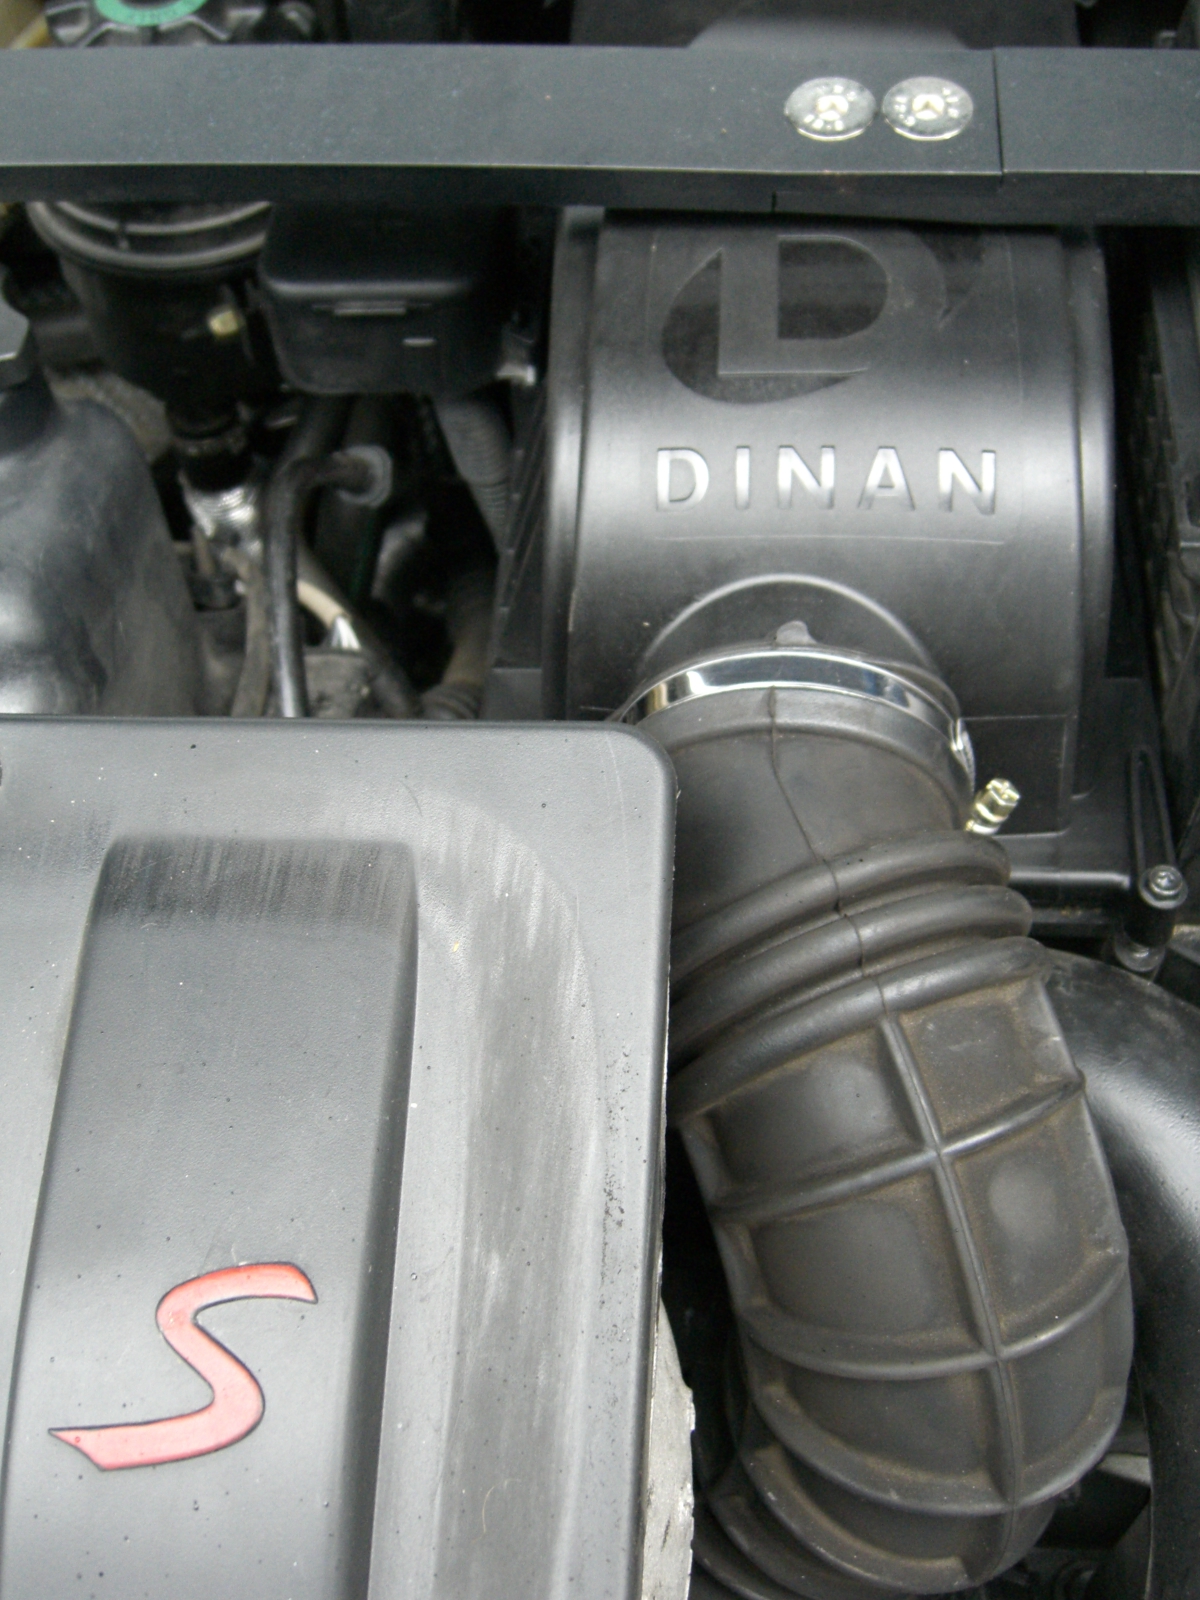
Dinan High Flow Cowl Induction System
| Just
finished installing the Dinan Air Intake. I have
only had an opportunity to take a short drive around the
block. There does seem to be another increase in HP
and a noticeable increase in supercharger whine. |
|
|
ScanGaugeII
| Purchased
and installed a ScanGaugeII
code scanner and OBDII gauge accessory. |
September
2006:
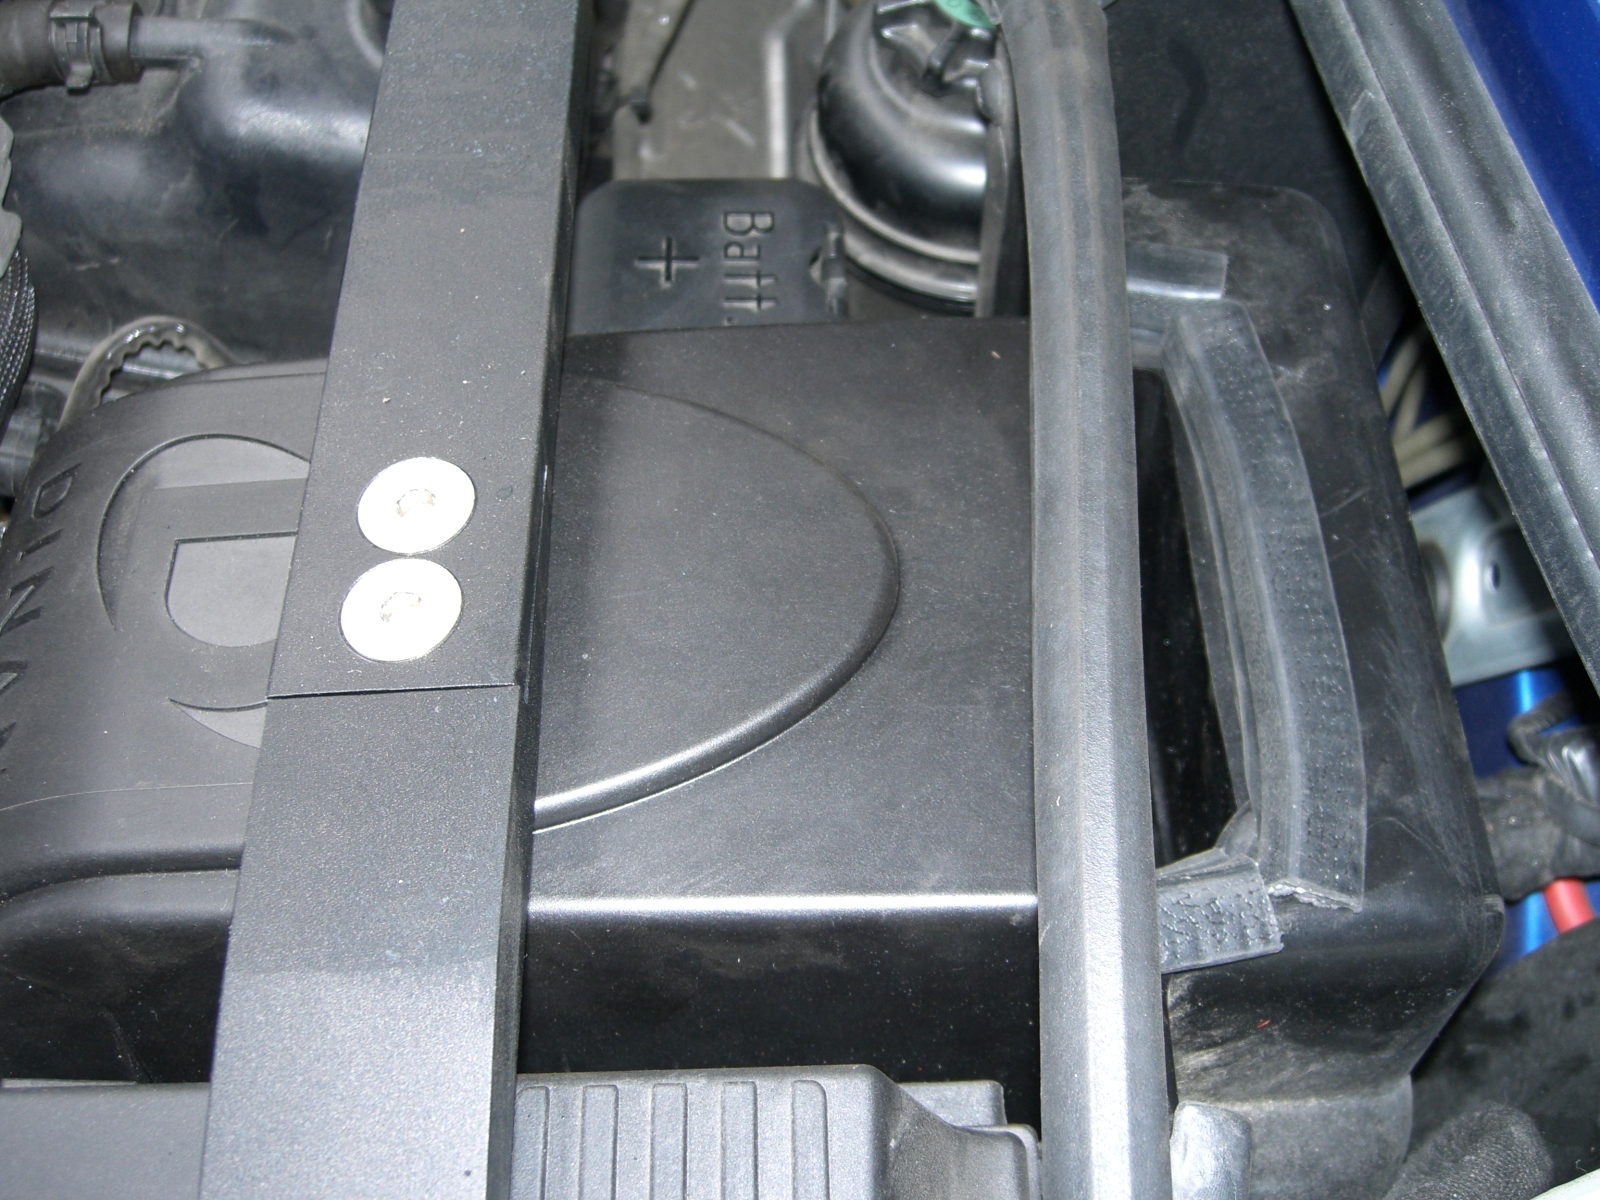
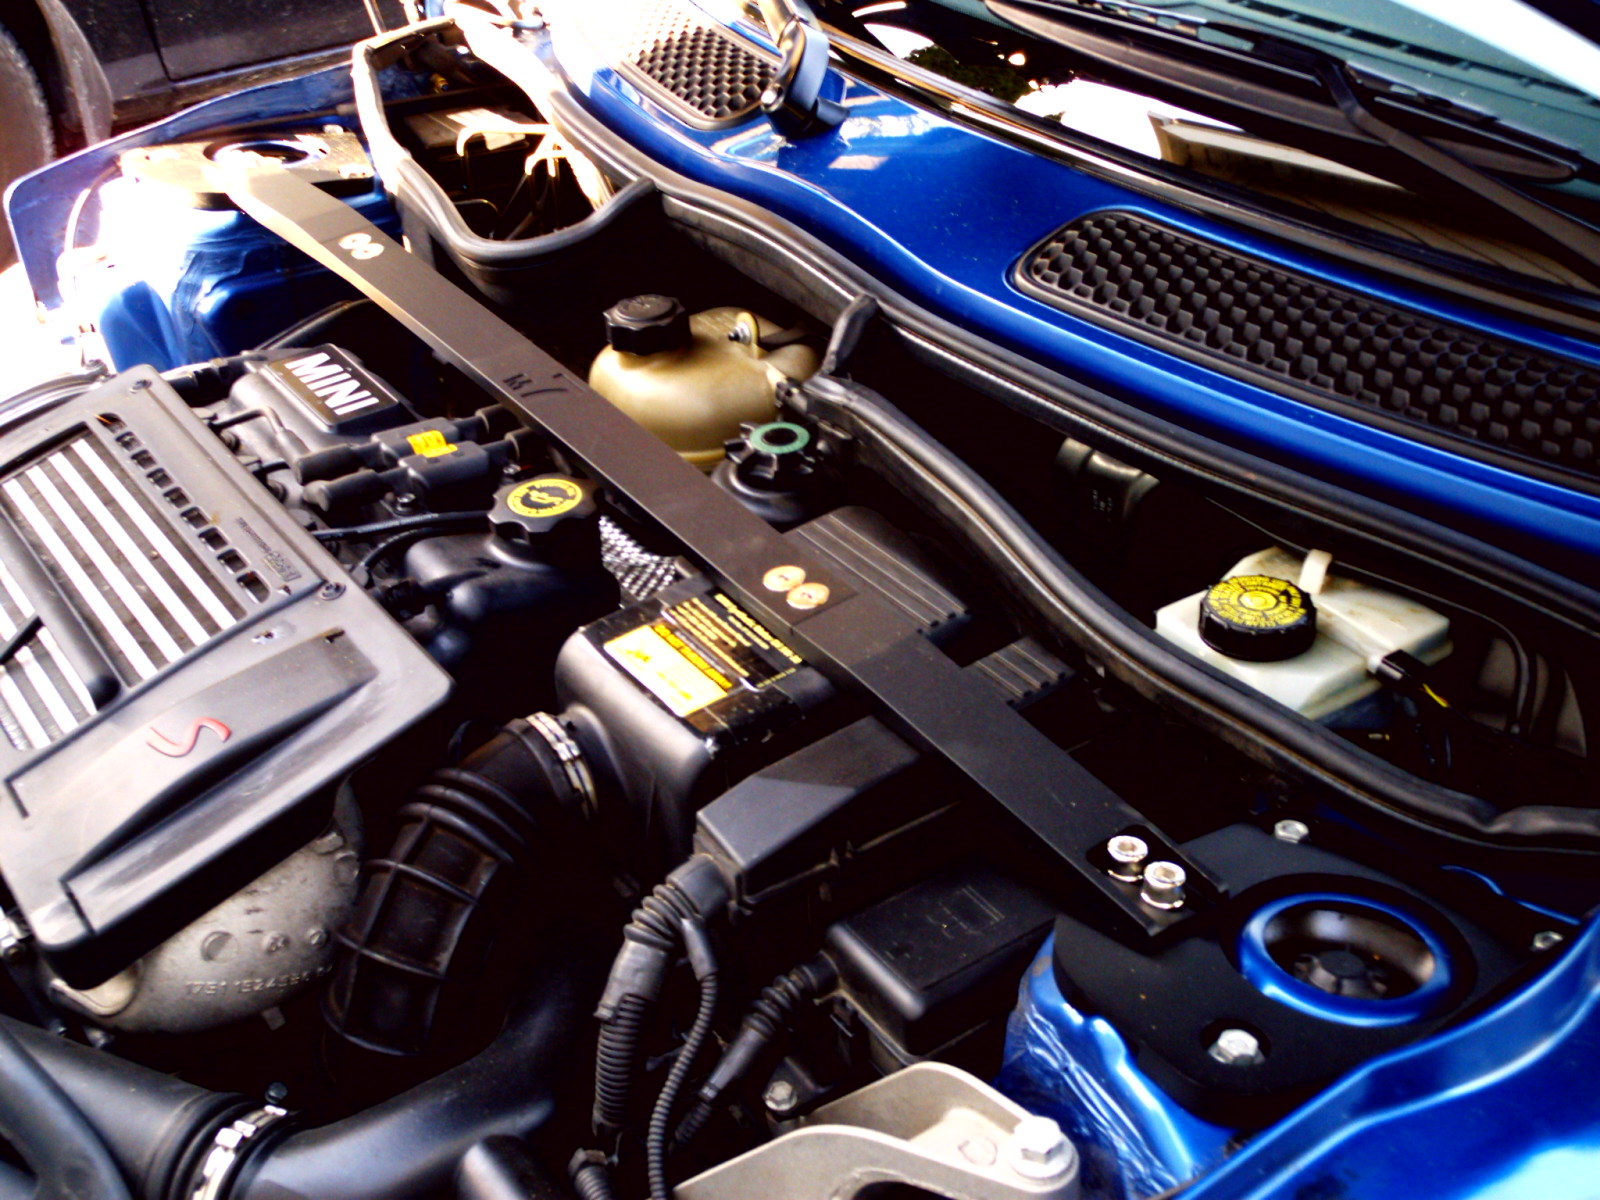
M7 Strut Tower Brace
| An
easy 5 minute install. I had a little trouble
getting the nuts started on the passenger side. I
had to press down on the mounting plate and start the
nuts. They seemed to tighten down fine after
that. Makes me wonder if there isn't the slightest
bit of mushrooming on that side...? |
|
|
August 2006:
Craven Speed PSMini Custom Antenna
Brake Upgrade
June 2006:
Tinted the windows
| I
had the windows tinted with 35% film by Darkside
Tinting in Lake City, Seattle, WA. With the
blacked out beltline, I think it looks good... It
really changes the feel inside the car. (Pix coming
soon.)
|
|
|
Now with
NAV OS V27.1 and Maps Ver 2006.2
May 2006:
Install Version 27 NAV Software
| V27
adds a perspective display mode in addition to pointing
North or Direction of Travel. |
| Also
upgraded the NAV map to version 2006.2 |
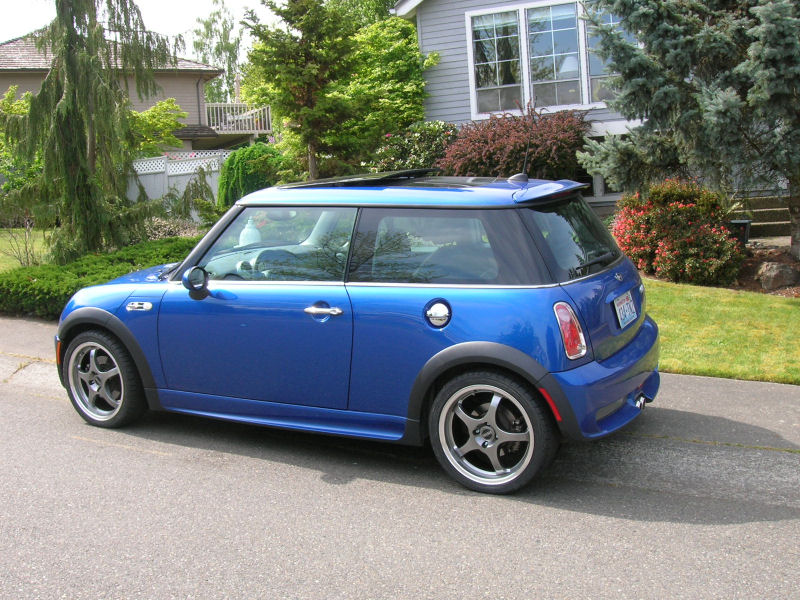
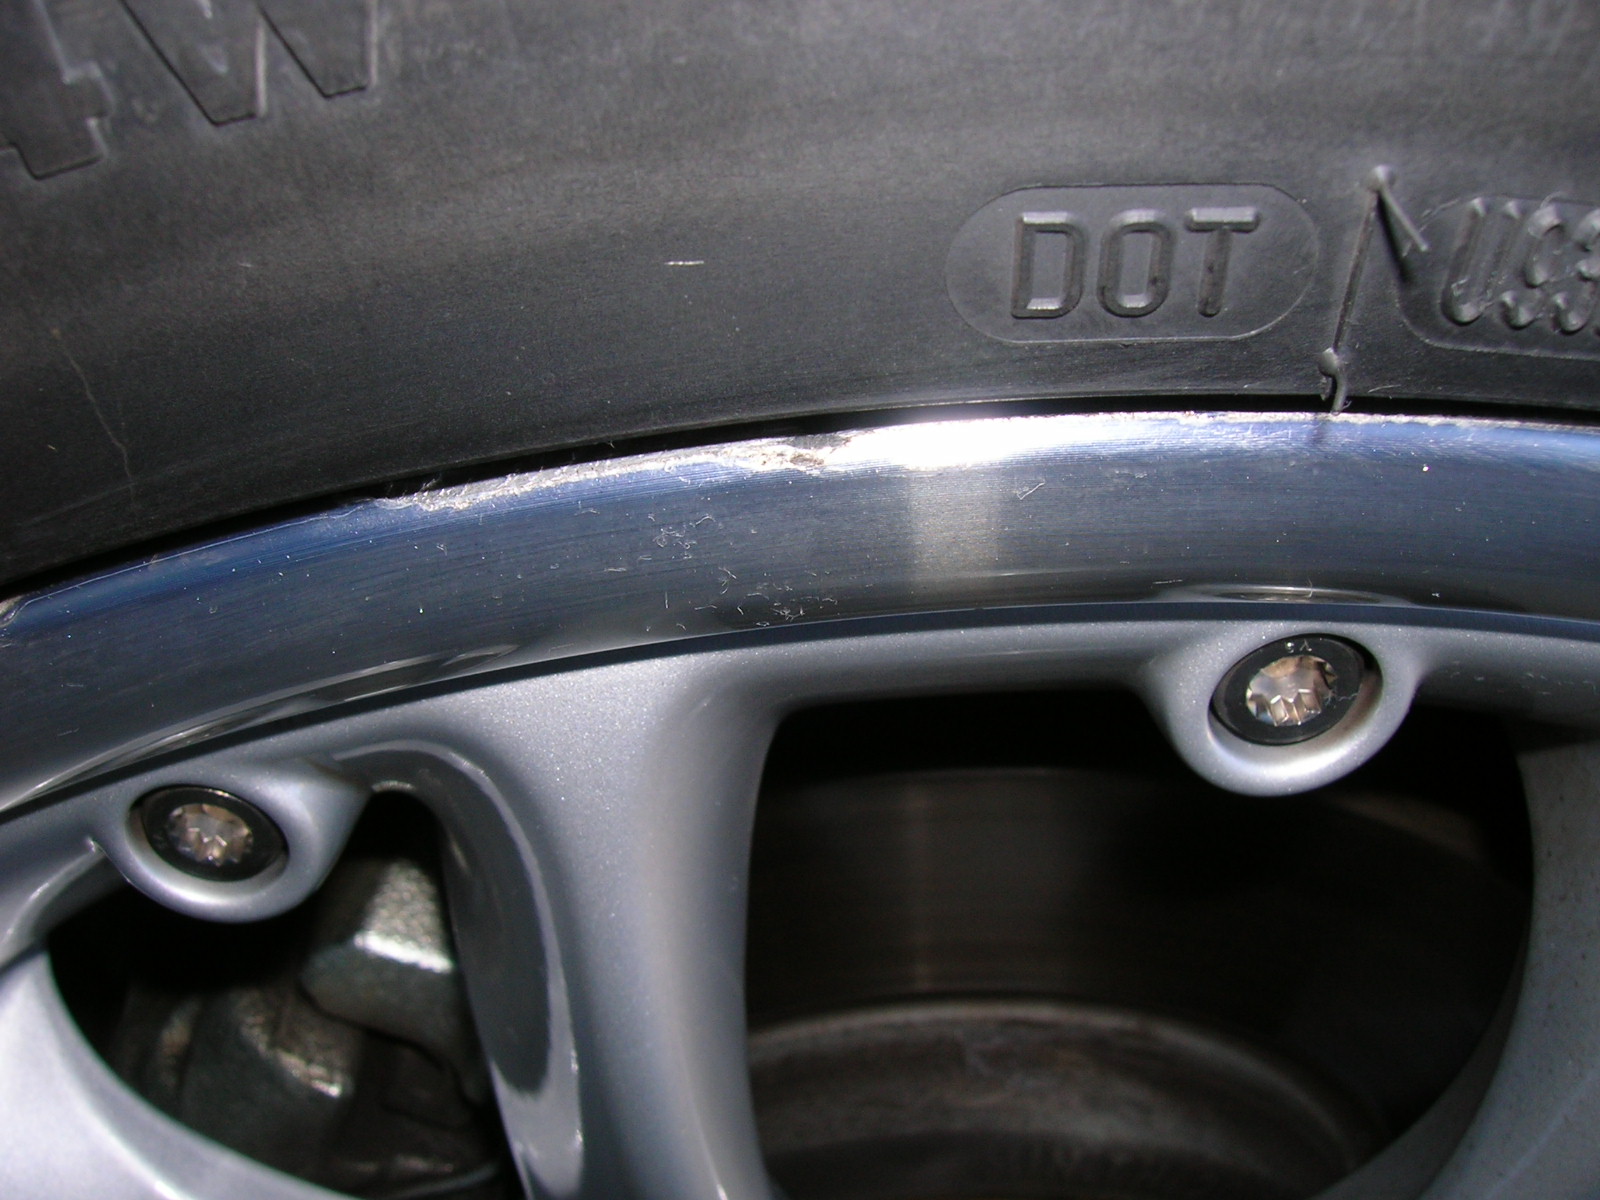
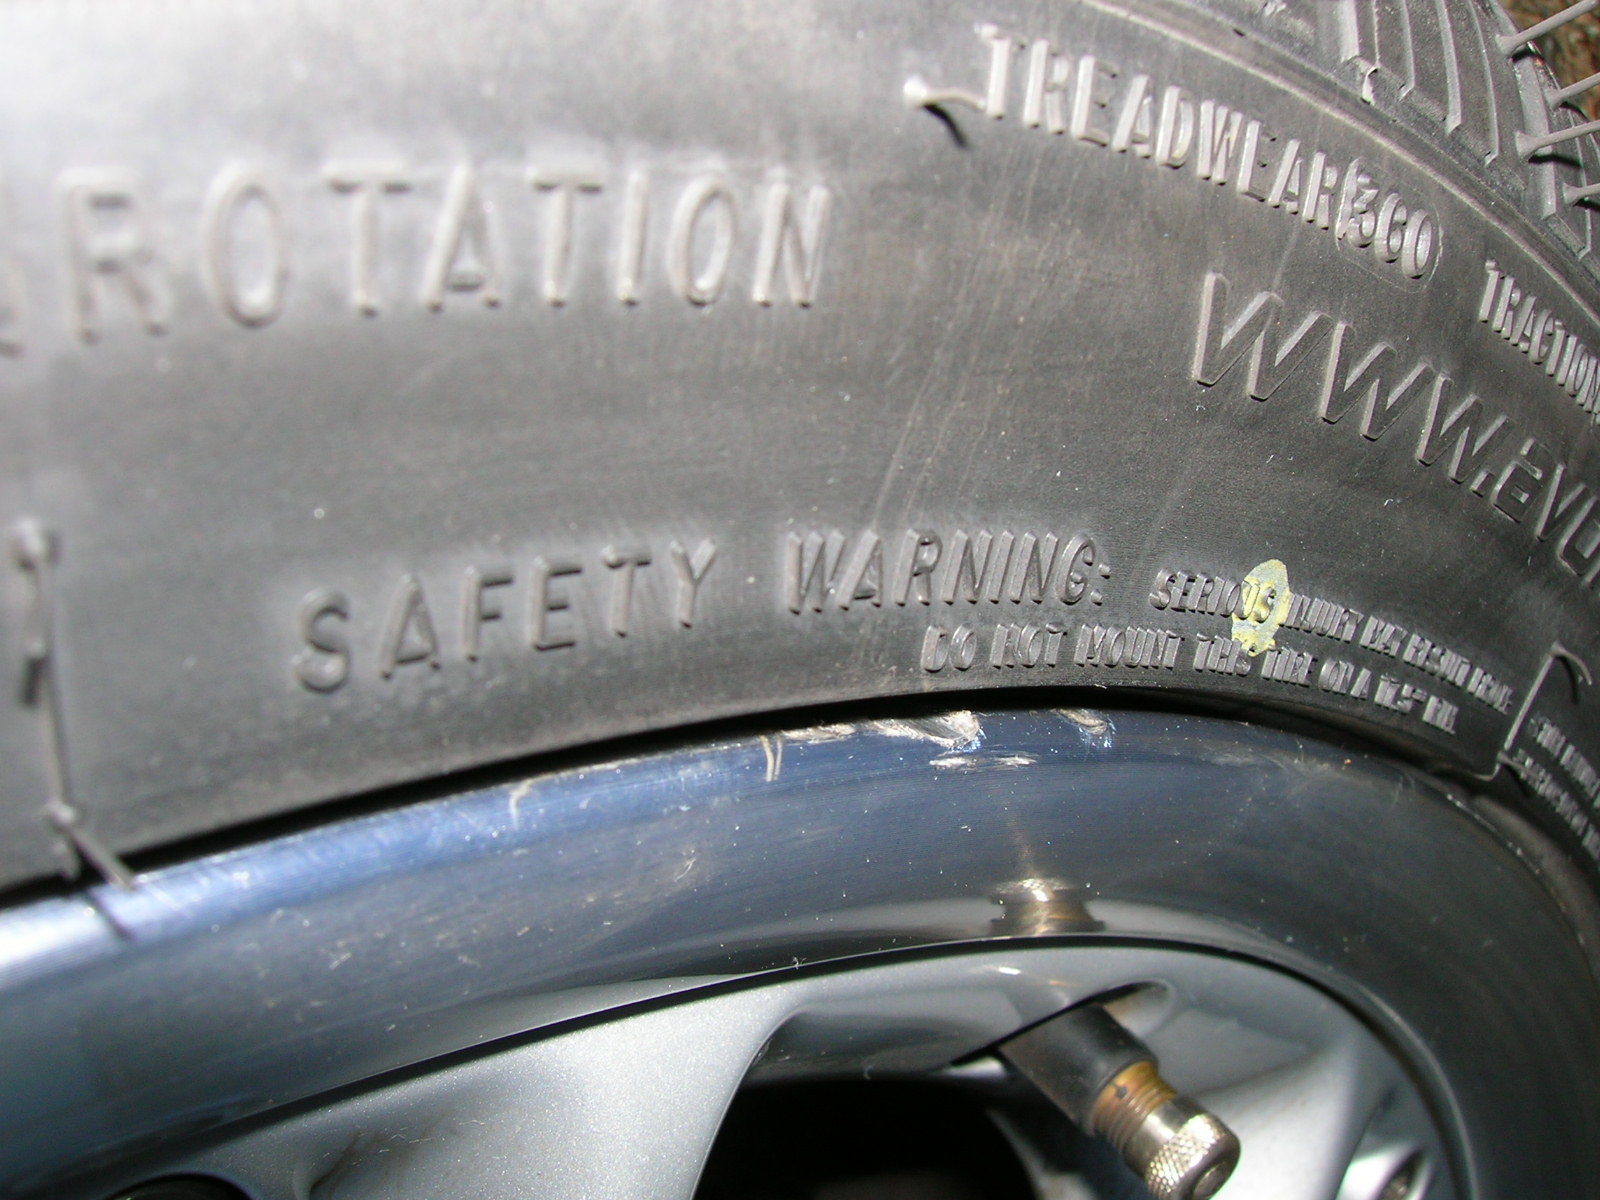
Baby Got a New Set of Shoes
|
Put on a new set of 7" X 17" - 42mm offset rims and a set of 215/40X17 BF Goodrich G-Force Sport tires.
|
 |
|
 |
|
|
The handling seems a little crisper, steering is easier, traction (wet & dry) is great. I think I'm liking my summer "shoes".
|
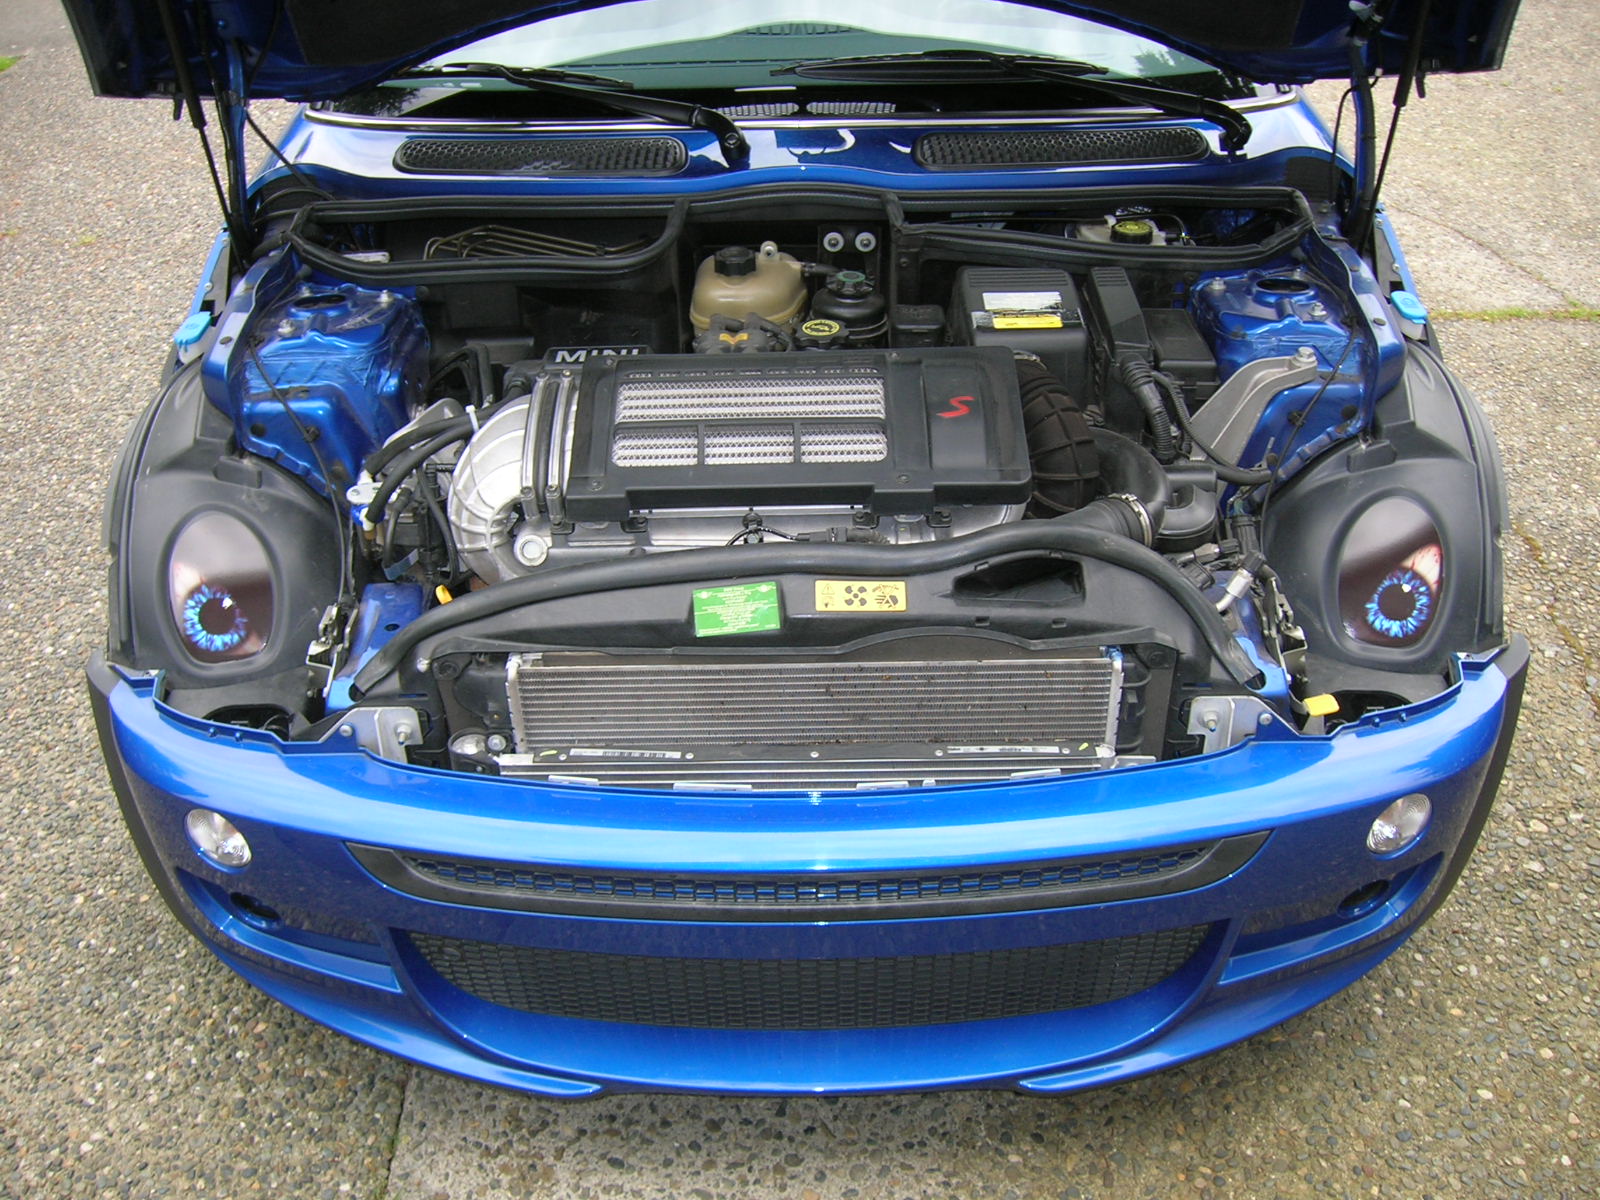
Here's looking at you, kid.
|
Put some eyes on the Mini just to dress her up.
|
 |
 |
 |
|
Beltline Blackout
| Used
1/2" pin striping tape to black out the chrome Belt
Line.
|
 |
 |
|
|
Pilo Racing Lug Nut Conversion
| The conversion should allow for easier wheel mounting when rotating tires or putting on the winter treads.
BTW, I received excellent customer service from Pilo
Racing. One of the lug nuts was mispackaged and of the
wrong thread pitch. I contacted Pilo Racing about the
problem and they immediately FedEx'd a new package of 4-Lug
Nuts to me.
|
Remote Control Auto Window Up Module
| This
little accessory allows me to close the windows and sunroof
after I have already left the car and am walking away.
The remote keylock can be used to trigger auto close.
Took about 1/2 hours to install. I used a great write
up on NAM
as a reference. I did use T-Tap electrical connectors
instead of soldering as in the reference example.
|
April
15, 2006:
gominigo
No Holes License Plate Mounting Bracket
Hawk
HPS Front Brake Pads
| 4/26
First feedback on the Hawk HPS pads: WOW! They work
every bit as well as the stock pads (street testing only, no
track time yet) and there is virtually NO dust! I went
for over a week of typical driving and the front wheels were
clean. If stock pads had still been in there, the
wheels would have been coal-black. |
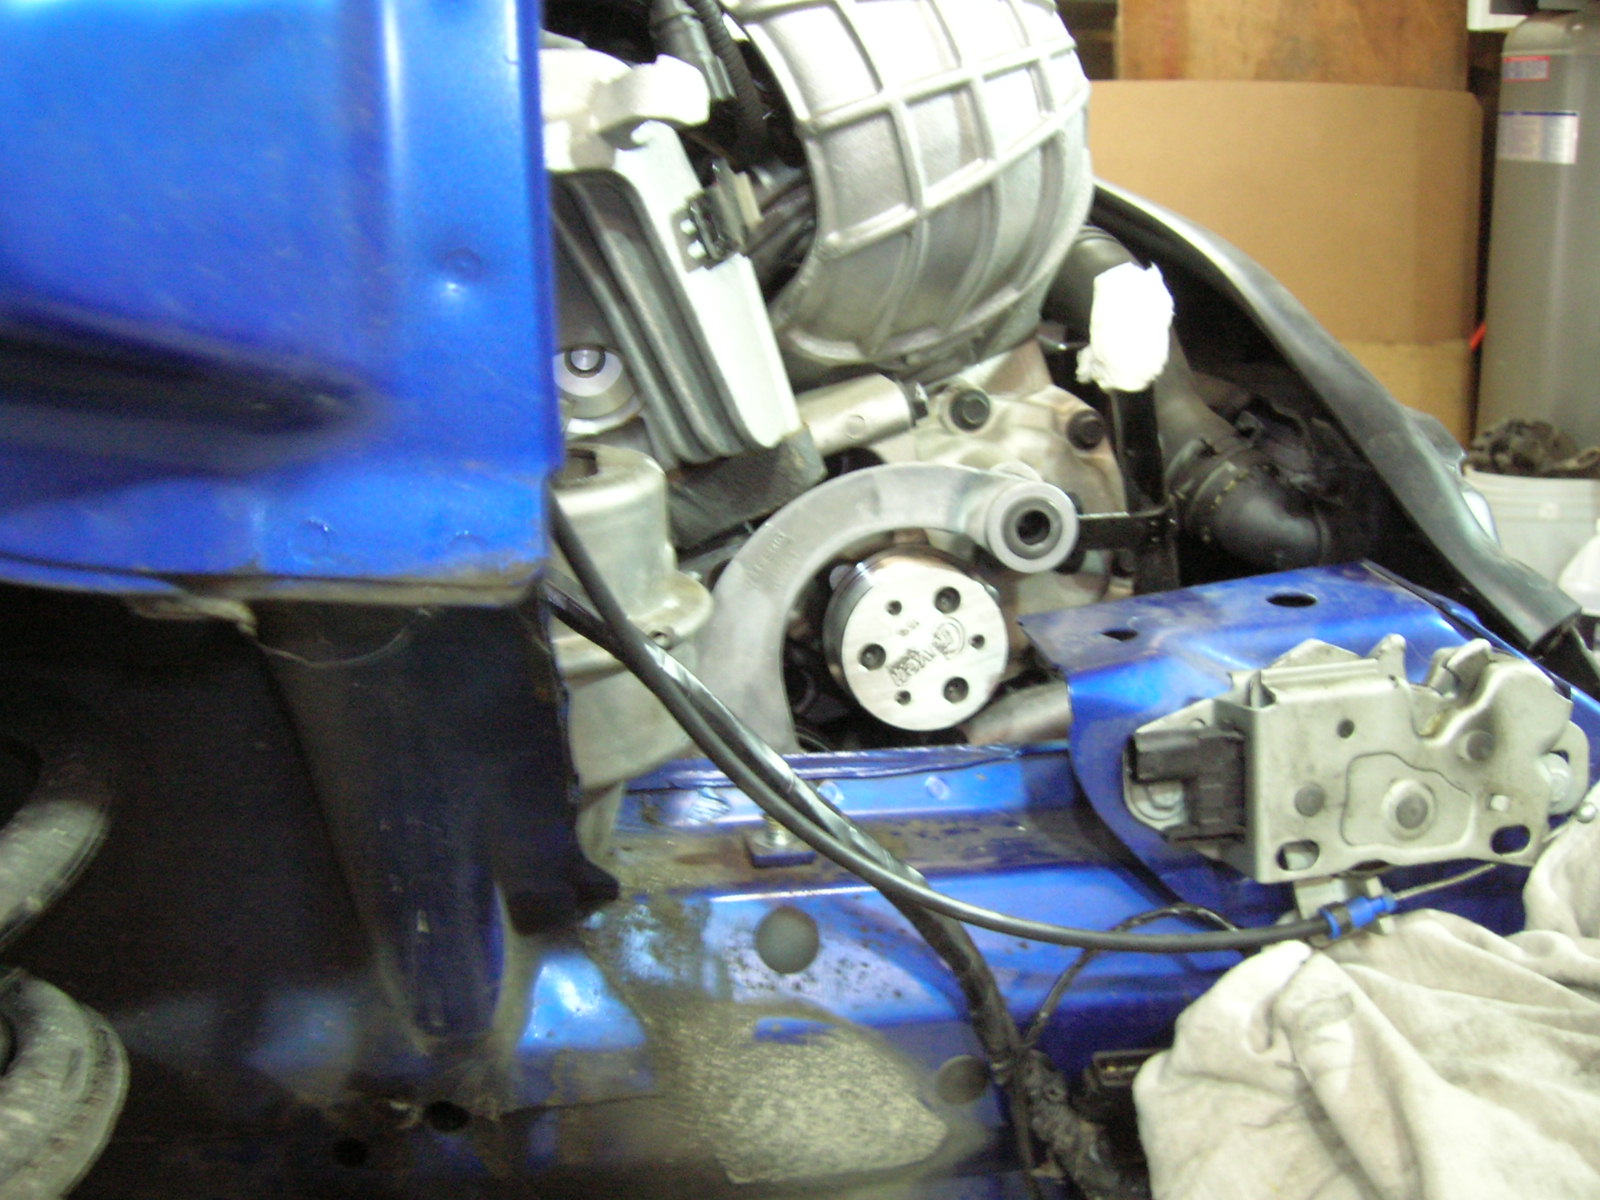
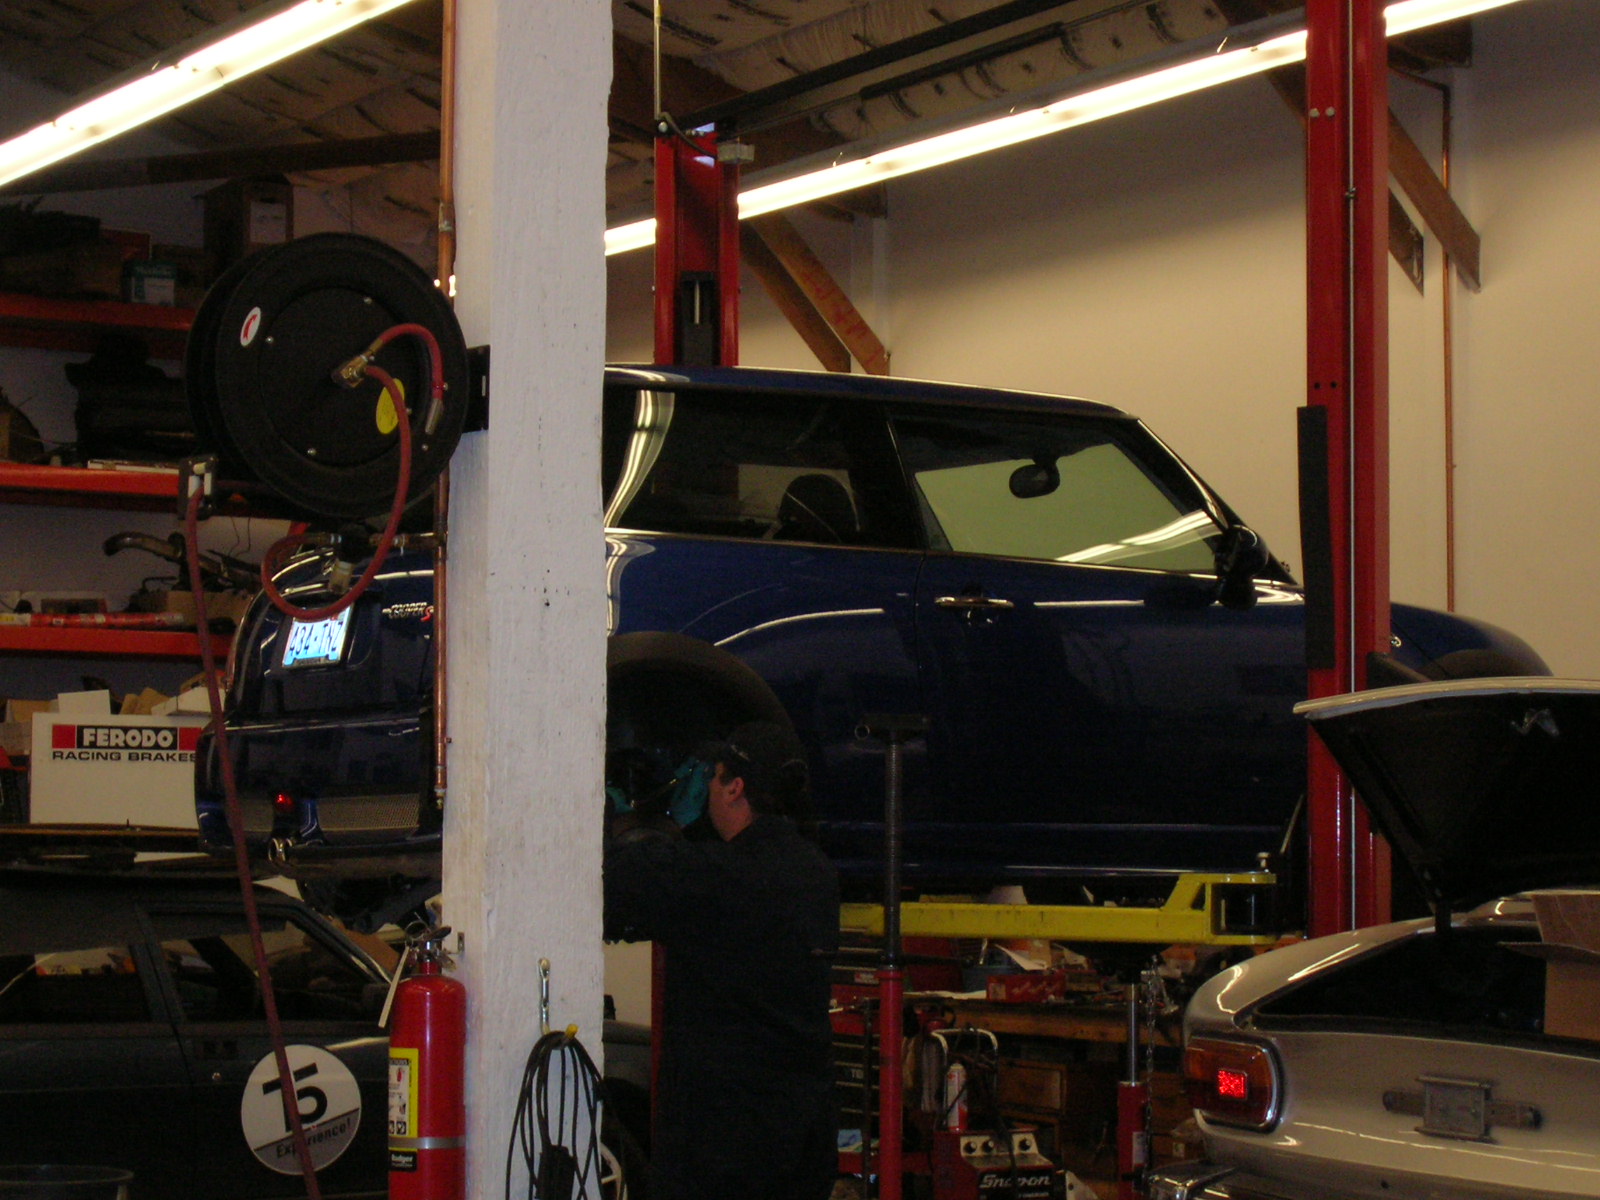
Craven
Speed 15% Supercharger Pulley
Up on the lift |
ready for the operation. |
Inner fender removed |

New pulley in place. |
| PSmini
held a pulley party where 7 of us upgraded our MINI's with
either a 15% or 17% pulley. These guys really have the
system down, reminding me of a choreographed "drill
team". Nice work, thanks guys! |
Adjust Rear Swaybar Endlinks to Middle Position
| This
gives the rear swaybar much more authority. I need
to continue testing to see that the car remains
neutral and doesn't show a tendency to oversteer.
4/26 I'm
liking the current swaybar setting. Still seems
neutral and noticeably flatter cornering.
|
March, 2006:
Factory iPod
Interface
Ians
Mini Circuit Track mode DSC
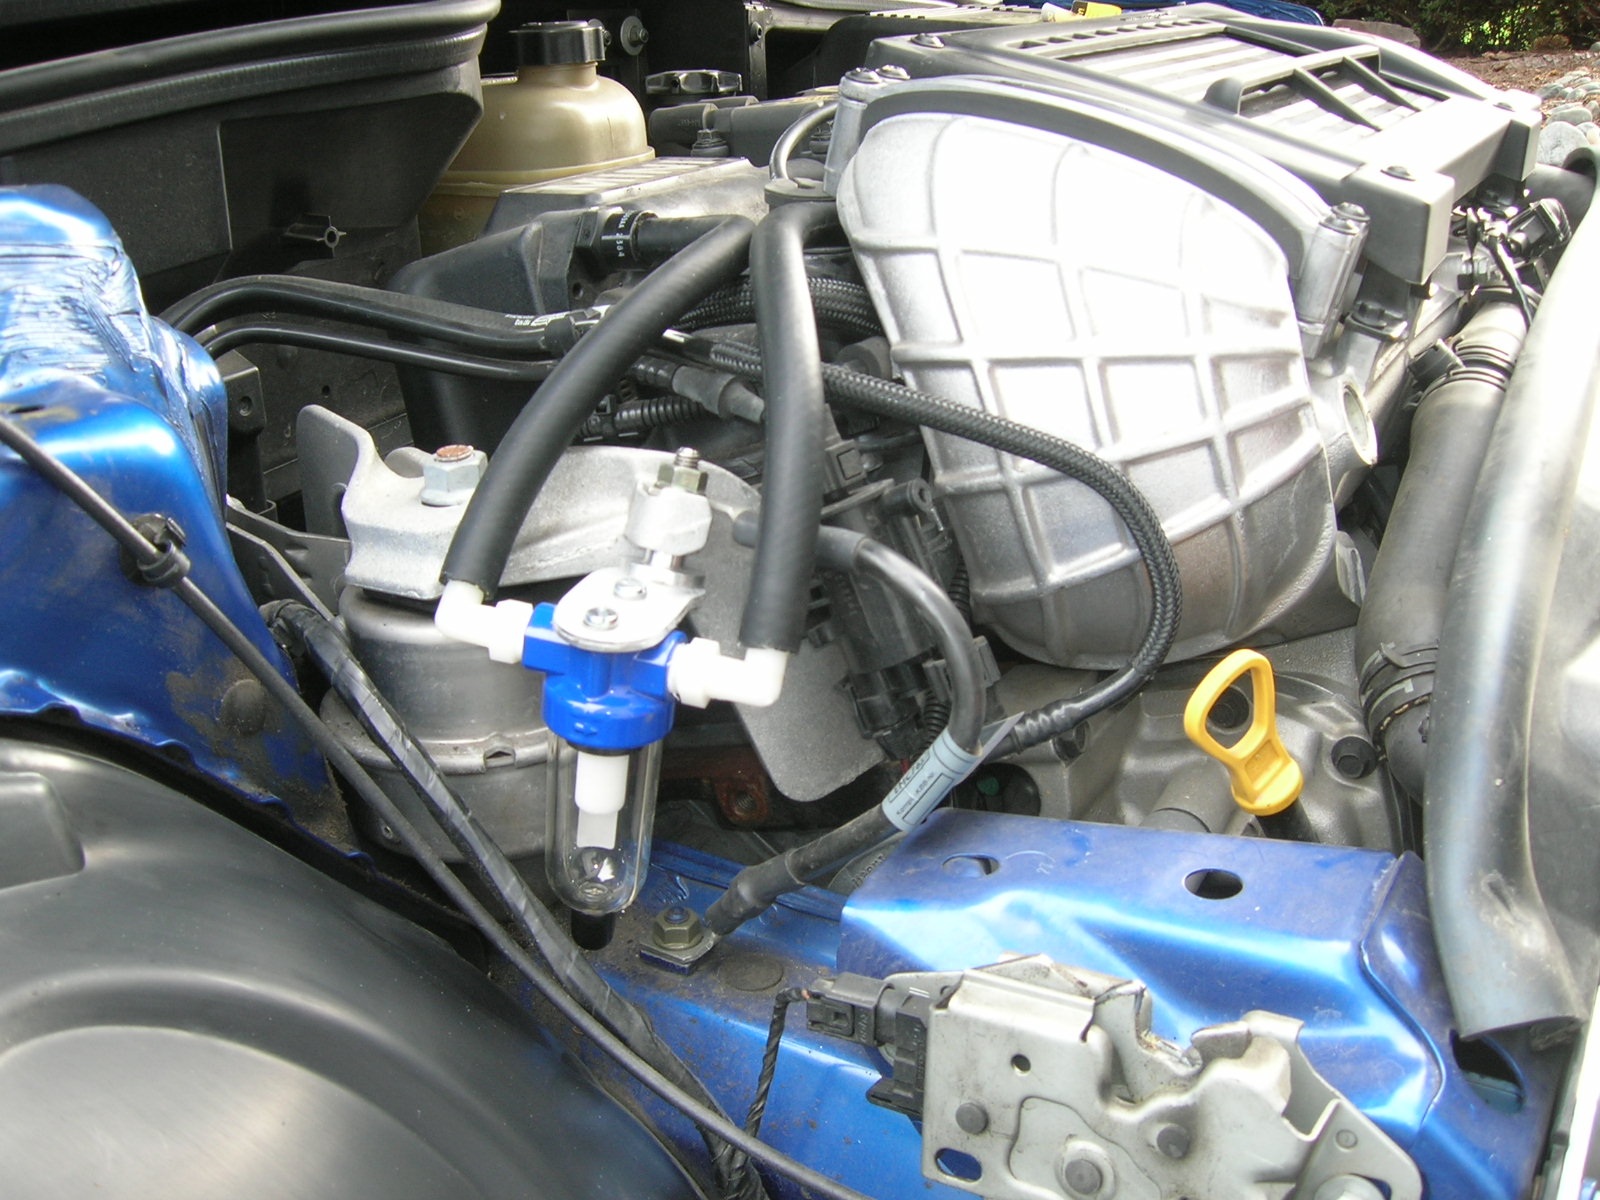
Oil Catch Can
 |
 |
|
| I
have been intending to install a catch can for some
time. I finally collected the pieces and installed
it. I removed the intercooler for the installation
and found quite a bit of oil collected within the cooler
and the rubber clamps. I washed the intercooler
insides with spray brake cleaner and allowed it to
dry.
Four days
after installing the catch can, I noticed a trace of oil
in it! It had been driven quite easily with very few
high revs. I seems to be working very well and it's
amazing how much oil is lost through the PCV.
|
Blinking 3rd Brake
Light from Web
Electric Products
| A
friend of mine had his Mini rear ended the other
day. I thought I would take some preventative
measures to try to avoid the same thing happening to
me. Installation took about 5 minutes. The
flasher module is small and easily tucked in the boot lid
above the brake light. |
|
|


